Experienced gardeners eulogize their self-made garden compost, but the methods and systems they use to create it can seem perplexing. Yet once you have a system in place, you will have a never-ending (and free) nutrient-rich compost to use on your garden—and the added benefit of being able to recycle much of your household waste. But which system will work best for you, and how do you use it?
What is compost and should I make it?
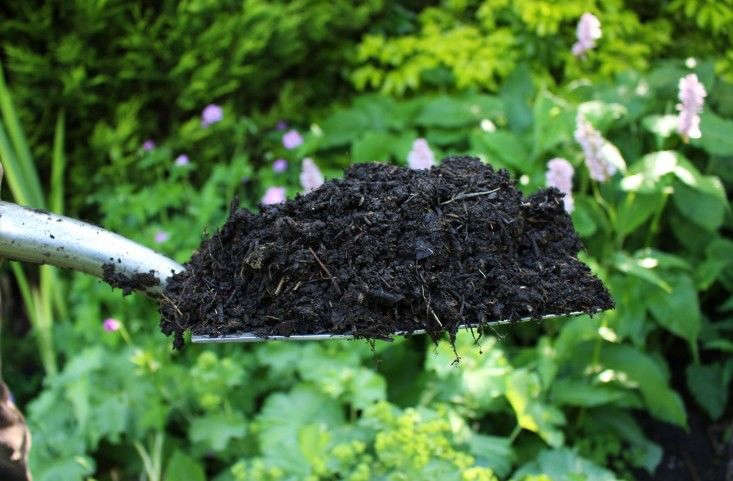
Compost is decomposed organic material that is made from a mix of nitrogen rich green waste (garden cuttings, vegetable peelings, nettles) and carbon-rich brown materials (newspaper, straw, sawdust, shredded cardboard, wood chips, leaves and clippings).
In nature there would be a natural cycle of mulching as old material decomposes back into the soil—but in our manicured gardens, where we systematically remove those materials and intense cultivation draws on nutrients, we need to put something back. Routinely adding compost replicates a natural process. By incorporating compost into your soil you not only add vital nutrients you will also improve texture, enriching lighter sandy soils and helping to retain moisture in the summer months. And healthy plants will also mean fewer diseases and pests.
You could of course just throw it all in a big heap and hope for the best—but it will take a lot longer to create usable compost—as air circulation and moisture are both key to the decomposition. Starting off with a proper system also means that you will have an organized production line for seasons to come.

Above: Photograph by Monica Willis. See more in My Garden Story: A Secret Rooftop Oasis on Manhattan’s Upper West Side.
How do I get started?
How much compost to make. Your composting system needs to suit your site and how you use your garden. If you have a big family garden with a vegetable patch and borders, then you are likely to have plenty of waste materials to make compost as well as lots of soil that needs to be replenished annually with compost. (Bigger compost bins also allow more heat to build up, which in turn speeds up the decomposition.) If you have a small town garden then chances on you will produce less waste, and require less organic matter for the garden too.
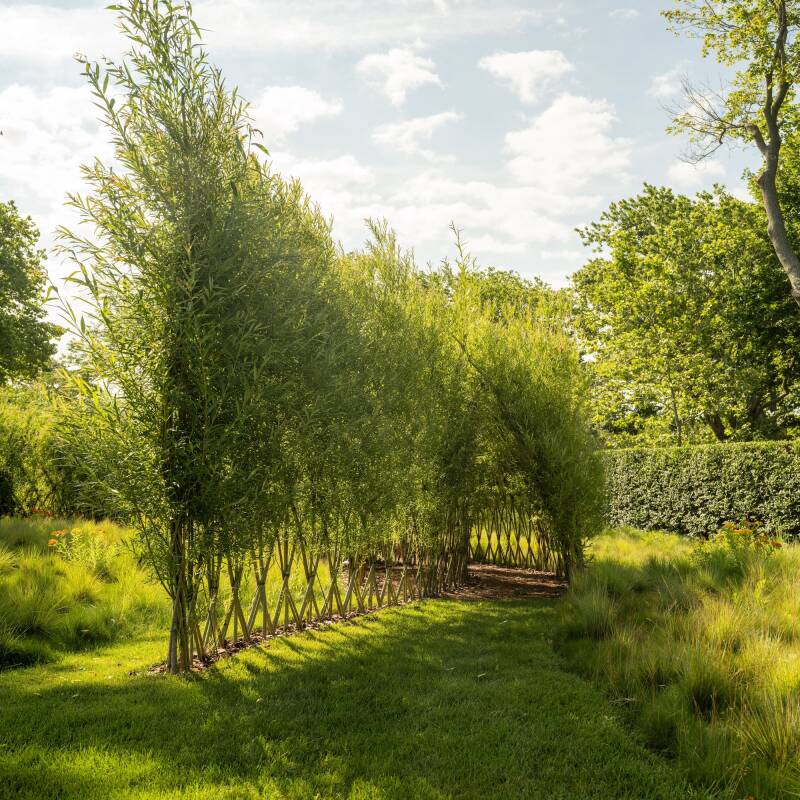
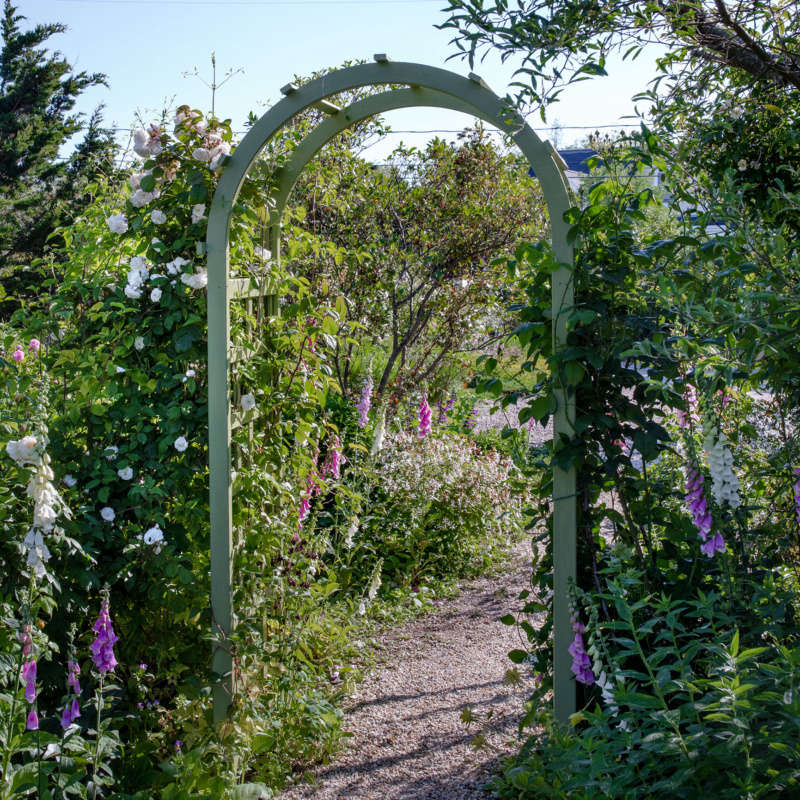
How to choose a location. Your composting area needs to be easily accessible to get materials both in and out, but it’s hardly the most aesthetically pleasing area of your garden, so chances are you will want to site it in a concealed area or less visible corner. If you don’t have an obvious place to locate your bins you could screen off your composting area or create a concealed utility area to help overcome this issue.
The cost of composting. Commercial composting bins can be really expensive but you will make the same compost with homemade bays built from leftover materials that are free.
What are the different types of composting systems?
Compost Tumblers
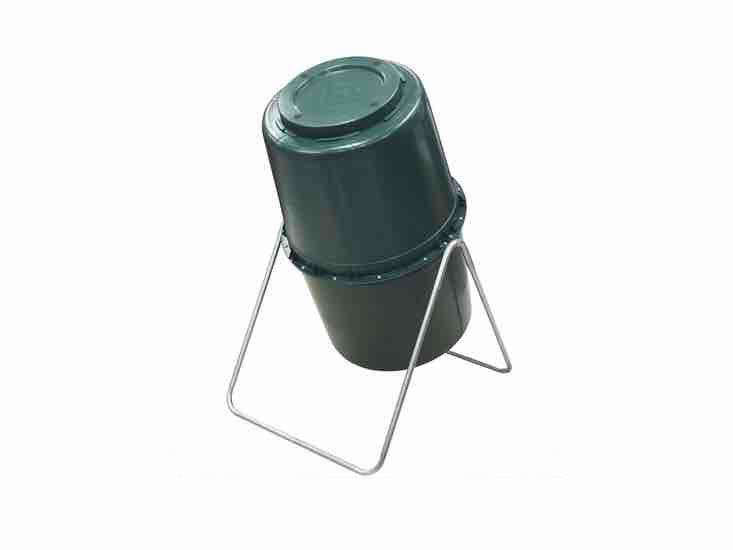
This is a great system for smaller spaces where there isn’t enough room for multiple bins, and it’s also a contained and perhaps more aesthetically pleasing way to create compost. Some tumblers are multi-chambered so you can have different stages of composting in one machine and, as they are suspended over the ground, these secure bins are also vermin-proof. But these bins can be expensive and you are limited to how much material you can add, even if you opt for a very large tumbler. They can also be hard to turn once they get full.
Pros: Does not need turning, safer from vermin, neat for smaller gardens.
Cons: More expensive than more basic systems, a limited amount of space unless you invest in a two-chamber system, a smaller space to get material in and out.
Hot Bins and Bokashi Bins


Pros: Can take all kitchen waste, creates compost much more quickly than regular “cold” composters, does not need turning.
Cons: More expensive than more basic systems.
A bokashi bin can also take all kitchen waste, but unlike a hot bin, the bokashi bin works with an anaerobic process. Each layer of waste is topped with a handful of bokashi bran, which is infused with micro-organisms that ferment kitchen waste. The bokashi bin does require a little more TLC; once it is full and sealed it needs to be drained of liquid every other day (a nutrient-rich tea that you can use, diluted, as a fertilizer). And when the process is complete in ten days, the resulting fermented waste still needs to be either added to a regular compost pile or put into the ground away from cultivated areas as it is still acidic. An 18-liter Single Bokashi Bin Composter Kit is £23.95 and includes 2 kilograms of Bokashi bran.
Pros: Can take all kitchen waste, does not take up much space.
Cons: Does not produce a finished compost product.
Wormeries

Pros: Great fun for children, low maintenance, can be housed indoors or outdoors, no turning required.
Cons: Slow to get a good quantity of compost, and the wormery only works with kitchen waste.
Wooden Bins


Cons: It needs to be turned every month, ideally. Can attract pests.
DIY Compost Bays for Big Gardens

These are most likely the type of bins that any established gardener will have built from scratch. Made with leftover materials—wooden pallets, corrugated metal roofing sheets, or even panels of chicken wire, a series of homemade bins is the most economical way to get composting. The bigger the bay, the higher the temperatures and the quicker things will decompose. But you also need to tailor your composting setup to the size of your plot. If you have a large garden, chances are you will have a lot to put on the compost heap too, which is turn will create lots of compost for mulching. Ideally you need three bays to cater to each stage of your compost: one full of composted material that’s ready to go into the garden, another bay of partially decomposed matter that needs more time to fully decompose, and a final section for newer waste. The front of each bay needs to be removable so you can get materials in and out. To avoid attracting pests avoid putting any cooked food, meat, fish, or fat into open bins.
Pros: It’s free, you can tailor it to whatever size you will need and add more bays. Easy to access.
Cons: It needs to be turned every month, ideally. Can attract pests.
N.B.: We’ve given a lot of thought to composting. For more ideas, see:
- Composting: Are You Obsessed?
- 10 Easy Pieces: Wooden Compost Bins.
- DIY: Grow an Indoor Compost Garden.


Have a Question or Comment About This Post?
Join the conversation