Feeling guilty about your abandoned cold frame? It’s not too late to put it to work.
Capitalize on the forgiving nature of herbs. They’ll survive a cold night, can survive if you forget to water them once or twice, and will provide a sparkle of green under the panes of glass. Pick a selection of cold-hardy herbs from your local nursery, scoop up some terra cotta pots, and prepare to perform some sleight-of-hand winter garden magic.
Photography by Erin Boyle.

Step 1: First things first. Clean off the windows of the cold frame—as with car headlights, even a slight film will limit how much light gets through the glass.

Step 2. Tidy the space. Clear garden residue and turn the soil lightly. It’s another gift of cold frames that the ground underneath will be frozen less solid than the rest of your garden.
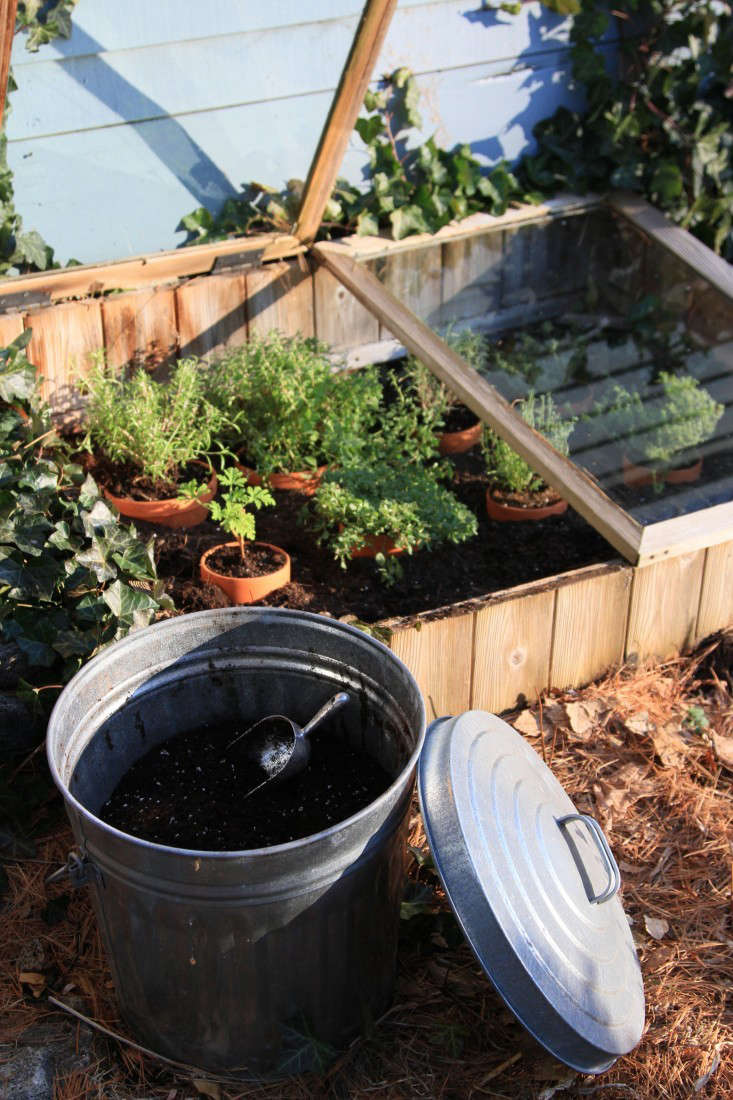
Step 3: Spread a thick layer of compost, potting soil, or topsoil to replenish the cold frame’s soil, and then dig 6-inch holes for each of the potted herbs. This will help insulate against extreme temperatures that can build up in cold frames and will make it easy for you to move herbs indoors if the air temperature warms or cools precipitously.

Step 4: Before you settle the herbs in the holes, give them an upgrade from plastic nursery pots. I chose frost-tolerant varieties of scented geraniums, winter savory, thyme, rosemary, and marjoram—and terra cotta pots. (If your herbs are coming directly from a greenhouse, consider hardening them off in a garage or shed for a few days to acclimate them to the temperature change.) Firmly tamp down the soil around the edges of each pot, leaving just the top lip exposed. Water plants thoroughly, and water the soil around them as well.

Step 5: Luckily for those of us with no patience to wait for spring, cold frames can be adjusted to different climates. In colder areas, you can bury the edges of the cold frame in hay, chopped leaves, soil, or sand for greater insulation, and lay blankets on top for the coldest nights. In mild climates, you can vent the windows during the day and plant less-sensitive herbs.
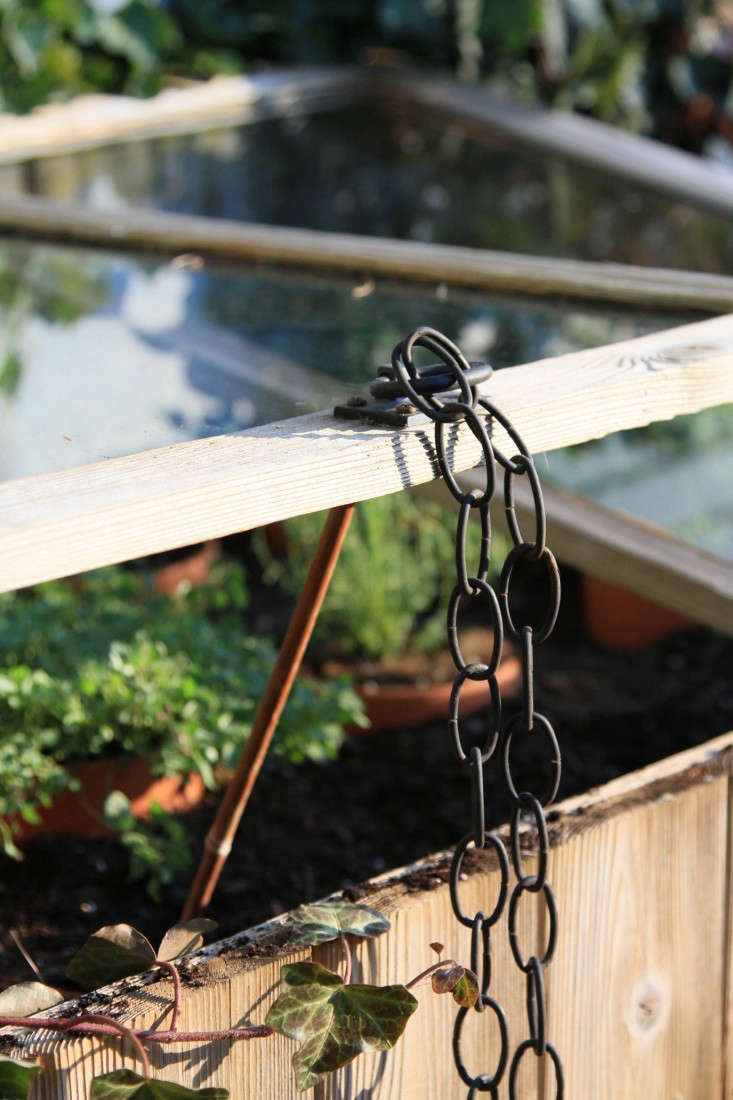
Step 6: Prop open the windows for ventilation on sunny days—too much heat can kill plants much faster than frost. After outside temperatures reach 40 degrees, you’ll want to vent the cold frame, and lift the windows entirely if temperatures rise above 50. (Don’t forget to close them at night.)

Above: For more ideas, see 10 Easy Pieces: Cold Frames and 5 Favorites: Cold Frames to Warm Up the Garden.


Have a Question or Comment About This Post?
Join the conversation