The air is getting crisper and the days shorter. While there are still cold-weather crops to be had, depending on your climate, summer crops are done and most people are ready to move on to apple picking and pumpkin hunting. But don’t put away your gardening gloves just yet. There’s still work to be done.
Here are 11 chores to do to put your vegetable garden to bed for the season.
1. Harvest remaining summer crops.

Harvest cold-intolerant vegetables and whatever remains of your summer crops, like tomatoes and peppers. Gather the still-green tomatoes and put them on your kitchen counter to ripen or make salsa verde. Harvest the zucchini to make the last batch of zucchini bread and cucumbers to make refrigerator pickles. Pull out most of the spent plants. The exception to removing dead plants are peas and bean plants. Cut off the above-ground parts but be sure to leave the roots. Legumes fix nitrogen into the soil and will become fertilizer for next year’s crops.
2. Check on the perennial crops.
The health of perennial plants like rosemary, oregano, and sage should be assessed. Harvest or trim if needed.
3. Weed the beds.
Remove any weeds in or near the beds. This will keep the self-seeding weeds down and remove the roots for perennial weeds.
4. Compost the garden waste.

Except for diseased plant matter, which should be thrown out, as home compost may not reach the required temperature to kill pathogens. For more on composting, see 10 Things Nobody Tells You About Compost.
5. Do a soil test.
See what’s missing or what you may have too much of. Your state’s cooperative extension offer will offer this service. You can’t improve your soil if you don’t know what you need.
6. Amend the soil.
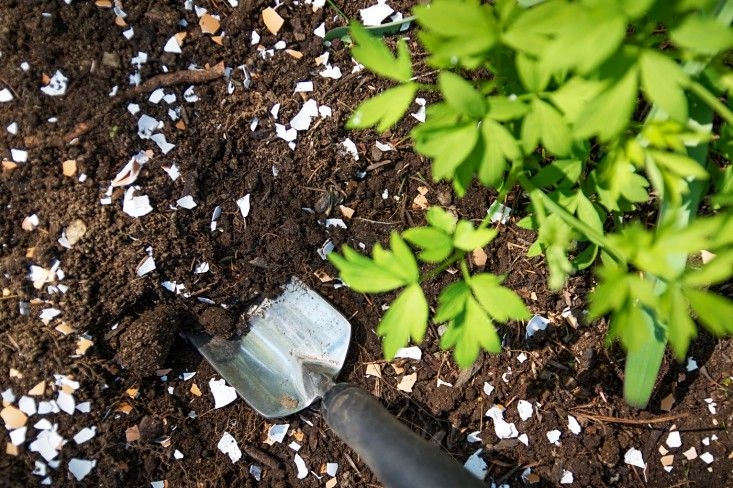
This is a great time to rebuild the fertility of your soil, especially if you have heavy feeders like tomatoes. Top dress with compost and gently fork the soil open to aerate. Don’t turn or till the soil. Studies now find that this destroys the soil structure.
7. Mulch the soil.
Either with a green cover crop or with leaves or grass clippings. But only use the last one if it isn’t treated with any chemicals. Mulch also keeps down weeds, moderates soil temp, and lastly locks in moisture.
8. Repair garden structures.
If your raised beds, trellises, sheds, or benches need some maintenance, now’s the time to do it. Why add these to your busy spring to-do list when you can get them done now?
9. Clean and sharpen all garden tools.

Don’t ever put tools away that are rusty or dirty. They won’t last as long as they should.
10. Take notes.
Get out a notebook and write down what worked and what didn’t while it’s still fresh in your mind. You can learn from your missteps if you can remember them!
11. Plant cold-tolerant crops.

Garlic should be planted in mid-autumn, since it needs the winter to grow those delicious bulbs. Other crops you could plant now are certain types of long day onions, leeks, kale, beets, cabbage, and broccoli. All are very cold hardy. If you have carrots, you can leave them if you mulch them well. Some say they will be even sweeter when harvested in winter. If you want to extend your season even further, consider a hoop house (a tunnel of hoops with a translucent cover – can be PVC pipe and a white polyester fabric to form a tube like tent) or a cold frame (a box frame of wood, stone, or bales of straw or hay and a clear cover that can be lifted up to vent moisture). Both are simple structures that can keep your garden a bit warmer during the winter by using the sun’s warmth and holding it in your garden beds. Even a thick layer of mulch, laid down while the soil is still warm, will help your plants weather the winter. See Garden Hacks: 10 Genius Ideas to Keep Plants Warm in Winter.
For more on cool weather crops, see:
- Hardscaping 101: Cold Frames
- Is It Too Early to Start Planting? How to Know When to Plant Your Cool Weather Crops
- The New Vegetable Garden: 7 Essentials to Grow (and Eat) in Autumn


Have a Question or Comment About This Post?
Join the conversation