Icon - Arrow LeftAn icon we use to indicate a rightwards action. Icon - Arrow RightAn icon we use to indicate a leftwards action. Icon - External LinkAn icon we use to indicate a button link is external. Icon - MessageThe icon we use to represent an email action. Icon - Down ChevronUsed to indicate a dropdown. Icon - CloseUsed to indicate a close action. Icon - Dropdown ArrowUsed to indicate a dropdown. Icon - Location PinUsed to showcase a location on a map. Icon - Zoom OutUsed to indicate a zoom out action on a map. Icon - Zoom InUsed to indicate a zoom in action on a map. Icon - SearchUsed to indicate a search action. Icon - EmailUsed to indicate an emai action. Icon - FacebookFacebooks brand mark for use in social sharing icons. flipboard Icon - InstagramInstagrams brand mark for use in social sharing icons. Icon - PinterestPinterests brand mark for use in social sharing icons. Icon - TwitterTwitters brand mark for use in social sharing icons. Icon - Check MarkA check mark for checkbox buttons.
You are reading

Gardening 101: Garlic

Search

Gardening 101: Garlic

June 4, 2018

Garlic, Allium sativum

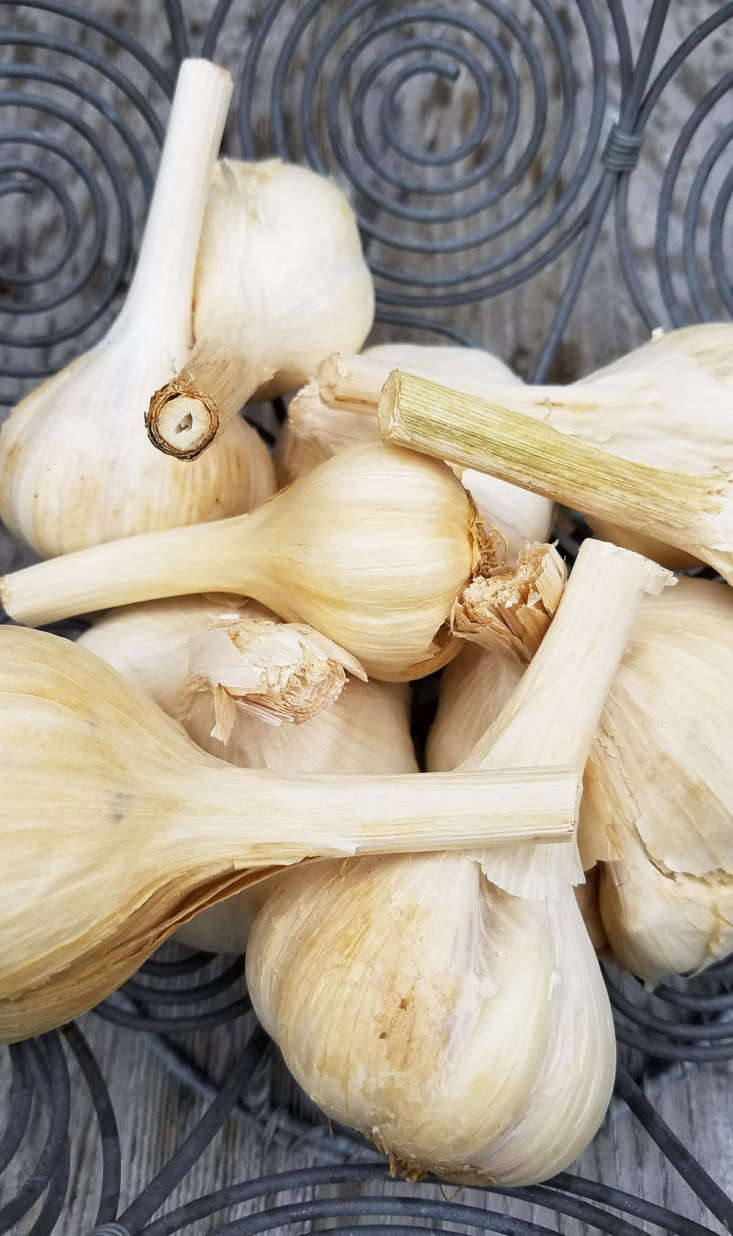
Pungent garlic is one of the most satisfying crops to grow. From a single clove planted the previous autumn comes a full, fat head of aromatically fresh summer garlic, quite different from the papery clusters you can buy day in, day out, at any supermarket. The flavor of the new garlic is also a revelation: milder, but fruitier and more complex than the hot, acidic punch of long-stored and much-traveled store-bought bulbs.

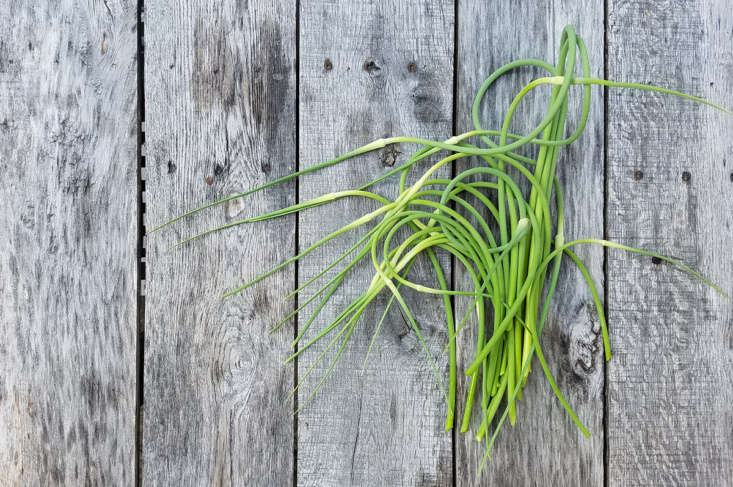
Right now in Brooklyn, where I live, my home-grown garlic is sending up lush leaves, as the fava beans begin to flower. Soon, I will pull some green garlic for rubbing on bruschetta or grilling whole.

Read on to learn how to grow garlic at home.

Photography Marie Viljoen.

Above: Any head of garlic will give you the individual cloves you need to grow your own crop.

I have planted everything from Brooklyn bodega garlic, to organic farmers’ market bulbs, to heirloom cultivars purchased online from a good grower.

If you are dabbling casually, there is no shame in buying a supermarket bulb.

Even irradiated Chinese bulbs seem to sprout. Store-bought heads are usually softneck garlic, which means that they have no hard stalks (the remnant of the scape) in the middle of the little fist of cloves. A benefit of softneck garlic is that it keeps longer than hardneck varieties.

Above: Hardneck garlic is easy to identify—it has that dry stem in the center of the cloves. German Red Organic Garlic is $29.99 for one pound from Grow Organic.
You will find cured hardnecks, ready to plant, from late summer through fall at good supermarkets that support regional growers and at farmers’ markets, or you can order it online and from catalogs. The benefits of hardneck garlic include its summer-flowering stem-in bud—called the scape, which is a delicacy. Hardnecks also have larger cloves and are reputed to have a wider flavor profile than softneck garlic. A drawback of the hardnecks is that they do not keep as long as softneck. Try growing both.

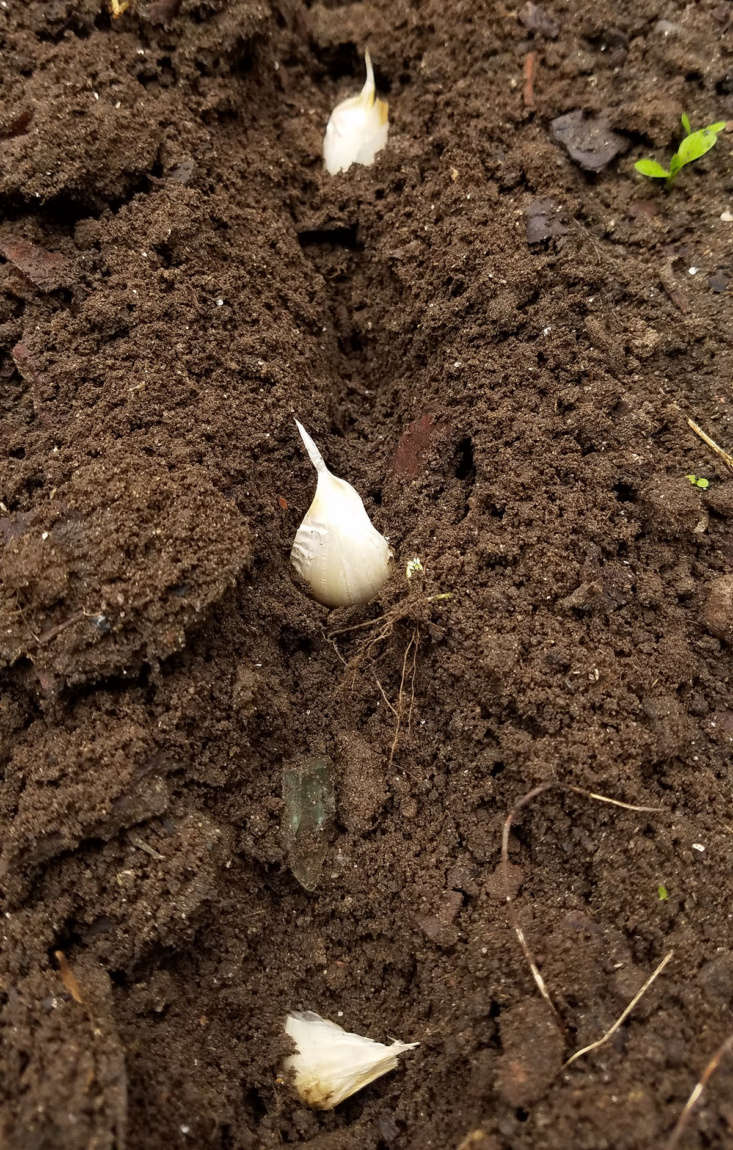
Whatever garlic you choose, be ready to plant in early fall. You can plant later in fall and right up to winter, but the plants may not have time to set roots before the big freeze, resulting in small heads. You can also plant garlic in early spring, but it will be ready to harvest later, and again, the bulbs will be smaller; a winter underground gives the roots a chance to grow. For an extended harvest of fresh garlic, plant in both seasons.

Above: To plant garlic, crack the head to separate the cloves. Leave the papery skins on. Hardneck garlic cloves tend to be large, but discard any very small cloves (keep them for eating or pickling).
Above: Plant the separated cloves pointy-end up, quite deeply, like flower bulbs—about two inches.

I sometimes sow cold season peas or fava beans between my garlic rows, which allows me to make the most of my modest space while fixing nitrogen in the soil via the legumes. Apply a layer of mulch (preferably compost or shredded leaves) to help keep the soil at a more even temperature.

Above: If the season is mild, garlic may send leaves up before winter ends. Don’t panic, they are cold hardy.
Above: By mid-spring your garlic rows will have grown tall. The fresh leaves are very flavorful; harvest just one or two from a plant.
Above: Add the finely sliced fresh garlic leaves to good butter or snip them across toast and eggs.
Above: In early to mid summer you will begin to see the flowering stems forming. These are the delicious scapes, an excellent vegetable in their own right.
Above: Harvest the scapes when their buds have formed and their stems are doing their sinuous swan-necked thing. Raw, they make a killer and spicy pesto, or blanch them until just tender to add to bruschetta with in-season, mashed-up fava beans.

By late spring your plants are ready to harvest as green garlic—a spring delicacy. The cloves within the head of garlic are very soft.  They are now sweetly strong.

Above: Green garlic is ideal for pickling. It is sweetly mild and makes a perfect condiment for cold suppers and picnics.
Above: Peel off the outer skin, cut off the stalks, and pack the tender heads in sterile jars. Cover with a 1:1 solution of white wine vinegar and water. I use one teaspoon of salt and one tablespoon of sugar for every cup of liquid.
Above: Wait another few weeks until the bottom third of the garlic plants’ leaves is dying back and turning brown. The bulbs should now be mature. Work the soil around the bulbs and pull them up, shaking free the soil, and lay them out to dry, out of direct sunlight.

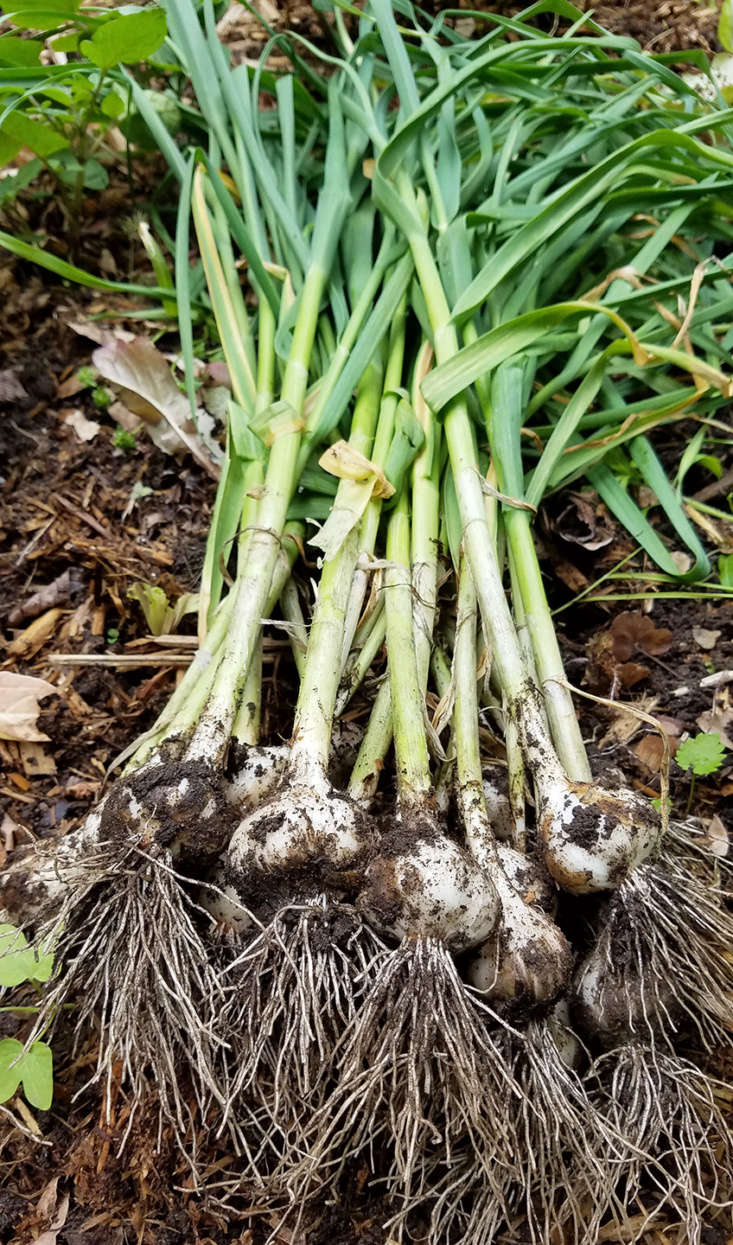
If you are using your crop immediately, wash the heads of garlic, otherwise leave the soil on while they cure.

Above: To cure for long-term storage, leave the garlic bulbs with foliage attached or braid them in bunches and hang them for about a month until the roots below the bulbs are very stiff and brittle and the leaves crisp. Now you can strip off the extra leaves and brush and trim the bulbs neatly.

Store them somewhere dry and well aerated, out of the sun.

Keep It Alive

  • Grow garlic in full sun.
  • The cloves can be planted in ample containers or in-ground.
  • Make sure the soil drains well; clay won’t do.
  • For pots, choose containers 12 inches deep or more and use a light potting mix or compost.
  • Garlic hates to have wet feet.
  • Plant garlic in early to mid fall to give its roots time to develop before a freeze.
  • Fertilize garlic with fish or seaweed emulsion
  • For best results, plant garlic bulbs from a reputable grower.

Seed Savers sells a smorgasbord of heirloom and organic garlic varieties.

Cheat Sheet

  • Garlic can be planted in early spring but will yield a smaller harvest.
  • If you live in a warm climate, chill garlic for three weeks prior to planting.
  • Green garlic is immature garlic, while garlic scapes are the flowering stem.
  • Don’t store harvested garlic in the refrigerator (it will sprout).

See more growing tips in Garlic: A Field Guide to Planting, Care & Design. Design your summer vegetable and fruit garden with our curated guide to Edible Gardens 101. Read more:

(Visited 299 times, 1 visits today)
You need to login or register to view and manage your bookmarks.

Product summary  

Have a Question or Comment About This Post?

Join the conversation

v5.0