
After all the planning for the garden layout is done, being able to buy (or grow) your plants feels like something of a victory, the fun bit when you can finally get to see a garden taking shape. In my previous column in this series on making “A Garden from Scratch,” I broached the bigger picture of the types of plants you might want to consider for your garden. In this column I get up close to the plants themselves and investigate what to choose and how to put it all together.
Your own tastes are key here—it’s all very well meticulously planning, but ultimately you want to step into a garden full of things you love. (A chaotic jumble, in fact, can feel just as magical as a considered design—often more so.) Ideally as you plan your garden you will have drawn up a wishlist of everything you love that will also thrive in your garden conditions. The goal for most gardeners is to find a space for as many of the plants on that list as possible.
Below, my tips on how to choose your plants wisely.
Photography by Clare Coulson.
1. Sketch a planting plan.

If I’m planting a big area from scratch, I draw out a flat plan that roughly marks out the plants, taking into consideration both how those plants will look mingling next to each other and how much space they will ultimately need. It’s not an exact scale drawing but an approximation of the size (height and spread) I think a plant could take up. If you’re not familiar with the plant, you can usually get a good sense of its growth habit and mature appearance from its nursery label.
2. Put perennials on repeat.

When I draw out a plan most plants will be arranged in groups that are often repeated through a border. In larger areas, groups of plants will be more impactful than single plants but some random placement will create a more naturalistic effect as nature does not grow in neat grids.
3. Create a cascade of plants.

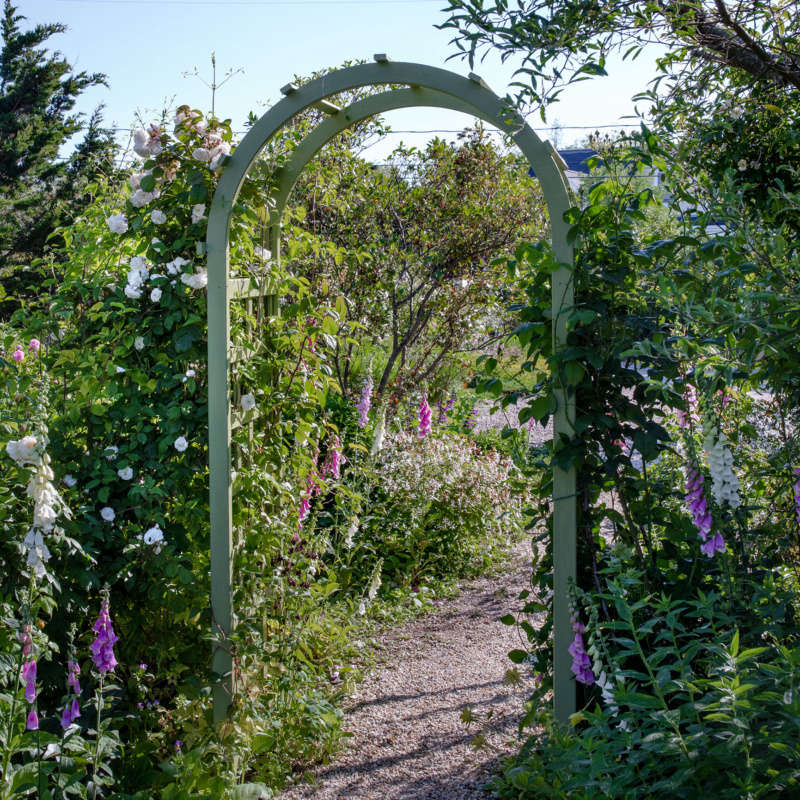
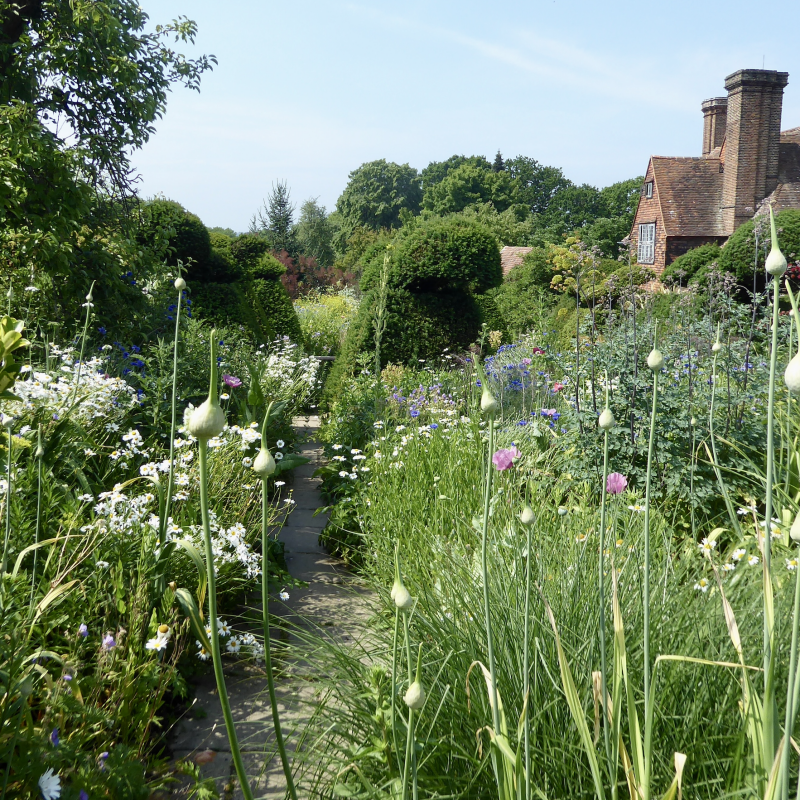
In my garden—and almost all gardens I love, height is really important. It brings drama and an immersive feeling of being submerged in plants. So I’ll always include some towering plants—huge cardoons, tall grasses, delphiniums and foxgloves. In general, I place shorter plants at the front, gradually scaling up to taller plants in the back. But occasional outliers —a haze of Verbena bonariensis or self-seeded valerian—can make the garden feel more naturalistic.
4. Come up with a palette.

A discussion on color in the garden could fill a whole book and your personal taste in color will guide the plants you want to surround yourself with. You could choose to plant a border in many tones of a single color, as many gardeners have done, including Vita Sackville-West whose white garden at Sissinghurst is still a sensational example of the power of a single hue. You could opt for a clash of hot colors, or a soothing palette of cooler tones. I make a mood board whenever I am planting borders, pots, or placing a bulb order. Seeing all the plants alongside each other makes it far easier to choose colors that work well together.


5. Practise with pots.

6. Cultivate a few stars.

Make sure to include both supporting-act plants and true standouts that will act as the focal point.
7. Occasionally, ignore all rules.

As much as you can design a garden sometimes a random jumble can be the most magical thing.
Missed my earlier Garden From Scratch columns? Read them in this order:
- A Garden from Scratch: How to Start Designing Your Outdoor Space
- A Garden from Scratch: How to Build a Strong Foundation
- A Garden from Scratch: How to Begin the Plant Selection Process


Have a Question or Comment About This Post?
Join the conversation