In the first column of my series on creating a garden from scratch, I posed some starting points to think about before you make any radical changes to your space. In this second installment, I’m diving deeper and covering the key design decisions you need to consider for a strong foundation—both literal and metaphorical.
Here are the six elements that go into a beautiful foundation for your garden.
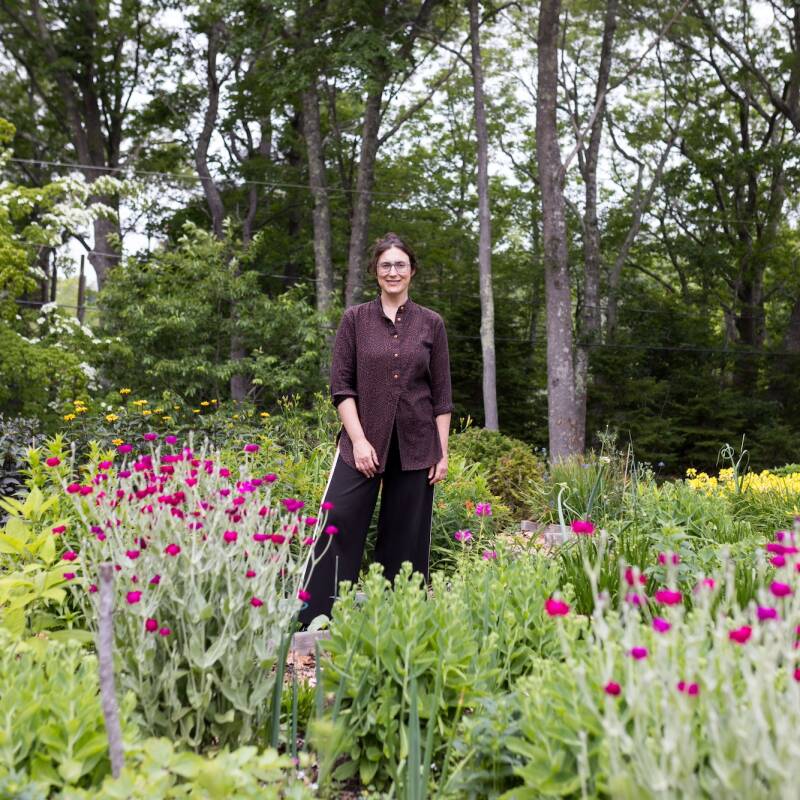
Photography by Clare Coulson.

1. A Limited Materials Palette

One of the biggest investments of time and money in a new garden is the hardscaping, so it pays to take the time to ensure that any paths, terraces, steps, and other paved or graveled areas are exactly where you want them, feel appropriate to your home and garden style, and will stand the test of time. When planning these areas, be generous, because over time plants will normally encroach into hardscaped areas and soften the edges.
Hardscaping needs to feel in proportion to the house and garden—and look visually appropriate (e.g., a traditional brick path will always look right next to a period building with similar brickwork). To keep these spaces cohesive and harmonious, restrict your materials palette; using a wide variety of finishes can be jarring to the eye. Some materials, including gravel or self-binding gravels, can work with almost any style of architecture.
Just as you would with paints for the interior of your home, get samples of the hardscaping materials you’re considering and live with them for a while. Or plan a field trip or two to see similar materials in a real garden setting. If you’re starting with a true blank canvas, you can mark out areas with a line marker (use hosepipe to create sinuous curved lines) so that you can walk through areas and make sure they feel right.
Whichever surface material you choose, a solid, stable base—usually compressed crushed materials and sand—is key to ensure that the surface can cope with daily wear and weather. It’s possible to do most landscaping projects with basic DIY skills, but just like home projects a perfect finish by a professional is often hard to replicate.
2. Good ‘Bones’

Garden designers talk a lot about “good bones,” meaning all the structure in a garden that is visible long after summer’s herbaceous plants have gone. These elements—the silhouettes of trees, hedges, topiary, and shrubs, as well as landscaping and structures—are what grounds a garden in the growing season, providing a backdrop and contrast to the planting. They can help add rhythm with repeated forms drawing the eye down paths and through planting. They can create playful scale—towering topiary, even in small spaces, for example. And for most gardens, all of this fundamental structure is what ensures that a garden looks good year round, even in the depths of winter. The “bones” are not only the first things you’ll want to plant—as they tend to take much longer to mature—they will also be the elements to think long and hard about and possibly invest more money in. One or two beautiful trees—even in a small space—can define a garden and bring four-season joy.

Tip: A good way to think about your garden layout and any planting is to imagine it as a picture. When seen in an image, the design elements are much easier to appreciate; and when converted to a black and white image, essential forms and structure are immediately apparent. It’s these forms that really become the bones of the garden—rather than the flowers that come and go. Before I start thinking about what to plant in a border I always start with these more permanent structural plants that I know will ground the space and create a backdrop to more ephemeral perennials, annuals, and bulbs.
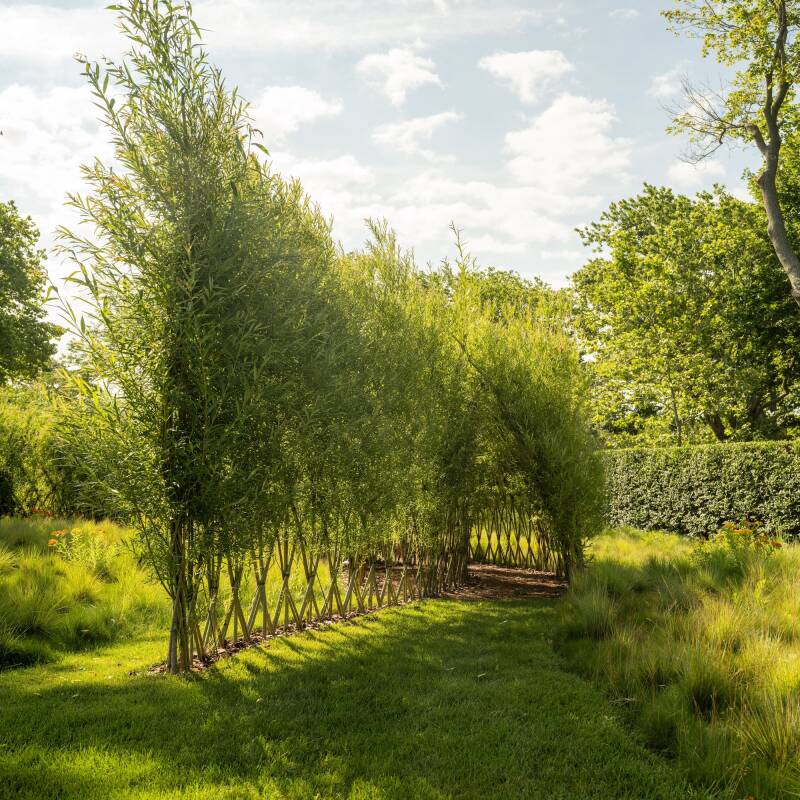
3. Paths for Discovery

It doesn’t matter how big or small your space is, the magic is often in creating a sense of journey through it. A meandering path that takes you through different pockets of planting, or to a destination such as a place to sit. Or a narrowed entrance that then leads into a different space all helps to create a sense of mystery in a garden. Rather than showing everything at once, create a sense of gradual discovery. If you have the space, using sections of hedging to create this game of conceal/reveal, is not only economical (plant young bare root plants in winter is the cheapest way to add a hedge) but will also add more plants to your space and bring in more wildlife, too. In my own garden, I added to existing hornbeam hedges to conceal areas of the garden and then planted more contrasting hedges (in copper beech) to enclose further areas.
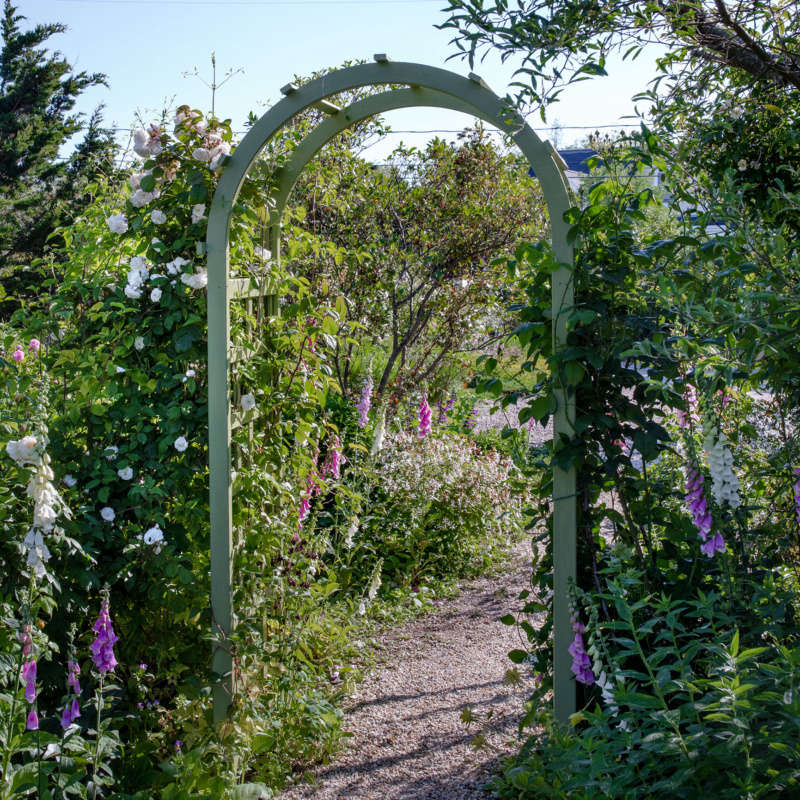
4. Focal Points

A key part of creating a journey is by arranging your design around a vista with some kind of focal point; it can be a gate, a statue, a beautiful tree, or a bench or place to sit. By framing this view, you draw the eye through the space. It could be a double border that leads down to this focal point, or a sea of planting (at Sissinghurst Castle a swathe of ferns and spring planting engulfs a distant statue of Dionysus in the famous Nuttery). No matter what your eye-catcher is, the effect of placing it in the garden is to focus the gaze and ground the space. Conversely, if there’s an existing feature then you can develop planting around it to highlight it.
5. Upwardly Mobile Plants

It’s easy to become preoccupied by what’s growing on the ground, but don’t forget to think vertically, too—especially since tall plants and climbers need a long time to grow. Upwardly mobile plants are essential in creating an immersive, layered space that takes advantage of every structure.
6. A Garden View from the House

Think about sight lines and what you’d like to see from your house. In many ways, the views from key windows are the most important—they are the ones you will see twelve months of the year, while the garden itself may be used only during the warmer months. So aim for a long season of interest here with planting that can stay in situ, providing structure and interest through the winter months. If you are going to have any garden lighting, a few subtle lights in these areas is money well spent. This sweeping border is the view from my kitchen table where I write every day, so it was really important that it would look good almost all year round. Though its peak season is from late summer right through autumn, the ornamental grasses and perennials with attractive seed heads continue to delight deep into winter. As an added bonus the asters are visited by flocks of goldfinches that come to feast on the seeds.
See also:
- A Garden from Scratch: How to Start Designing Your Outdoor Space
- 10 Things Nobody Tells You About Your First Garden
- Hardscaping 101: Design Guide for Patio Pavers


Have a Question or Comment About This Post?
Join the conversation