It doesn’t take the skill of a bird to make a nest of birch twigs. Once you get the hang of wrapping bendy plant material into a circle, you have not only a simple wreath for any occasion but the beginnings of an avian Easter basket. Follow our step-by-step guide:
Photography by Kendra Wilson for Gardenista.

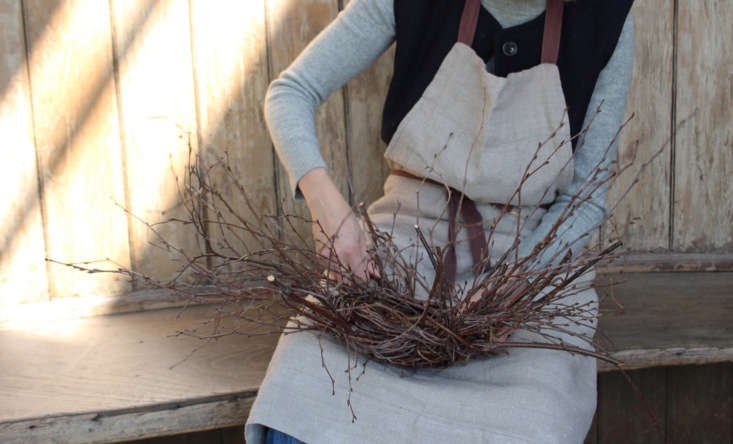
Workshops are held regularly at The Meeting House in Iden near Rye, an hour’s train ride from London. Hosted by stylist Gina Portman (shown above), there are drawing classes, art shows, or wild feasting on any given day. Ancient trees and sheep pasture surround the 21st-century cedar-shingled house; its design resembles a giant bird blind (a bird hide, for UK readers).

Christiane Gunzi is a book-editor-turned-master-basket-maker, who is inspired by local materials, such as leftovers from managed woodland in East Sussex. She brought bushels of silver birch to this workshop, dark twigs that were leafless but covered with buds and catkins. They had been stored in a cool and dark place to allow the rising sap to settle.

For nest-making, you can use any stem that is flexible (as well as birch or willow). Bunches of bendy twigs should be cut into arm lengths, of varying thickness. Pussy willow, dried alder fruits, lichen, and moss are all useful to decorate nests.

Christiane has an impressive collection of Japanese secateurs and bodkins. A bodkin is a traditional basket-making tool for pushing through gaps in a weave, so that a sharpened stem can be introduced. She is also known at the long-standing yacht chandlers in Convent Garden, London, where she buys something called a “fid.” Sailors swear by them, for reasons that don’t concern us here, while their tubular half-moon shape enables the passage of a rod or twig through a mess of other twigs (see below).

The birch nest is made of a series of circles, with a base. Begin by choosing four twiggy branches of the same kind of length and bulk. Grasp a single bunch and tie it into a basic overhand knot. As the simplest of wreaths, this is a useful shape to make at any time of year. Strengthen it with more circling.

If you look at the ring as a kind of compass, the first twig butt will be like the northernmost point, to which you need to add bunches by pushing through sharp butts at east, south and west. Twig butts should all protrude on the same side of the nest, to be trimmed later, never switching direction from the others. There is method here, as there would be if it was designed by nature. Think of the way tendrils of green beans all twine up a pole in the same way.
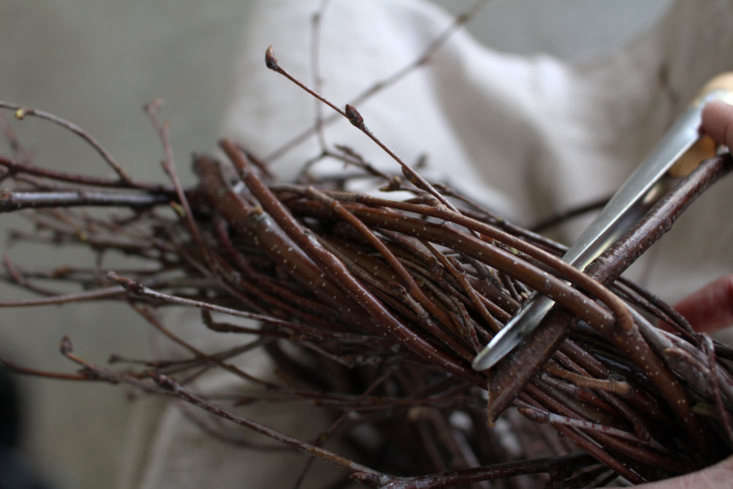
This is where the fid (as shown above) becomes even more useful than a bodkin (which is solid). With a sharp twig butt resting inside its groove, the fid is pushed through the woven mass. Once it feels secure, its branchy twigs can be woven around the circle into another knot.

It’s important to overlook excessive twiggy-ness: resisting the temptation to trim anything at this stage will result in a stronger, more solid nest (that will not unravel). After four sets of twigs have been added in, as overhand knots, more can be added to build up bulk. As the nest develops, choose groups of smaller, finer branches, still selecting uniform lengths.

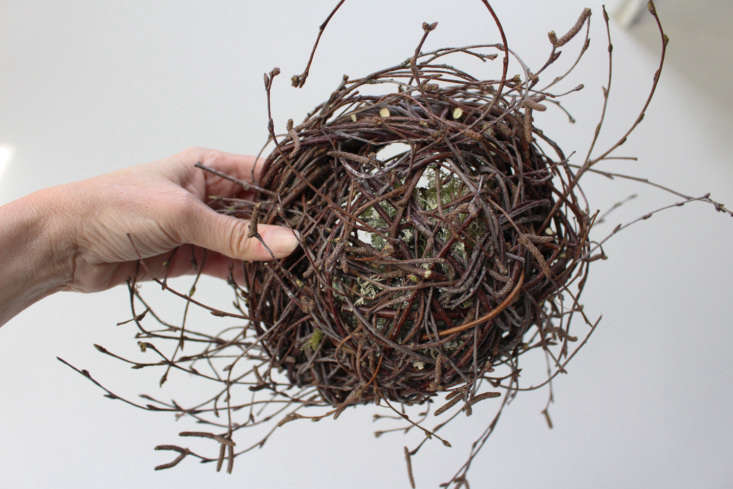
The twiggy-ness of the branches is most useful when making the base of the nest. With its sharp end cut at an angle, push a new branch through the side of the nest, starting near the top, scooping under and coming up on the other side. If you think of this as another compass, with the side twigs fanning out, the base quickly becomes quite solid.

The degree of roundness at the base, the amount of shagginess around the edges, depend on your own vision. By pulling and bending, a strong basic nest will cooperate. Maybe you’d like something large and neat, or perhaps messier but smaller, so that it doesn’t take up the whole room where it will be displayed.
Buds and catkins are delineated to best effect when there are slightly fewer. Don’t cut, just weave them in. Add any decorations at this stage; lichen or moss make a soft bed for eggs.


The workshop studio at the Meeting House, two and a half miles from Rye, overlooks open pasture, bounded by woods.


See more Easter decor from the garden:
- DIY: Hanging Easter Posies
- Easter Cactus: A Succulent with Springtime Flowers
- DIY: Forsythia for a Bright Easter Table


Have a Question or Comment About This Post?
Join the conversation