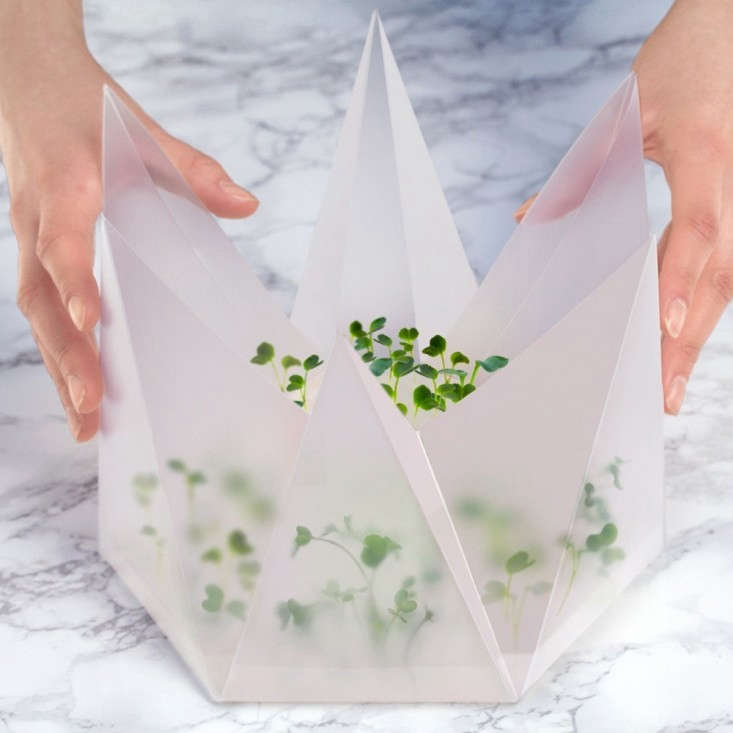
Sprouting on a countertop, microgreens are a sign of life when you’re desperate for something green. Elegant as garnishes, full of delicate flavors and zesty notes, a windowsill crop of microgreens tastes of spring. And for the gardener who loves to cook? Mini sprouts go from seed to salad bowl in less than 14 days.
Microgreens are one of the easiest plants to grow, but catching a glimpse of my waterlogged begonia, I called an expert anyway. Conor Fitzpatrick owns Minifarm Box, an LA-based company that sells starter kits. The latest is a Microgreens Crate, designed to house (and hide) the not-so-cute plastic nursery trays often used for growing micros. A passionate gardener, Fitzpatrick calls green thumbs “nothing more than a little knowledge applied to nature.” With his tips and step-by-step instructions, yes, you can snip your own salad in two weeks’ time.
1. Find a sunny windowsill.

A southern exposure, where light pours in, “gives you more robust crops, with better flavor, color, and longer shelf life.” If you live in Southern California, as Fitzpatrick does, grow them outdoors.
2. Don’t forget drainage.
Select a tray at least 1.5 inches deep, with drain holes.
3. Use a seed starting mix.
A fluffy, lightweight soil, like EB Stone’s Seed Starter Mix, will help tiny sprouts grow. Fill a tray with 1 inch of seed starting mix and fully wet the soil so that it is moist (not dripping) from the surface to the bottom.

4. Think beyond lettuce.
“I really like sunflower microgreens, but there’s lots of interesting stuff out there, including radish, micro basil, bok choi, red amaranth, arugula, broccoli, and mustard greens,” says Fitzpatrick.
5. Scatter seeds about one-eighth to a quarter inch apart.
“It’s not an exact science, so don’t worry if you find yourself over-seeding. I find more is better than less,” says Fitzpatrick. Cover the seeds evenly with another half-inch layer of seedling mix and wet that down also.

6. Skip fertilizer.
Microgreens are actually cotyledon leaves, meaning they’re the first ones to sprout after germination. They need only sun and water to grow. Depending on the seeds, you will see sprouting shoots in three to five days.
7. Mist, and don’t overwater.
Heavy watering may crush seedlings or cause mold to grow in the soil.

8. Harvest.
Most microgreens will be ready for harvest in 10 to 14 days. Cut them with scissors in clusters just above the soil line. Rinse in cold water and eat.
9. Repeat.
After you harvest, microgreens do not grow back. For a continuous supply, you can reuse the soil by turning it over. Sprinkle seeds, and cover with another layer of soil. The roots from the previous crop will have created a mat that will eventually compost itself, says Fitzpatrick, “so it’s all very self-sustaining.”
Above: Ideal for bringing the outdoors in, and vice versa, the Cedar Microgreens Crate comes with handles and is available for purchase at Fitzpatrick’s company Minifarm Box for $49.
See more of our favorite ways to start seeds indoors:
- Gardening 101: How to Sprout a Seed
- DIY Seed Starting: Newspaper Pots
- Shade-Tolerant Herbs to Grow in Your Apartment


Have a Question or Comment About This Post?
Join the conversation