When I moved into our current home, I was delighted that there were three large olive trees in the garden. When autumn came, the trees were laden with plump, black olives. Imagine my dismay when I discovered a hole in each, the result of a worm. I promptly went out and bought a couple of small olive trees in pots and for the past few years have managed to get at least four small jars of cured olives out of them.
Curing olives is easy, requiring nothing more than salt and water and a little attention. See below for details and if you are the sort of person who finds weekly tending to olives a bore, you can always try the slacker’s approach: chuck all the olives in a pillowcase, drown in salt and hang from a tree. Leave for several months (even in the rain). Taste periodically and one day you will know they are ready when suddenly they taste good. (I tried this one year after a friend gave me five huge buckets of olives.)
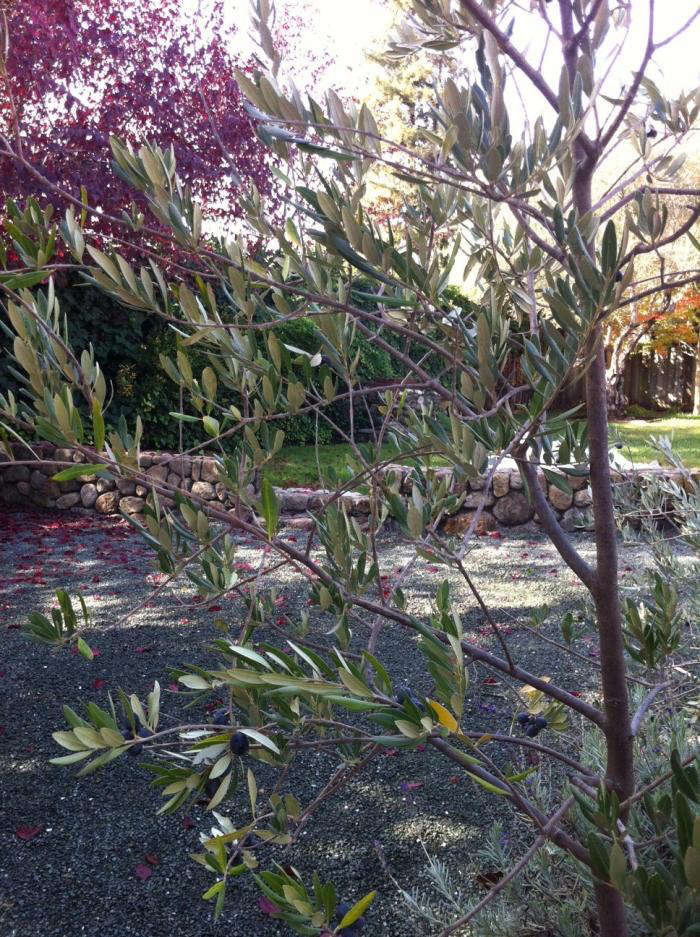
Above: The small olive tree in a pot in the garden produces enough olives for two small jars.

Above: Olives ripe for picking.

Above: The three simple elements needed for curing: salt, water, and olives. RInse the olives, put them in a jar along with a healthy handful of salt and mix around. Use a weight on top to make sure all the olives are submerged. Change the salted water weekly (or thereabouts). Store in a dark place for four to five months.

Above: Two jars of home-brined olives.
N.B.: For more DIY holiday gifts, see “DIY: Moroccan Preserved Lemons.”


Have a Question or Comment About This Post?
Join the conversation