Moving perennials or shrubs once they’re in situ can be daunting for a novice gardener. But when you are starting a garden or reinventing one, it’s almost impossible not to make the occasional planting error or realize that you’ve put something in the wrong spot. Yet many plants transplant well—some even require it as part of routine divisions—and the whole process is a lot less scary than you might think.
We asked Edward Flint, who is head gardener at Tidebrook Manor in East Sussex and worked for many years alongside Christopher Lloyd at Great Dixter, for his tips on how, when, and why to move plants—and which you should leave well alone.
Here are nine tips to transplant shrubs and perennials:
How to Transplant Shrubs
Moving a shrub is always a risk; some will cope with the stress and trauma better than others but if you need to move it then there are some ground rules.
1. Water before digging. “Water the plant really well the night before and then reduce its canopy,” says Ed. “This will lessen the stress on the plant (balancing the top growth with the roots) but will also make it easier to maneuver the plant.
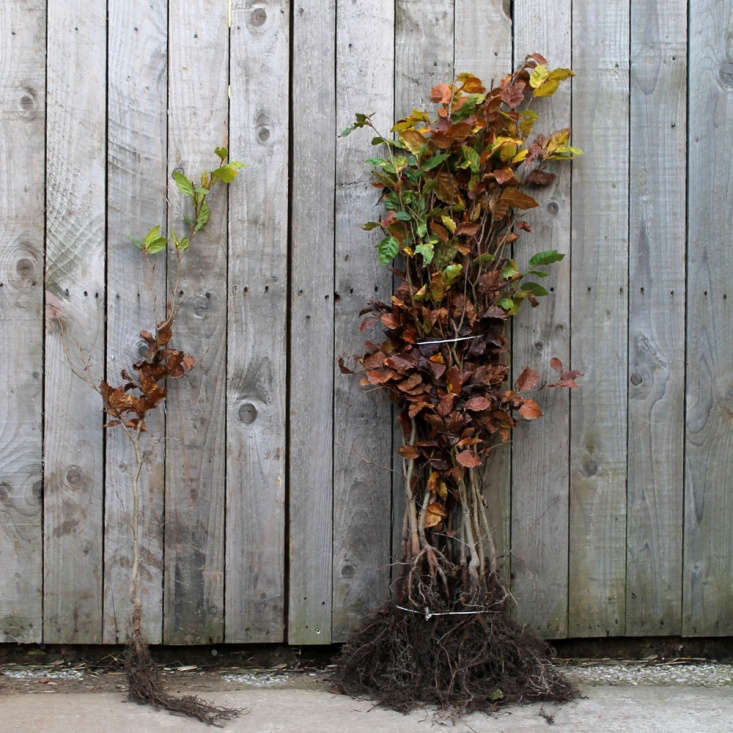
2. Be gentle with the roots. Try to dig the plant out with as much root ball as possible, cutting into the ground around 12 to 18 inches from the base, says Ed.

3. Plan ahead and root prune before transplanting. If you’re planning to move an established shrub then you can root prune the plant a year before by digging down in a circle around the base, which will lessen the shock when you eventually transplant it. But as a rule, says Ed, shrubby things or woody-based things tend not to move very well.

4. Take cuttings instead. For professional gardeners, it’s more time-effective to take cuttings. “It’s often easier,” advises Ed. “Cuttings will often take easily and grow so quickly.” But if you do want to transplant something then it’s still worth taking cuttings as an insurance policy. At the very least you’ll create additional plants for your garden.
How to Transplant Tap Roots

5. Not all roots are created equal. Fleshy and tap-rooted plants tend not to transplant well. Crambes, anchusas, acanthus, and some euphorbias can all be tricky if they are disturbed. And there are some plants that you are told never to move. “Roses are a classic example of a plant which does not have much of a root system making it harder to relocate but I wouldn’t say it’s impossible,” says Ed. (And as someone who dug up and relocated an entire rose garden when I bought my house I can vouch for this. Done very carefully and with after care, roses can be moved.)
How to Transplant Grasses

1. Wait out winter. Ornamental grasses are best left until spring. Earlier flowering grasses (calamagrostis, deschmapsia, molinia) can be moved or divided in early spring while later grasses (including miscanthus and pennisetum) should be transplanted in late spring.
2. Forks are your friends. If you are dividing large root balls, lift plants with a fork and then prize the roots apart with back-to-back forks.
How to Divide Perennials

1. Divide and multiply. Autumn, when the earth is still warm but also moist, is an ideal time to divide or move plants. Clump-forming herbaceous perennials including geraniums, sedums, phlox, asters, and hemerocallis all can be divided to make additional young plants. “You should be guided by the plant—ideally you want some good strong buds on top and some good strong roots,” says Ed.
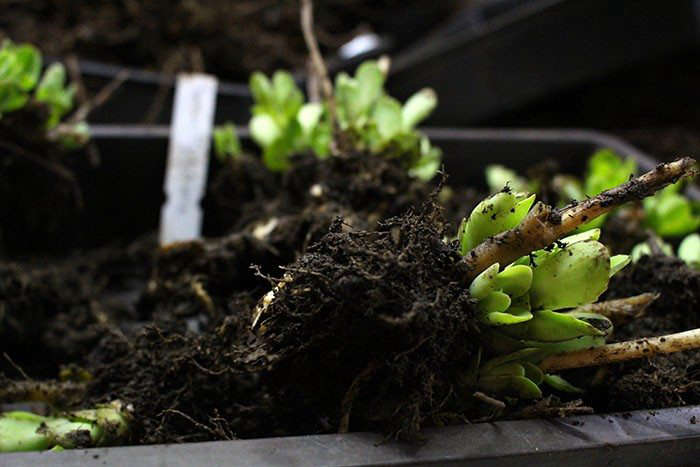
9. Administer TLC. “It’s very rare that I divide and replant divisions straight into the garden, which makes me deeply unpopular with lots of students,” says Ed. “I’ll pot it up and get it growing before it goes back out into the garden. If you are dividing plants in the autumn they can sit in a greenhouse or cold frame over winter and then be planted out in spring.” This will not only mean that you can monitor your plants more closely, but will also protect them from wind or pests.
See also:
- Time to Thin Out the Garden? How to Divide (and Multiply) Popular Perennials
- How to Divide Tall Bearded Irises: Step by Step Directions Web Story
- Gardening 101: How to Propagate Your Annuals this Fall for Next Summer
N.B.: This post was first published November 2017; it has been updated with new links.


Have a Question or Comment About This Post?
Join the conversation