Ever been intrigued by the idea of a live Christmas tree that you can plant in your yard after the holidays? Us too. We decided to give it a try.
For help, I turned to my local experts at Stonegate Gardens in historic Lincoln, MA, (who earlier this fall did a beautiful job planting my new hornbeam trees). My first question of owner Lynne Bower was, does she even recommend it? “Yes, absolutely!” was her answer, “though there are some important things to consider…”
Photography by Justine Hand, except where noted.
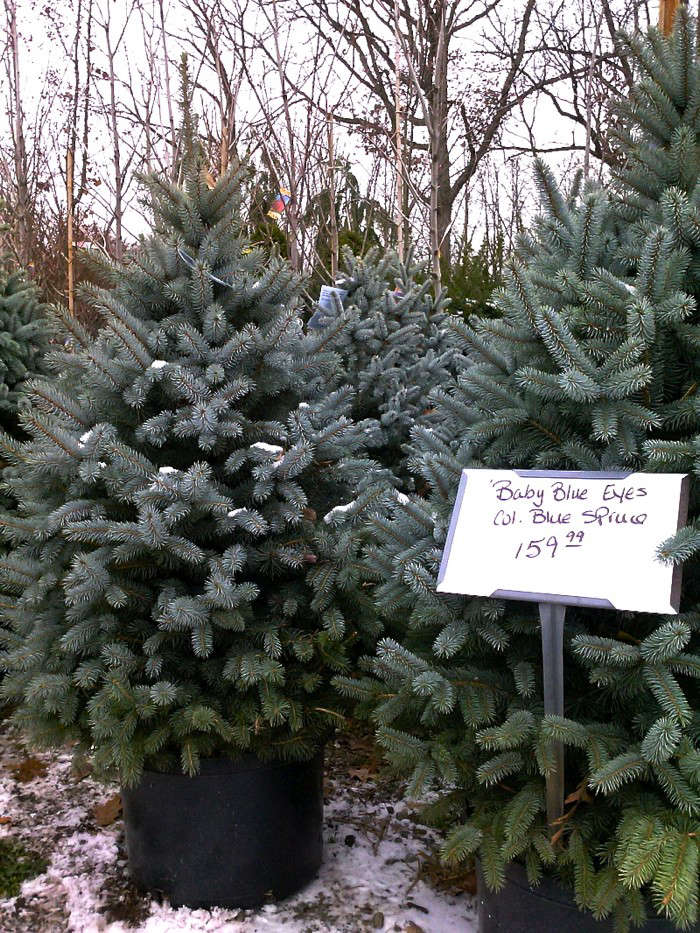
Above: Baby Blue Eyed Spruce, shown here via Myers Landscape Nursery in Indiana, is an excellent choice for a live Christmas tree.
One of the benefits of a living tree is you open yourself up to a lot more options than the cut trees on offer at most places. Lynne recommends: Colorado spruce “with its perfectly layered shape,” Austrian pine “which looks like a mini Ponderosa pine,” and Alberta spruce “cute, cuddly, and bushy.” She also likes Vanderwolf Pine, which is long-needled like a ponderosa pine, but the topsides of the needles are blue like a spruce, the undersides showing a noticeably white color.
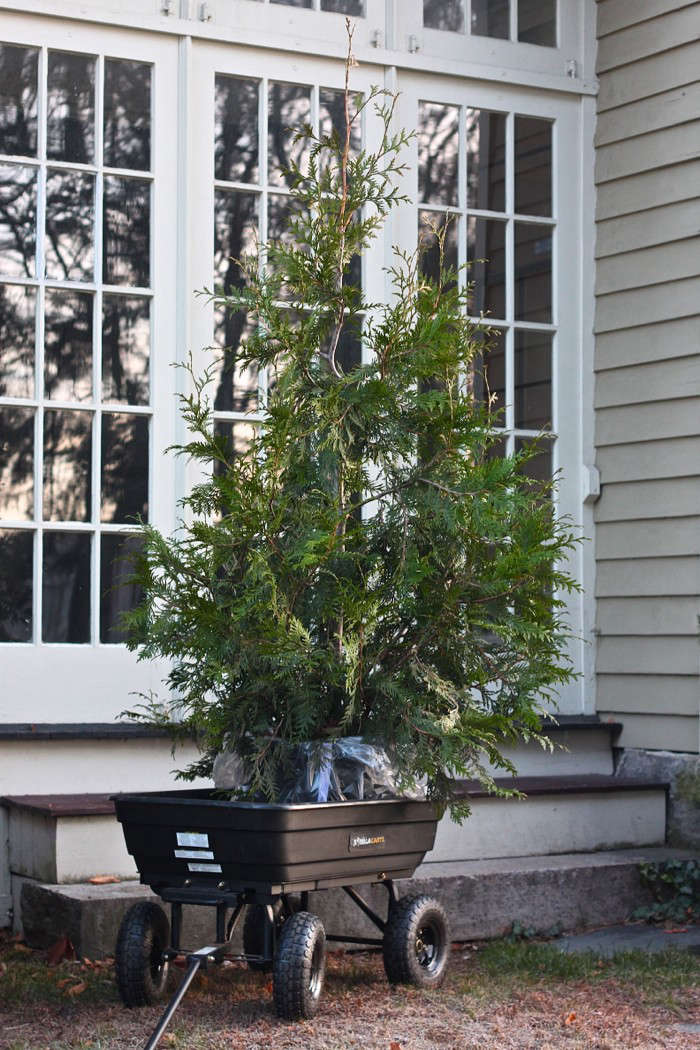
Above: Because our yard is shady along the border where we wanted to plant the tree, we chose a shade-tolerant giant thuja, which will reach about 30 feet when mature. Price: $98.
Before you fall in love with one of the trees mentioned above, however, consider several factors. First, what is your climate or zone? In the Northeast spruces and firs do better, while milder climates may prefer cypress and cedar. Second, where do you want to plant your tree? Though your new tree is a cute 4 to 6 feet high now, many species of evergreen can reach towering heights. Do you have room for that much tree? (If not, consider a dwarf tree.) Third, what growing conditions exist in your chosen spot? Many evergreens need sun to thrive or good drainage. Your local nursery expert can help identify the right choice for you.
Also, don’t choose a tree that’s too large. According to a great article in This Old House, a 6-foot tree with a root ball can weigh up to 250 pounds! Our tree was only 5 feet tall and it took all my (rather burly) husband had to haul it around.
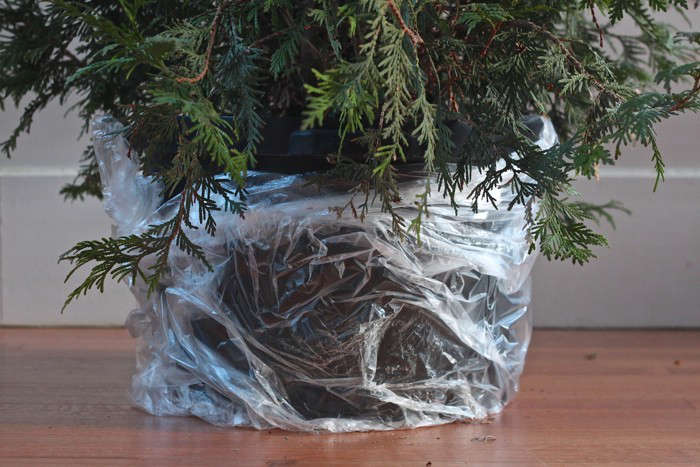
Above: We wrapped the base of our tree in plastic to protect the floor from dirt and water. You can also use a vinyl saucer.
Inside environments are quite drying for a tree, so Lynne recommends checking daily to make sure the soil always stays moist. (Avoid saturating it, though, since the heavier the base is, the harder it will be to move it outside.) Ice cubes are an ideal option because they act like an artificial drip system and keep the roots cool.
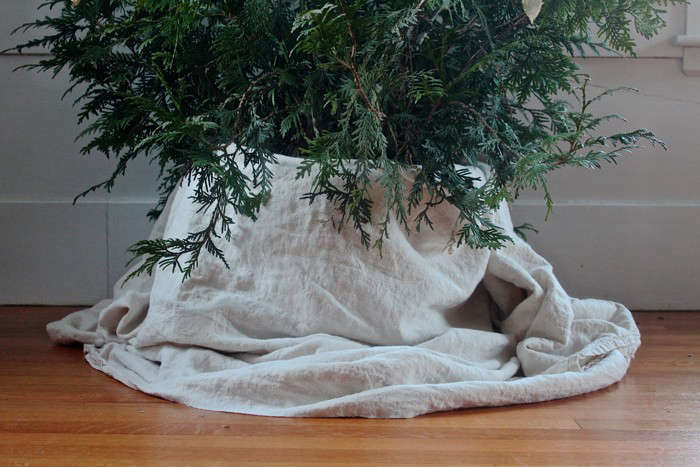
Above: An antique linen sheet did the trick of hiding the plastic quite nicely.

Above: We placed our tree by a window where it is cooler, but not in direct sun, and far from a drying heater.
There are several other steps to take in order to protect your tree from the dry indoors. Lynne recommends placing it at least 10 feet from a wood stove or fireplace. Avoid sunny windows and do not place a tree where it will receive direct flow of heat from a furnace vent. Lynne also suggests spraying the needles with Anti-Stress 2000 (a 1-quart jug of concentrate is $29.95 from Amazon) plant protector, a clear polymer anti-transpirant. It slows the tree’s evaporative loss of water through its needles.

Above: We were inspired to decorate our living tree with natural ornaments: nuts and leaves that we gilded. See our how-to later today.
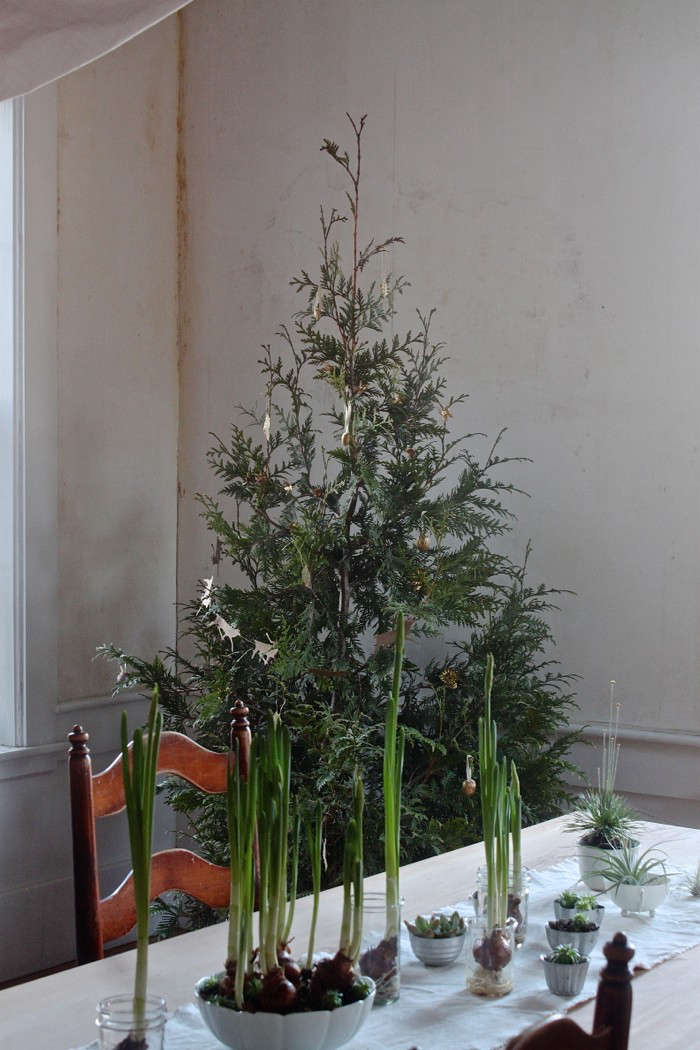
Above: For about ten days, our thuja complemented a centerpiece of paperwhites and succulents in our dining room. Then it was time to move our tree outside.
Because the warm, dry indoor climate can seriously compromise the trees chances of survival once outside, Lynne advises that live trees be kept inside no more than 10 days, tops! Before planting, Lynne suggests that you transfer the tree to an unheated garage or just a protected area around the house to acclimate for one week. Be sure to keep your tree watered during this time.
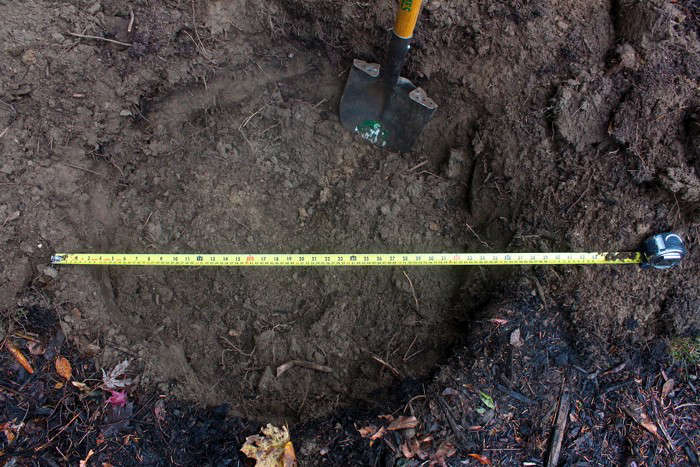
Above: Our hole, dug to just the depth of our tree’s container and twice the width.
Pick a day of relative warmth and thaw to plant your tree. Dig your hole to the same depth of the root ball or container so that after the tree is planted the stem sits in the ground at the same height as it did in the nursery. Make your hole at least twice as wide as your container or root ball to give the roots a chance to spread.
Note: If you live in northern areas where the ground will be frozen solid by Christmas, you can prep your hole in the late fall. This comprehensive article by This Old House advises using leaves to mulch both the hole and the dirt pile, covering them with a tarp to keep from freezing solid.

Above: Freeing our tree from its plastic bucket, we placed it in the hole and gently loosened the bound roots. If your tree came with a root ball, be sure to remove this completely or as much as possible, to prevent the burlap from wicking away moisture from the roots.

Above: After our tree was planted, we built a small water-retaining wall around the base.
After you have positioned the tree in the hole, fill it with loose dirt, making sure that the tree sits at the same level as in its container. Note that you should not fertilize your tree now. It is dormant, and you don’t want to encourage fragile new growth before the proper growing season. (Come spring, you can fertilize your tree with tree food.)

Above: Water thoroughly.
Your newly planted tree should receive a good soak. We made a small moat to concentrate the water around the roots. (This should be removed in spring.) Water your tree again at least twice a month throughout the winter, then once a week during the growing season.

Above: Newly planted, our giant thuja will delight us for years to come.
Finally, give your tree a nice insulating layer by applying about 3 inches of mulch. (I used leaves.) Lynne also reminds that snow can cause a tree to bend, so she advises staking it before the first snowfall.
If you’re still not sure about a live tree, here’s a quick and easy chart delineating the pros and cons:
Pros:
- For little more than the cost of a cut tree, you get something that, with proper care, will last for years, adding beauty to your yard as well as a habitat for birds.
- Although most cut trees are a crop, farmed in nurseries, a live tree could be considered more environmental.
- A live tree is actually less messy. (No falling needles!)
- Tired of wrestling with Christmas tree stands? Have a cat or kids, that like to climb? A live tree is much easier to set up and is more stable.
Cons:
- With its root ball or container, a live tree is much heavier than a cut tree, so you will not be able to get a grand 10-footer.
- Because you are going to plant it outside, it is recommended that you keep your tree inside for 10 days at most; otherwise it will start to grow tender shoots that wont survive the harsh winter.
- A live tree requires more thought and planning. (But in the end I found that it was much more inspiring and well worth the effort!)
N.B.: Interested in more living decor that goes beyond the holidays? Check out my living Succulent Wreath.
N.B.: This is an update of a post originally published December 3, 2014.


Have a Question or Comment About This Post?
Join the conversation