
Lately I’ve been hankering for a woodsy, off-the-grid, no-screens-allowed place to escape to—no text messages, no email, no Netflix, just a paperback and someplace to float. Which has me revisiting the cabin in New Hampshire’s Lakes Region that Alice Saunders and Greg Ralich found on Craigslist and fixed up, DIY style (and which we featured on Remodelista).
The cabin—which is about as rural as it gets, down the end of a class IV road—might not have running water or electricity, but it has simple summer pleasures: a hand-built dining nook/game table, a bright kitchen, a simple and sumptuous-looking bed, even an ad-hoc outdoor shower. It’s hands down the best-looking totally off-the-grid place we’ve seen (no surprise; Saunders is the founder and designer behind Forestbound Bag Co.). Our favorite detail? The couple needs to paddle out to the center of the pond just to get a hint of cell service. Unplugged weekends indeed.
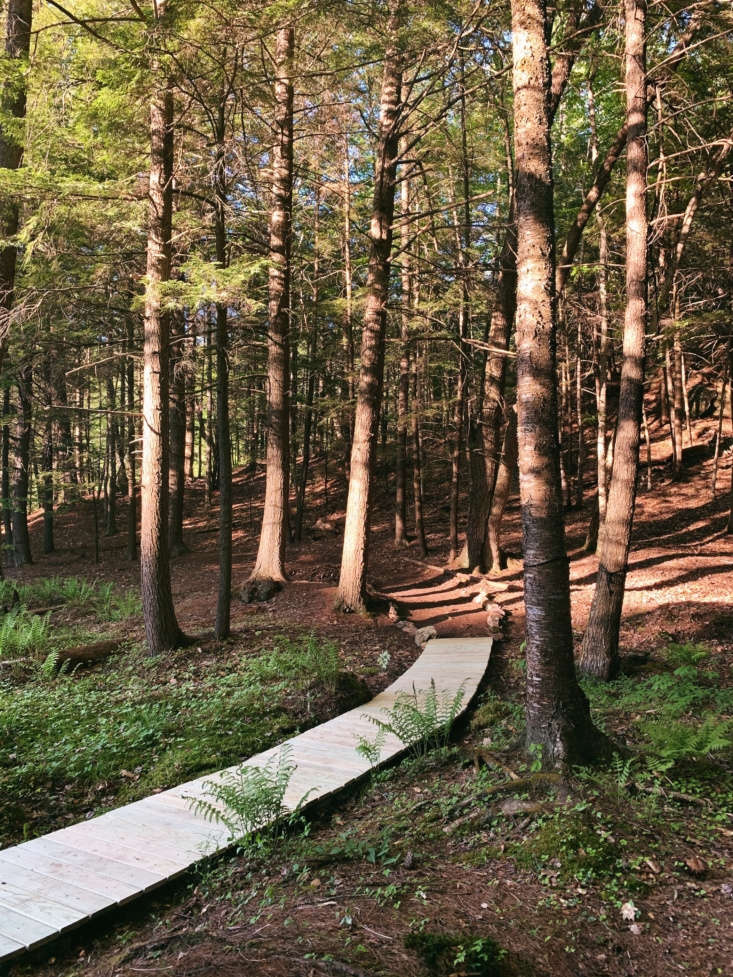
Recently we spotted that the couple had taken on another DIY project at the cabin: a boardwalk. “While fairly simple, it might be my favorite project to date,” Saunders wrote on Instagram. “It feels like a small way to highlight and appreciate the beauty of our land. Plus Greg and I finished this in one afternoon and didn’t get in any fights along the way, a true win when working on home projects with your partner.”
Intrigued, we asked Saunders how this old-school, summer-camp-style boardwalk came together in just a few hours. Here’s the rundown.
Photography courtesy of Alice Saunders.

Watch and learn.
“Our goal was to build a very simple wooden boardwalk that wouldn’t take the focus away from the beauty of our land,” says Saunders. “We didn’t want something overbuilt and technical; we sought to make something that became part of the landscape and that, in time, it would just look like it was always there.
“It was especially important to watch how the land and water and light changed over the year and years before I felt confident building something in this exact spot. It’s definitely the focal point of the view from our porch, so I was nervous, but this year I was ready to take on the challenge.”
(Gently) create a path.
“Before starting the project, we prepped the area by transplanting any ferns and other plants that were in the area we planned to build on, leveled out the soil (or well, mud), and cut back a large stump that the boardwalk would hug on its slight curve,” says Saunders.

Gather (local) materials.
“I read through a few tutorials online, but I didn’t find anything that showed exactly what I was picturing in my head, so we used our very limited (but growing!) carpentry knowledge and came up with our own plan and design,” Saunders adds.
“We wanted to avoid the big box stores, so we worked with a local lumber company to source pressure-treated, ground-contact lumber (2×6″ for the supporting beams and 5/4×6″ decking for the planks) and used concrete deck blocks as the foundation for the boardwalk. (We dug out the soil and buried them slightly.)”

Keep shape in mind.
“It took us a few tries to get the boardwalk situated exactly as we wanted it, but we simply laid out the supporting 5/4×6” planks across the prepared concrete deck blocks, secured them in place, and then began to lay out and space the planks (which we had cut down to size). We had one slight curve in the boardwalk, so we cut one plank at an angle to achieve the turn (we were very proud to get the angle right on the first cut!).
“After laying out and spacing the planks evenly, we worked together to screw them into place. In the end, there are some planks that don’t line up exactly on their edges, but we were not going for perfection, so we don’t mind. After enough time had gone by so the wood was dry, we sealed the decking.”


And for three more cabins we love, see:
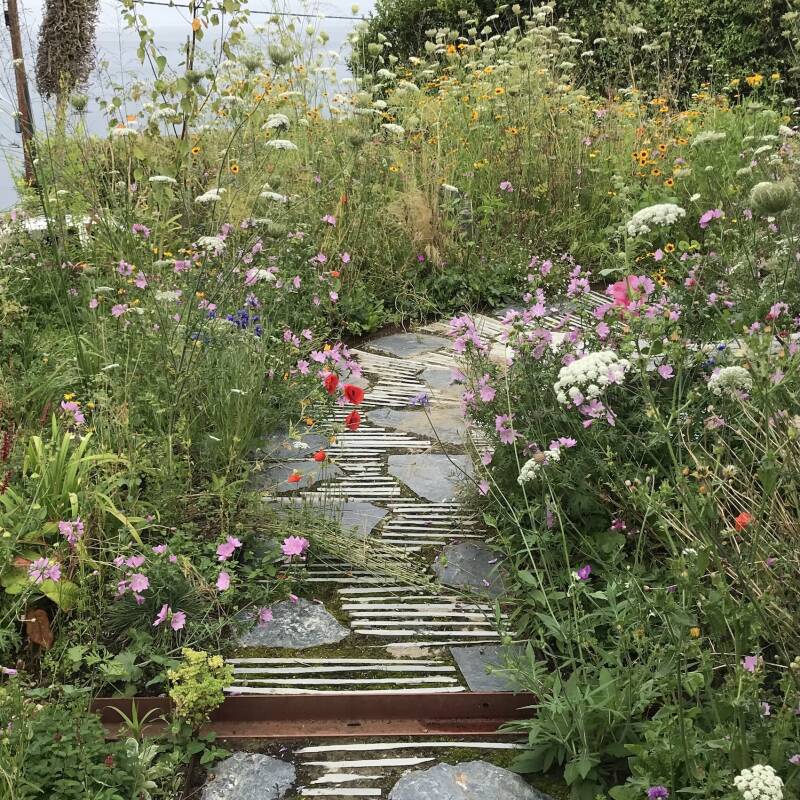
- Hardscaping 101: Front Paths
- Landscape on a Budget: 13 Ideas for Mown Grass Paths
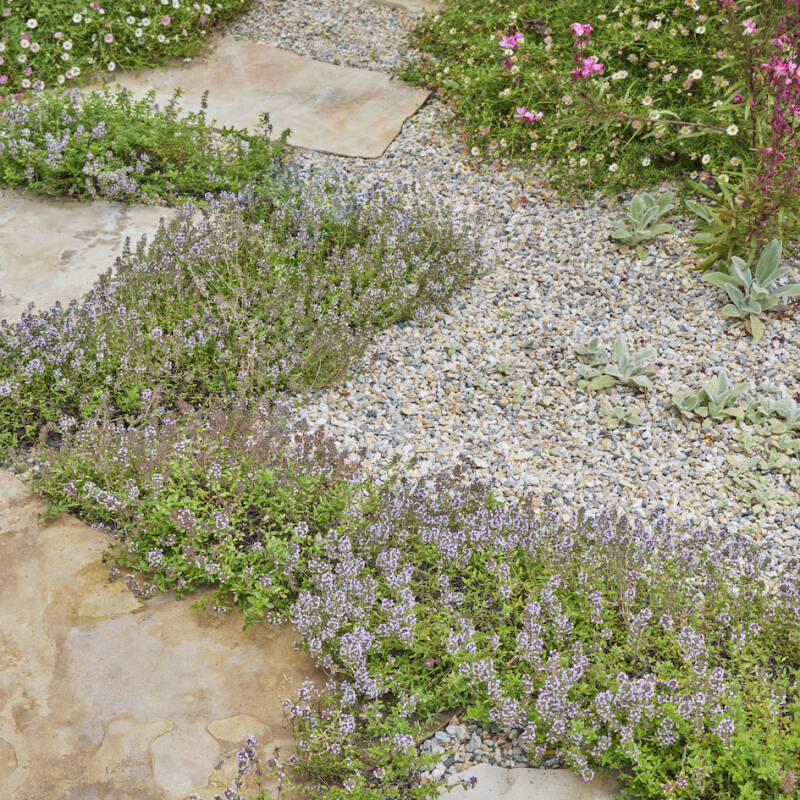
- The Art of the Edge: 10 Perfect Ways to Soften a Path
N.B.: This post is an update; it was first published August 2020.


Have a Question or Comment About This Post?
Join the conversation