In April, we pull out our favorite tools and potions to get garden planters and pots in shape; spring cleaning isn’t reserved for just the indoors. Time to repair cracks, clean pots, and banish bacteria.
Here’s a list of our favorite tools—and tips to rehab your garden planters and pots:
Photography by Mimi Giboin for Gardenista.
Brushes

The first step to clean containers is to brush off debris. Matt McKenna, creative director of garden design for Winston Flowers, limits the scrubbing to the interior of a pot, to let containers show their age. “The nice patina finish that develops over time is actually really beautiful,” he says.
Homemade Cleaners

A simple solution of vinegar and dish soap will clean most planters. (If you use bleach, make sure to rinse well. If used on unglazed clay, which is porous, make sure to soak in clean water for 10 minutes to ensure all bleach is removed.)
Now is the time to inspect containers for cracks.
Awls & Drills

If your pots don’t have drainage holes, it’s time to get out the drill. Without drainage holes in containers, plants will not only get “wet feet” but will eventually drown with too much water, says Tara Heibel, owner of Sprout Home.
Caulk

Container cracks can be tricky to repair, Heibel says. She suggests using silicon caulk for cracks in fiberglass and resin containers.
For clay, use caulk especially made for ceramics. (Buy a colored caulk to match your container.)
Be warned: caulk may prove to be a temporary fix. In colder climates, soil expansion and contraction in winter months can cause clay containers to crack. With unglazed clay pieces, moisture can easily make its way into the clay body, causing hairlines and more. In cold climates, Heibel says it’s safest to protect ceramic, resin, and fiberglass planters during winter months.

In addition to caulks, some ceramists recommend Bondo Lightweight Body Filler for repairs. Simply apply; after it dries, sand the surface to smooth it. Colorant can be added to the Bondo to camouflage or highlight the crack.
Mineral Oil

Resin and wood containers can be freshened up with a light application of mineral oil.
Liners
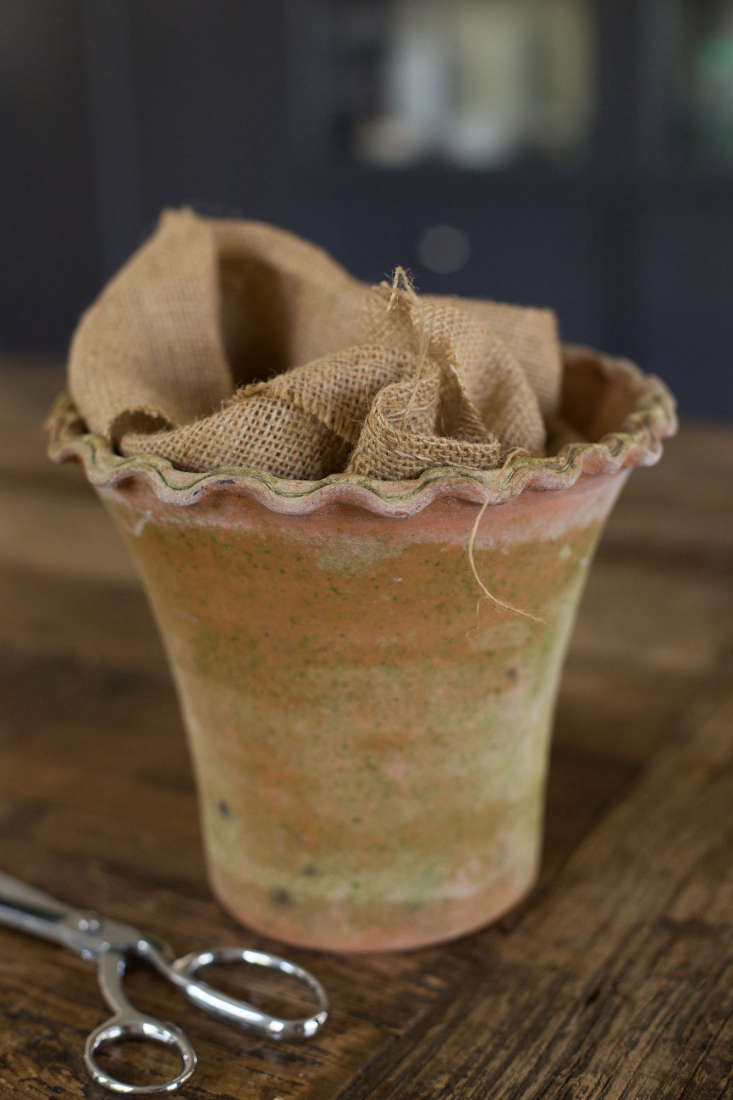

These containers are now ready for the season. When autumn ends, depending on your climate and material, remove soil and store. Delicate vessels should be wrapped, while others can simply be turned upside down to slumber.
For more planter and pot care tips, see:
- Ask the Expert: An Insider’s Guide to Vintage Planters from Stephen Block of LA’s Inner Gardens.
- 9 Secrets to Growing Succulents Indoors.
- Houseplants: A Field Guide to Planting, Care & Design.
- Gardening 101: How to Care for an Orchid.


Have a Question or Comment About This Post?
Join the conversation