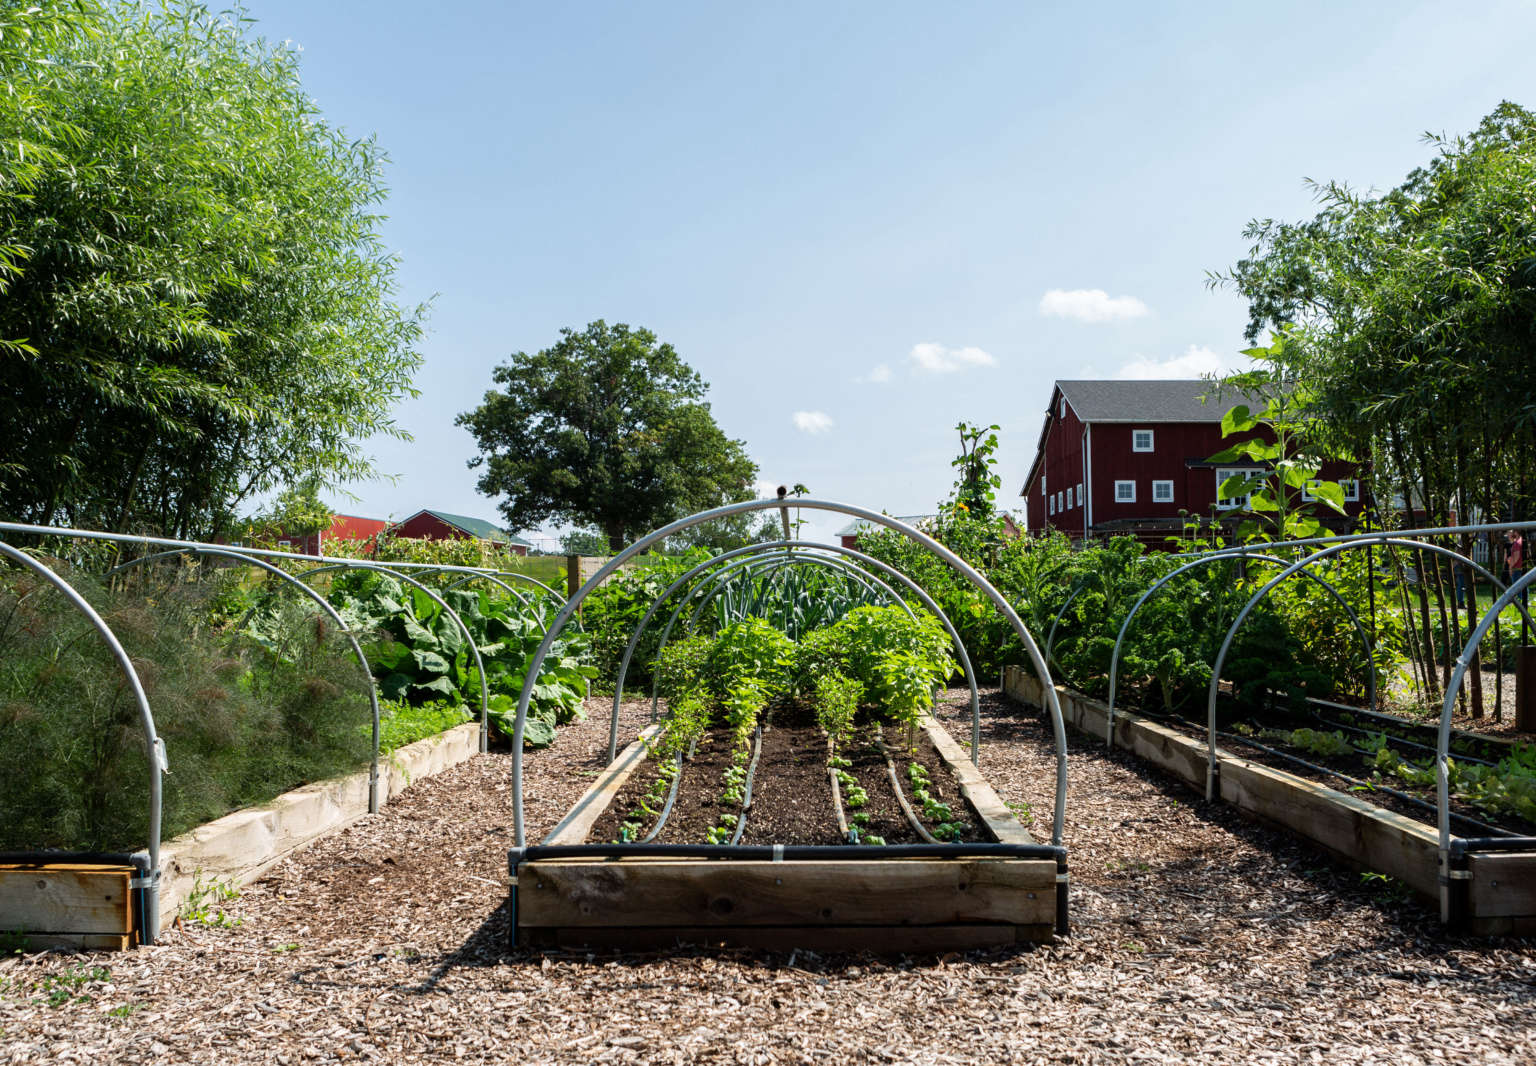
“Last season, this was a bare plot,” says farmer Stephen Lamberti. “There was nothing here.” Thirteen months later, this half acre on Zingerman’s Cornman Farms is a splendorous green patch with a bounty of black bell peppers, fist-sized onions, footlong summer squash, and a dozen other varieties of vegetables.
For the last 36 years, Zingerman’s, the legendary gourmet food business founded by Ari Weinzweig and Paul Saginaw in 1982, has been one of the driving forces behind Ann Arbor, Michigan’s rise as a Midwest foodie destination. It began with a deli, and then there was a bakehouse, and a creamery and a coffee company and a candy manufactory. (And yes, it is all available by mail order.)
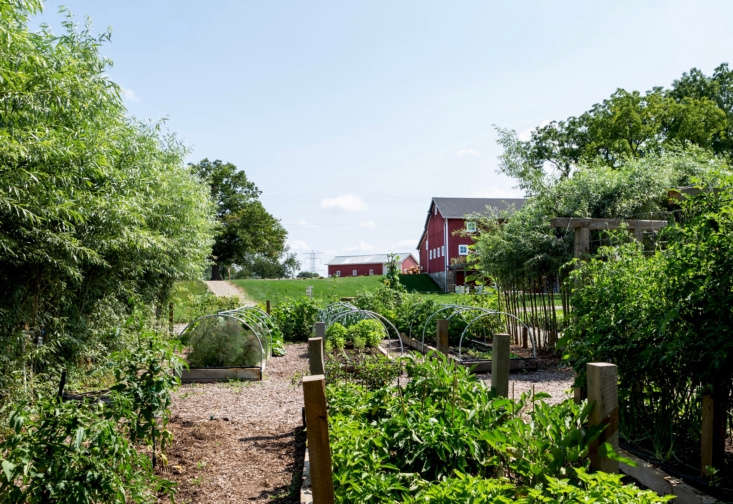
Now, with Cornman Farms, a 42-acre spread in Dexter, about a 20-minute drive from the deli, Zingerman’s is growing organic food. The harvested crops travel only a few hundred feet to the event venue’s kitchen, where chef and co-owner Kieron Hales crafts dishes to be served at weddings, private events, and Cornman’s beautifully bucolic seasonal dinners.
The edible garden is the agricultural equivalent of a test kitchen—and at this size, it is also an ideal model for would-be backyard farmers. “This, an organic garden like ours, is totally something, even a new gardener, can do at home,” Stephen says. “And this,” he adds, “is how you do it.”
Photography by Marta Xochilt Perez except where noted.
1. Do your homework.

“Teaming With Microbes, in particular, will open your mind up to what’s going on beneath the soil surface, because you’re not really growing plants, you’re feeding soil. If the soil is well manicured and diverse, anything can thrive,” he explains.
2. Pick your tools.

Tools for when you’re ready to go beyond the basics:
The Hula Hoe: “It’s great for weeding,” he says. “The hula hoe is also great for putting row crops in your garden beds. Get a four-inch hula hoe for when you’re working with plants like beets and carrots, which only have to be four inches apart. Then get a larger six-inch hula hoe to run the rows in your tomato beds.”
Hose Water Filter: Get an attachment to screw onto your hose and a filter for your water, to remove the chlorine and chloramines in tap water, “which will destroy the microbiology in your soil,” Stephen says.
3. Know your site.
“You want to collect information on all parts of your property — north, south, east, west — because, for example, garden beds work best if they run north to south; that way, your plants aren’t shading any others out,” says Stephen.
“You should also get an idea of what you want this garden to be. What size space are you working with? How many square feet of growing area will you have? It’s about fully knowing how far you want to go with your garden project, because even if you are planning to start small, you can and should work on an infrastructure that can grow with you and your garden as things evolve.”
4. Gather your building materials.

Old fences, old barns, your neighbor’s trash. “These are all good sources for materials that can be repurposed and used to build any of your garden structures: your composting containers, your garden beds, your trellising, everything,” he says. “I start with what I already have and let those materials dictate a little bit of the shape and size and look and feel of the garden.”
Even dead plants can sometimes become building materials. “Last summer, I had ten or fifteen sunflowers planted at the back of the garden, and they are just so fibrous and very, very strong.” He put them in the barn over the winter in a dry area and the spring used them to make teepee trellises.
5. Make your compost.

“Right away, before you even begin building your garden, start making your own compost,” Stephen advises. “You’re going to use a lot of compost, every single year, so you may as well come up with a system at home to produce your own.
Composting isn’t expensive or difficult. “It’s a simple project that you can begin any time of the year, and you immediately start to feel that you’re getting something out of it, because now you’re using your food waste, you’re throwing away less trash, you’re reusing yard scraps and wood and materials from your home and other homes in your neighborhood,” he says.
Tip: “Always try to maintain a two-to-one ratio of nitrogen-forward materials to carbon-forward materials. The nitrogen sources will be your green stuff, your grasses, your old garden plants, even your food scraps. The carbon sources will be leaves, really thin twigs, cardboard, newspaper, those kinds of things,” he says. “And when you’re making your compost, take the time to chop things up, because you don’t want bits and pieces that are bigger than three to four inches, and you don’t want any sticks that are bigger than a half inch in diameter. Then make sure to do a once-a-week turn. Also, your compost will actively compost in a three-by-three-by-three space, so aim for a composting container that’s three feet wide, three feet long, and three feet tall.”
Another tip: Trust your nose. “You can tell by smell whether it’s working,” Stephen says. “If it stinks, there is too much green, so you need to add some more brown. And if it doesn’t smell like anything, and it’s not heating up, you don’t have enough green.”
6. Test your skills.

It’s always safest to start small, Stephen says. “So if you’ve never grown a plant, ever, throw some tomatoes in a pot for a half season, then watch how it works, from when you put the seed in the dirt—that’s called direct seeding—to when you finally have tomatoes to harvest. You will learn about under-watering, you will learn about over-watering. The quicker you start making mistakes, the quicker you’ll stop making them.”
The next step: test yourself in the actual garden. “Say you have four raised beds, maybe you build them all out, but you only use one for your first season, because you want to carefully manage your effort-to-reward ratio,” he suggests. “The worst thing is putting in a whole lot of work in the beginning, and then getting behind or making a few mistakes, and then ending up with a big failure.”
7. Build your garden.

A garden can be built anywhere, but that doesn’t mean a garden should be built just anywhere. The exact location and layout is the first decision that needs to be made. Use the information that you collected (hours of daylight, shading patterns, etc.) while finding your vision, but remember to consider the simpler stuff too. “Choose a spot that’s close to your water source and close to your tool shed,” Stephen suggests.
The next step is to lay out the garden beds. “In a typical home garden, where it will be you and maybe some family members helping out, a no-dig garden bed is the best way to grow,” Stephen says. “And Charles Dowding has it down to a really simple science: When he’s building new beds, he just lays his four-by-four posts in the shape that he wants his garden, right on top of the ground and the grass — he doesn’t even dig up the grass — then he spreads compost directly on top of the grass. You could also put down some cardboard and then compost.”
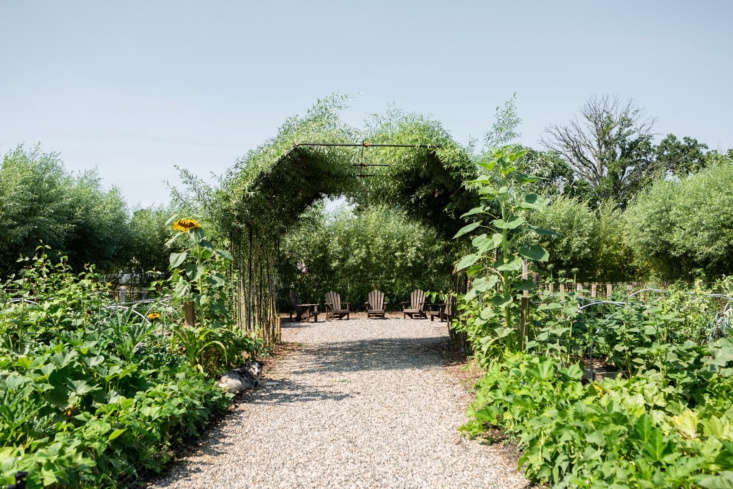
Next, think vertically. “Construct your trellises before you plant anything. You will want trellising for pole beans, cucumbers, melons, gourds, all of the climbing plants. Go ahead and put those trellises in, experiment with different designs, try out different ideas, but do it early, because the last thing that you want to do is build trellising over already planted plants,” he says.

8. Plant your garden.

Making final plans for planting? Be sure to understand your growing zone. Get a copy of the most recent USDA Plant Hardiness Zone Map to figure out which plants grow well in your climate.
“Another good way to find out what you should be growing,” he says, “is actually paying attention when you go to your local farmers’ market. What are people selling? At what time of year? If a lot of growers at your market are selling, say, Cherokee Purple tomatoes, then it’s a good bet that means they’re a well-tested variety in your region.”
Be choosy when buying seeds. Buy organic, non-GMO (genetically modified organisms), open-pollinated, and heirloom stock. Look for seed companies that have signed the Safe Seed Pledge. Some of Stephen’s widely available favorites are Johnny’s Selected Seeds, High Mowing Organic Seeds, and Baker Creek Heirloom Seeds. “The fascinating thing about Baker Creek is they’re doing these unique, old varieties, like this King Tut Purple Pea that we’re growing, which is said to have been pulled out of King Tut’s tomb.”
Direct seeding is the best method. “Just plant right into the dirt and compost of your garden beds,” he says. “Direct-seeded plants, as opposed to indoor-raised ones, tend to thrive more, because they haven’t been disturbed or transplanted.”
Backup plan in case of bad weather? “I recommend putting a little time and money into setting yourself up with a nice early-spring, mid-summer propagation room,” he says. “Even if you decide to mostly direct seed, setting yourself up with some backup seeds in a tray will help you. Say a tomato plant doesn’t come up right, you can immediately replace it and you won’t feel like you’ve lost any time.”
9. Brew your compost tea.
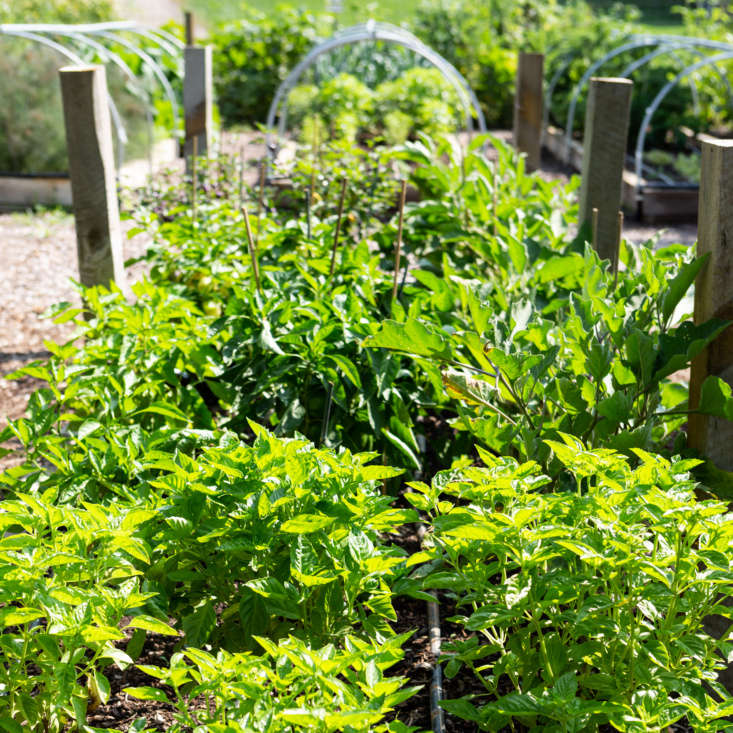
“I haven’t fertilized these beds at all,” Stephen says, hooking his thumb toward Cornman’s overflowing secret garden. “I just use compost teas. There are a lot of organic fertilizers, but they’re not necessary if you’re following sustainable, microbe-forward practices. I’ve always found that if I’m regularly using compost tea, there are very, very minimal pest problems, and you get a much more forgiving garden.
“Making compost teas is essentially creating— with dechlorinated water, oxygen, and a food source, and I use mostly molasses—an environment for the microbiology that already exists in your compost to bloom,” he explains. “In soil science and organic sustainable farming, you are feeding the soil, not the plant. By feeding the soil, you are creating a war zone of billions of different bacteria, fungi, nematodes, all kinds of creatures. It becomes this environment where these organisms are extracting nutrients from soil particles, and also extracting nutrients from all of the other organisms in the soil, and turning them into plant-available nutrients.
“I like to do earthworm casting [i.e. worm manure] teas, because it’s an easy product to get your hands on and work with. In a paint strainer bag, for a five-gallon bucket, you’ll put one to two cups of worm castings, and then if you’ve got good healthy compost, you can also throw in a cup of that. If you have bunnies or access to bunny manure, that’s also really good to use in teas because it’s not too nitrogen-forward and it’s loaded with microbes, so you’re not going to burn your plants out.
“Water first, molasses and humic or fulvic acid second, let that mix, then you dip your teabag in there. I like a quick extraction, so I leave it in there for two to three hours, then I pull the bag up. Just twenty-four hours after you started your tea, you will have a finished product, and that five gallons can get diluted with another twenty gallons of water, so you’ll have a total of twenty-five gallons of fluid total.”
10. Walk your garden every day.

“You want to be out there, even if it’s just with your morning coffee every day, walking through your garden, just taking a look to see if anything is out of place, if anything seems out of the ordinary,” he says.
“If you’re there in your garden on a regular basis, pulling the small weeds out, you should be relatively weed free, just picking them, here and there, by middle or late spring. It makes the job a lot easier.
“Weeds tend to be one of those things that turn people off. They feel like, ‘Wow, I can never get in front of this.’ But your garden soil is probably riddled with seeds, and every time that you dig, you are bringing up more seeds, so it really is a never-ending struggle, and your best defense is consistent weeding and no-dig beds.”
You are now a gardener, and you always need to be looking for problems and solving those problems before they become bigger problems. “There’s a reason they call it tending a garden,” Stephen says. “You’ve always got to be tending.”N.B.: It’s possible to grow food year-round in nearly any climate. For tips, see Secrets of Success: Winter Gardening from Seattle Urban Farm, Sow Now for Winter Salad, and Ask the Expert: Winter Garden Tips from Stone Barns Center.
See more in Everything You Need to Know About Edible Gardens and in our curated Garden Design 101 guides, including Perennials, Shrubs, Trees, Tropical Plants, Succulents, Annuals, and Houseplants.


Have a Question or Comment About This Post?
Join the conversation