Indigo is an ancient color, a natural dye extracted from a plant of the same name, and the only true blue dye in nature. It’s been found in ancient Egyptian mummy wrappings and was so valued by the Romans as a luxury product, the story goes, that the only people who knew how to dye with indigo were hidden away in the forest.
Because of its weighty history, I always imagined that indigo was too hard to work with at home. But after a studio visit with textile artist Cara Marie Piazza, I think it seems well worth tackling and not as complicated as I once thought.
Cara shared with us her recipe for creating an easy indigo vat, a recipe passed down to her by Kathy Hattori, whose website Botanical Colors is an excellent resource for natural dyeing.
Photographs by Sophia Moreno-Bunge.

Above: A vat of indigo dye in Cara’s studio.
Now for a bit of a science lesson: In order for indigo to release its dye molecule, and attach itself to fibers and bond, excess oxygen must be removed from the molecule; this particular vat uses the chemical reaction between a mineral alkali and a natural reducing agent to do so (a process called reduction). Based on recipes used in Morocco, India, and Provence, this vat recipe uses natural agents such as dried and fresh fruits, minerals, and flavonoids (the natural pigments in plants).
Above: Indigo dyed wool by Cara Marie Piazza.

Above: An indigo vat ready to be rebalanced.

Above: A textile that’s just been taken out of the vat looks teal green.

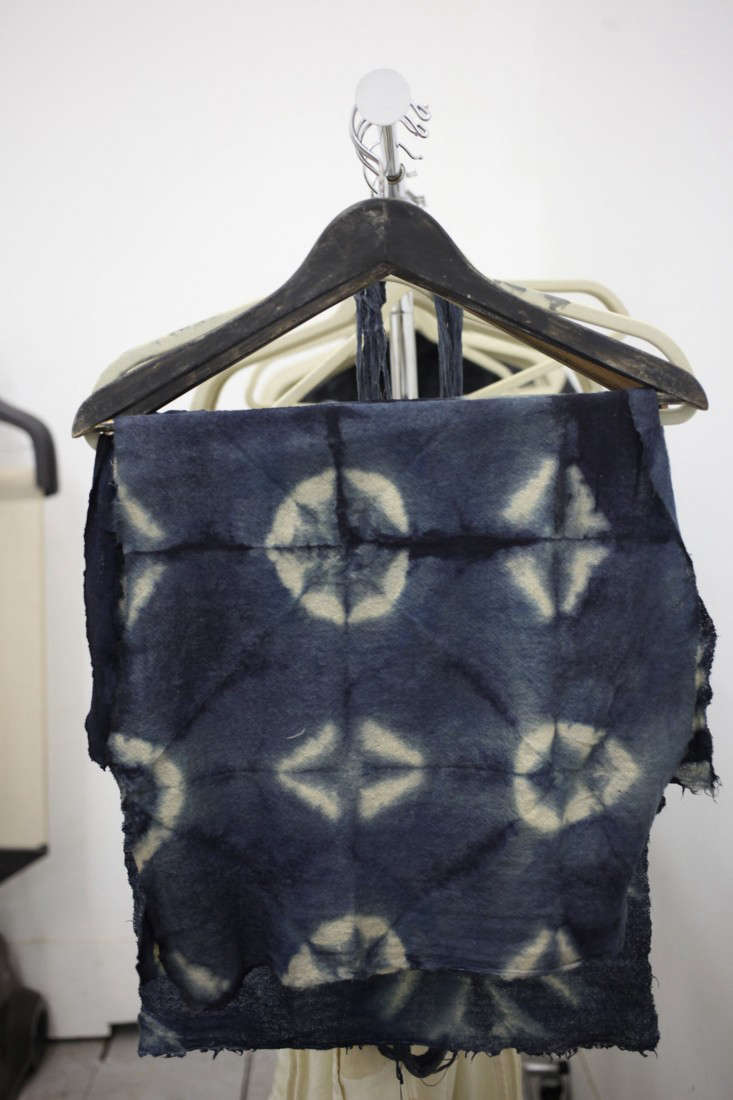
Above: Slowly, the textile turns a deeper shade of indigo as it reacts with the air.

Above: The finished product in a deep shade of indigo.
DIY Indigo Dye
Materials:
- 1 part natural indigo in powder form (100 grams of Organic Indigo is $19.50 from Botanical Colors)
- 2 parts calcium hydroxide, also known as pickling lime, cal, calx. (250 grams of Calcium Hydroxide is $7 from Botanical Colors)
- 3 parts fructose crystals (250 grams of Fruit Sugar Fructose Powder is $8 from Botanical Colors)
- 2-quart Mason jar or heat safe container (or larger if you are making a larger vat)
- A non-reactive cooking pot for your vat
- Natural fabric (wool, silk, cotton, etc. work best)
- Rubber bands
(If you’re interested in one-stop shopping, an Indigo Shibori Kit with all of the necessary ingredients to get started on your own indigo vat is $49.95 from Botanical Colors.)
Instructions:
Part I: Mixing an Indigo Stock
Decide how much indigo to use based on the shade of color you want to achieve. For reference: 2 tablespoons (25 grams) of powdered indigo will make a vat that will dye around 2 pounds of fabric a light to medium shade of blue; 4 tablespoons (50 grams) of powdered indigo will make a vat that dyes the same amount of fabric a medium to dark shade of blue; 8 tablespoons (100 grams) yields a dark blue, with enough leftover indigo to dye a few other pieces of fabric a lighter shade. After you’ve decided on the amount of indigo, you can calculate how much you’ll need of the calcium hydroxide and fructose crystals.
Next, create a stock in your Mason jar. Pour your indigo powder into the jar (we used 8 tablespoons), and add a bit of warm water to create a gritty paste. Add about 2 cups of hot water (heated to about 120 degrees) and stir; the solution should be dark blue. Add the fructose crystals and stir well. Slowly add the calcium hydroxide and stir so it is well incorporated. You want to get out the lumps without beating too fast, to avoid adding air to the solution.
Top off the jar with additional hot water after the calcium hydroxide is incorporated. The mixture should look greenish and murky. Let it settle for an hour, giving it a stir every 15 minutes. The chemical reaction works best if the solution is warm, so feel free to place the glass jar in a pot of hot water. The stock at the top might look yellow-green or brownish red–this is normal. After 45 minutes, give the solution one more stir and let it settle for 15 minutes.
When a layer of copper colored scum develops at the surface, you know your stock is ready. At this stage, you’ll notice the liquid in the jar has divided into two sections: a layer of sludge at the bottom and a thin liquid layer on top (similar to when you mix oil and vinegar). Your stock will look yellowish green or brown.
Part II: Preparing an Indigo Vat
After you’ve got your stock, you are ready to make your indigo vat. Fill a non-reactive dye pot about 2/3 full of hot water (heated to approximately 120 degrees). Carefully pour all the stock (including sludge) into the pot and stir gently. Allow the vat to turn a yellowish green color (this takes usually from 15 to 30 minutes). After the vat has a yellowish and coppery scum on top, it is balanced and ready for dipping. Keep it over a low heat to maintain the temperature.
Part III: Preparing and Dyeing Fabric
Meanwhile, prepare the fabric. Fabric should be thoroughly soaked in warm water before folding and dipping. There are many different techniques to create different patterns. One we like: fold fabric like a paper fan into 1- or 2-inch increments, and then tie it with a rubber band or string. You can dip fibers for from 30 seconds to three minutes; after you remove the fabric, let it drip into a container (later you’ll pour the liquid back into the vat). Continue to dip until the fabric is two shades darker than you want it to be–after you rinse it, it will lose some of its color.
This next step is where the magic begins. When you take your fabric out of the vat, dip it in cold water. Then, undo the folds and the ties. Let it air for at least 30 minutes. You will want to rinse your fabric out a few times with cold water; you should wash it separately, so that its color does not stain other garments.
After the vat turns from yellowish-green to blue, you will need to reheat and add a generous spoonful of fructose crystals. This is called rebalancing the vat. Wait for from 15 to 30 minutes for the vat to turn greenish yellow again; if it doesn’t, add a level spoonful of calcium hydroxide and wait. You may need to repeat this process.
You can keep an indigo vat active for up to six months, as long as you rebalance each time you reheat it (always to 120 degrees). You may also need to replenish the vat when you’re ready to use it again, if it’s lost a lot of its color potency. To replenish the vat, create a new jar of stock and add it to existing vat. Store your vat in an airtight container with a lid.
To learn about Cara’s natural dye studio, see Shopper’s Diary: Natural Flower Dyes and Silk Scarves, From Cara Marie Piazza.


Have a Question or Comment About This Post?
Join the conversation