If growing your own Easter grass strikes you as a harebrained idea, well maybe it is. And maybe that’s the point. ‘Tis the season, after all. Before you dismiss this DIY as just another project for someone with too much time on their hands, reconsider it as an only-slightly-more-roundabout approach to making an omelet. And revel in the end result: a sweet spring-themed tabletop decoration that costs only pennies and demands only a modicum of patience.
Photography by Erin Boyle.

Above: I started with standard brown eggs from the farmers’ market. Any egg will do–but I would have loved to see these sprouts coming out of pastel-colored or spotted eggs from Araucana or Welsummer hens, had I found those eggs at the market.
When I began to research how to grow wheat grass, I couldn’t find one definitive tutorial. Everyone seemed to have a different method: there were folks who soaked their grains just once before planting them and others with a more complicated triple-soak-and-rinse approach. I found one camp of enthusiasts who covered the tops of their seeds with soil, and others who let them sprout with no blanket of soil to protect them. The predicted sprout times varied wildly too: some said they saw sprouts in just a few days, others claimed sprouts came only after a week of waiting.
As usual: I wanted to find the least labor-intensive way. In the end, I made a dozen green-topped eggs. One set of six had drainage holes and seeds covered in soil, the other had no drainage and seeds left out to breathe. I didn’t bother to rinse or soak. All of my eggs sprouted cheery green tops. Turns out the instructions vary so drastically because just about any method will yield the desired results: green grass, fast.

Above: Step one is to rinse out the empty eggshells.

Above: Fill the eggshells with potting soil. Eggshells make pots to start any kind of seeds. To transplant seedings to the garden, crush the shell before planting so roots can grow.
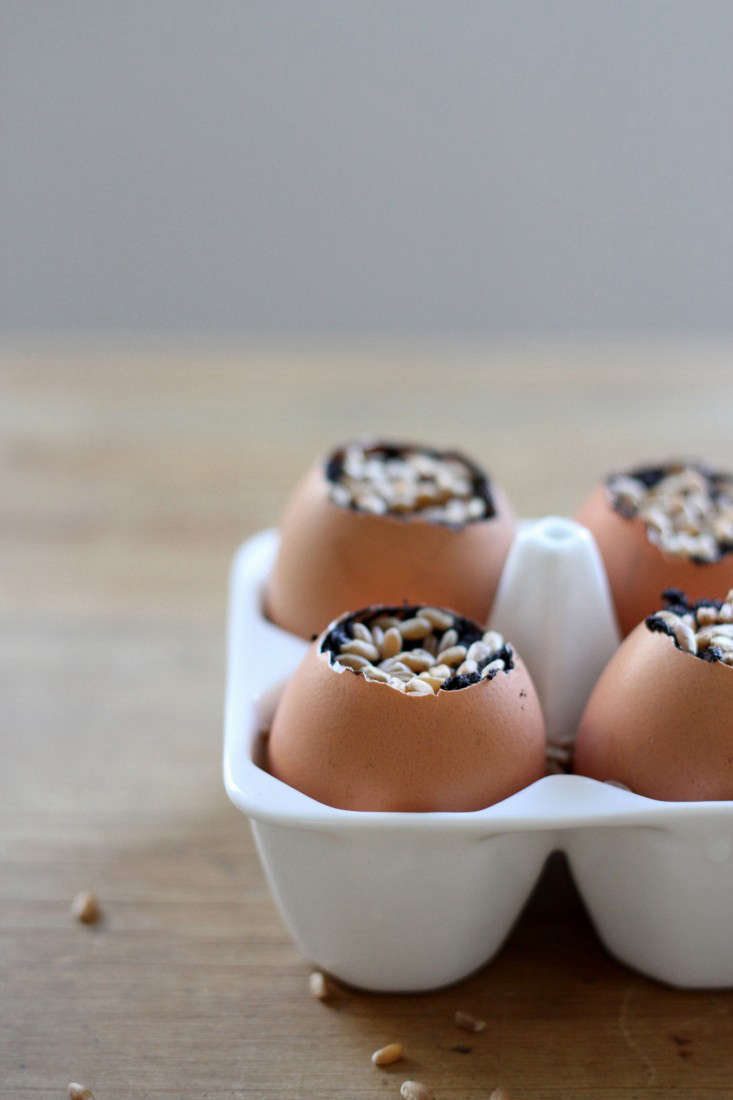
Above: Sprinkle a dense single layer of wheat seed (also called wheat berries). No need to head to the nursery for seed; I found mine in the grains section of a local organic market.

Above: Seeds will germinate on a sunny windowsill. Don’t worry too much about the seeds getting adequate sunlight–my eggs sprouted within three days in a north-facing window.

Above: Look for bright green tops after just three days and paler shoots even sooner.

Above: I used a White Porcelain Egg Carton by Seletti to prop my eggs on the tabletop; $19 from Design Menagerie. A paper egg carton with the top cut off will work just as well.

Above: You also could grow wheat grass in a lined Easter basket to create a bed of fresh grass to hide chocolate eggs and jelly beans.
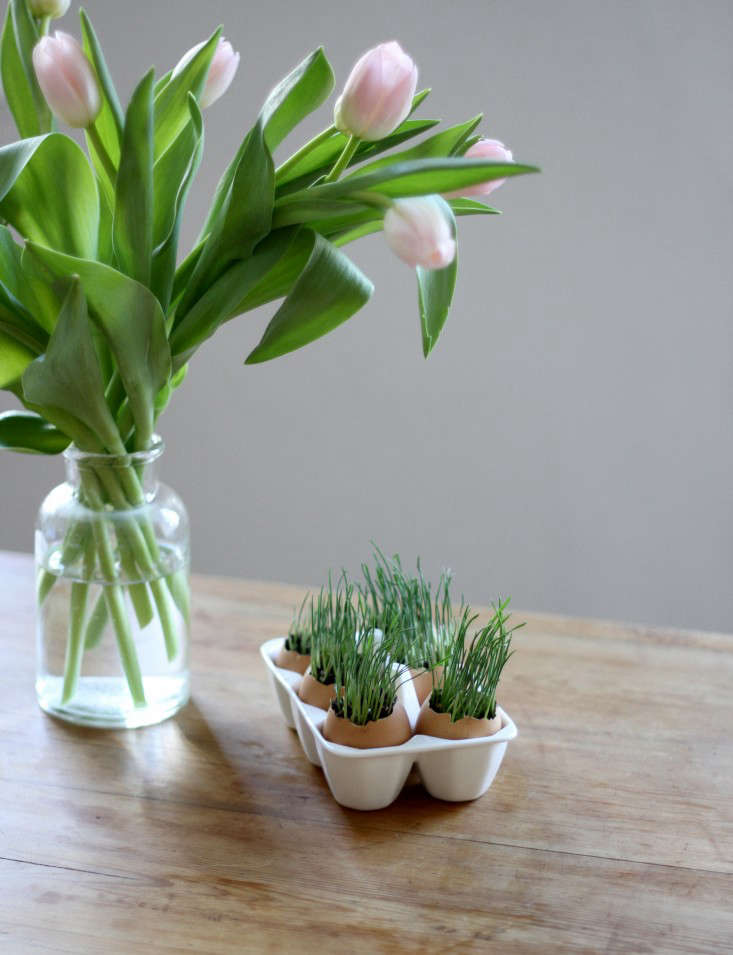
Above: Wheat grass eggs after six days.
Wheat Grass Easter Eggs
Materials:
- 6 eggs
- 2 cups of potting soil
- 1 cup (or so) of hard winter wheat
- Water
- Dish soap
- Hand drill or needle
Instructions:
1. Using the back of a knife, carefully crack the very top of each egg. Use your fingers to pick the cracked shell apart, widening the hole until it’s big enough for the yolk and white to slip out easily. (Preserve the contents for use in an omelet later.)
2. Rinse the inside of the empty eggshells with warm water and a small bit of dish soap.
3. Use a small hand drill or needle to poke a drainage hole in the bottom of the eggs. (I skipped this step in one of my two trials and didn’t notice any difference. I also potted a glass jar of seeds just for fun and got a bushy crop of wheat grass in a vessel without any drainage.)
4. Mix 2 cups (or so) of potting soil with a small bit of water so it’s moist, but not soggy. Fill each egg with the soil.
5. Cover the top of the soil with a single layer of hard winter wheat. For thick grass, the wheat should cover all of the visible soil, but it shouldn’t be layered more than one seed thick. The eggs I topped off with a thin layer of soil seemed to yield tops that were slightly more lush than those I left bare, so feel free to add this step.
6. Water and place in a sunny window. Water daily. In both of my trials, I had green shoots within three days.
For more easy Easter projects see DIY: Hanging Easter Posies and DIY: Easter Egg Radish Centerpiece on Remodelista.
Finally, get more ideas on how to plant, grow and care for various grasses with our Grasses: A Field Guide.


Have a Question or Comment About This Post?
Join the conversation