The leaves have all fallen and collected themselves at the base of the trees, on the lawn, and in the beds. The deciduous shrubs and bushes stand naked and upright. With the exception of the evergreens, the garden is a field of browns and grays.
You may think that now is a good time to crack open the first seed catalog and start planning next year’s plantings with a hot cup of tea in a comfy chair, but your winter garden still needs tending. Yes, just because the garden is dormant doesn’t mean there’s nothing to do.
Here’s a list of five chores you can do in your garden over winter.
1. Prune.
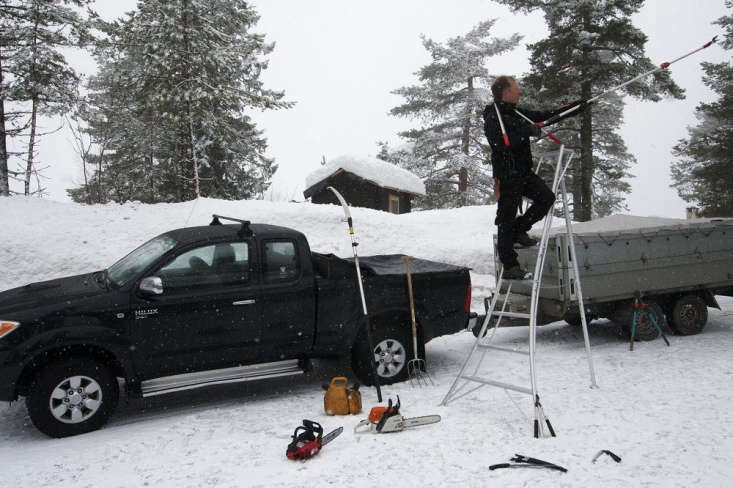
You can prune certain trees, bushes, and shrubs. Some can be pruned in early winter (December and January) and others in late winter (February and March). For trees, any time in winter, when the leaves are gone and you can clearly see their structure and spot potential problems (missing bark, fungus, etc.), is ideal to prune out branches that are dead, diseased, or that cross each other. When branches cross, they can rub and cause a wound where fungus and bacteria can gain access. The only time to cut out black knot, a common fungal disease, is in winter when it won’t spread.
For most shrubs and bushes that flower in spring, either do not prune them or prune them sparingly. Note that if you choose to prune in winter, you will be pruning out spring blooms, so prune with a purpose and accept missing spring flowers as part of the deal. An example would be most hydrangeas. Pruning in the winter will remove their flowers.
The exception is a panicle hydrangea which blooms in summer. You can cut a panicle hydrangea down to 18 inches once it goes dormant in early winter. Same goes for butterfly bushes that should be cut down to the ground. Late winter, roses can be cut back to about 18”. Evergreens can be pruned before new growth starts. Consult your local cooperative extension office for resources as to how to prune specific bushes and shrubs.
2. Leave the leaves.
You don’t need to bag the leaves and bring them to the curb. Instead, use them on your property as free winter mulch, protecting your plants from the cold. When they decompose, they become leaf mold and wonderful and free fertilizer. You can run your mulching mower over the leaves on the lawn and add nutrients to your lawn. Leaving the leaves also provides a home for the insects that pollinate next year’s flowers. This also includes the spent flower stems. The solitary bees, various moths and butterflies, and other beneficial bugs hibernate in the leaf litter and dead plant stems. Removing them removes an important part of your backyard ecosystem. If you find them an eyesore, trim them a bit to neaten them up.
3. Assess your garden’s ‘bones.’

Without all the greenery and pretty plants to distract you, it’s easier to see the structure of your garden. Maybe you want to move a path that’s not working or put in a birdbath. Maybe you want to add or remove a bed? Make a bed bigger? Add a few more shrubs or bushes to create an outdoor ‘room’? Now’s the time to break out a pad and paper and explore ideas for next year.
4. Collect and sow seeds.

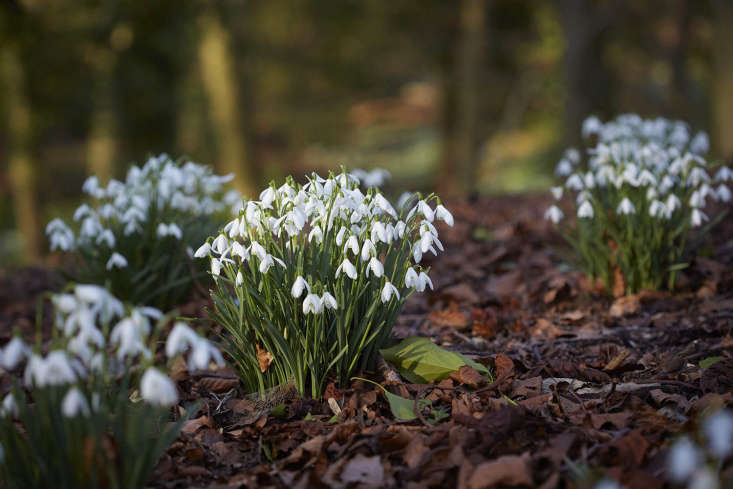
Did the sea oat grass work out and you want more? Did the goldenrod delight you? Did you always want poppies? Winter is the perfect time to sow wildflowers. For the best time in your area, check your USDA hardiness zone. For places with more severe winters, late fall is best. But for zones 7 thru 11, October through January works well.
To use the seed you already have in your garden, shake the seed heads where you’d like more of those plants. For purchased seeds, check the planting info on the back and simply shake the seed packet over the places where you want the plants. For poppies and other plants requiring cold stratification, where the seeds need to go through freezes and thaws to germinate, before a snowfall is perfect.
5. Compost.

Just because it’s winter doesn’t mean you can’t start a compost pile. (The cold temperatures will simply make the composting process slower.) Gather your greens and browns. The greens are, well, anything green or colorful, grass and kitchen scraps. The browns are leaves, and shredded newspaper. Make sure the size of all the bits you’re adding is pretty small. The smaller the size, the faster it will break down. Alternate layers of greens and browns. Extreme cold will stop the decomposition process, so if possible, put the compost pile or container in a sheltered area. Do not turn your pile in winter. Doing so will dissipate the heat needed. Leave this task for spring.
If you already have a compost pile, now is a good time to remove the finished compost and spread it around your garden. Over the winter, the freezes and thaws will allow the composted nutrients to work their way into the soil.
Now after doing all of that, you have earned that cup of tea and can retire to the comfy chair to start planning your seed orders for next year.
For more on winter chores, see:
- The Secret History: A Master Class in Gothic Pruning
- Your First Garden: What You Need to Know Before You Prune Shrubs and Trees
- Winter Is Coming: How to Care for Houseplants When They Go Dormant
- Your First Garden: What You Need to Know Before You Grow Plants from Seeds
N.B.: This post was first published December 2021; it has been updated with new photos and links.


Have a Question or Comment About This Post?
Join the conversation