Whether you want to save money or be more environmentally friendly (or just love being crafty), you can avoid harsh chemicals in the garden by using homemade remedies to fertilize, kill weeds, cure plant ailments, and improve soil.
Honestly, you can treat all sorts of garden maladies by using less: less chemicals, less ingredients, and less worry. With common ingredients (many of which you already have in your kitchen), you can make a batch, store it easily, and have it on hand for the next garden crisis. Natural solutions are safe, economical, and best of all, successful.
Read on for step-by-step instructions to make six of my favorite homemade garden remedies:
Photography by Mimi Giboin for Gardenista.

1. Flower Fertilizer

Epsom salts have been used in gardens for decades as a secret weapon because they help increase nutrient uptake, are water soluble, and leave no chemical residue. The magnesium in Epsom salts helps a plant use the phosphorus and nitrogen in the soil which is an important component in fertilizers. This is a great mixture and alternative to processed chemical-infused fertilizers.
Ingredients:
1 gallon of warm water, 2 tablespoons Epsom salts, and 1 cup unsweetened apple juice.
How to Make It:
Dissolve the Epsom salts in the warm water, then add the apple juice. Combine the ingredients in a clean container of your choice and use right away.
How to Use It:
Poke holes into pre-moistened soil around the farthest edge of your plants and pour in the mixture. Use this combination once a month for best results.

2. Bug Repellent and Soil Boost
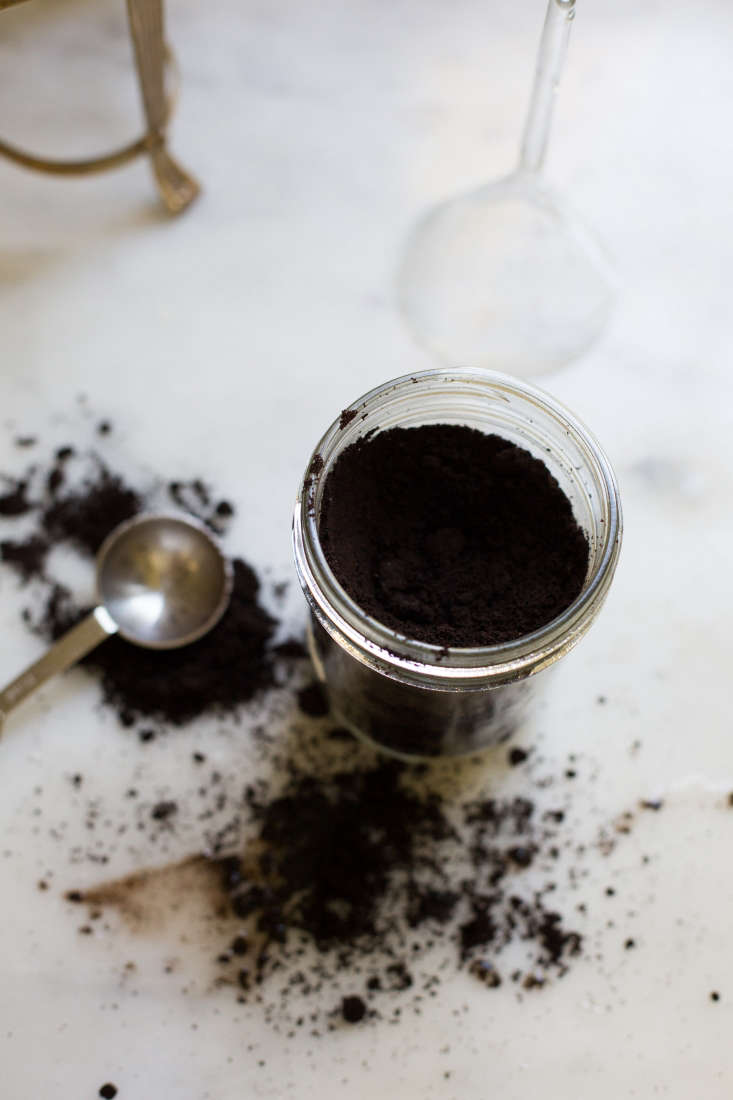
After your morning cup of coffee, save the grounds instead of throwing them out. Coffee grounds can act as a natural creature repellent and also work wonders as a fertilizer. And did you know that San Francisco’s famed AT &T Park uses coffee grounds donated from Peet’s Coffee & Tea to fertilize its planter beds? A total home-run idea (sorry).
Ingredients:
Used coffee grounds.
How to Make It:
Brew your coffee as usual but save the cooled grounds in a clean, air-tight container.
How to Use It:
For a natural gopher repellent, simply spread the grounds over all active holes. Chances are the gopher will not return to the holes until the grounds disintegrate. Deer are also said to dislike coffee grounds so you could experiment with spreading it around your tender, tasty plants.
For a natural soil amendment, sprinkle and spread the coffee grounds over your soil for added nutrients. The grounds will also help with soil drainage and oxidation. Tip: acid-loving plants like blueberries, azaleas, and tomatoes love used coffee grounds.
3. Mildew Treatment

I love roses like the next gardener, but I detest the powdery mildew that forms on their leaves. This unsightly condition also afflicts other plants, but luckily there is a natural treatment.
I learned this remedy from a client of mine who tested this mixture on her roses, had success, and then retested with similar successful results. Now she uses the yogurt mix as a preventive measure and reports it is very effective.
Ingredients:
Full-fat plain yogurt and water.
How to Make It:
Mix 1 tablespoon of plain, unsweetened yogurt in a cup of water, then pour into a spray bottle.
Tip: You can also use the thin, watery liquid that collects at the top of your yogurt (it’s called whey) because it is also full of healthy microbes.
How to Use It:
After dusk when temperatures have cooled, spray any rose leaves that are affected by powdery mildew and black spot. This solution can be sprayed daily as a preventive measure or to treat a current problem. My thought is that the good microbes in the yogurt dominate and win over the harmful pathological organisms. The milk forms a thin layer over the leaf, discouraging disease from developing.

4. Weed Killer

Ingredients:
Undiluted household white vinegar.
How to Make It:
Either use the vinegar straight, or you can add one teaspoon of liquid Castile soap to help the mixture stick to the leaves.
How to Use It:
Spray the vinegar directly, and liberally, on the weed intruders. Because the vinegar will kill the leaves and not always the roots, you may need to reapply. The best time of day to use this natural week killer is on a hot and sunny day. The theory is that the acid in the vinegar burns the weeds and will kill them in a matter of minutes to days. This natural remedy is far superior to the store-bought weed killers that are extremely toxic to people, creatures, and our water supply.
5. Soil Amendment

Did you know that eggshells are high in calcium and other important minerals that nourish your garden? It is this calcium that helps develop strong cell walls, or “plant bones.”
Ingredients:
Washed eggshells
How to Make It:
Allow eggshells to dry and them put them in a mortar and pestle and grind until they are crunched up like bread crumbs.
How to Use It:
Add the crushed eggshells to your soil and till in. This is best done in the fall and spring.
You can also do a more direct approach by scratching the egg shells into the top 1 inch of the soil around plants, like roses, and then water thoroughly.
Tomato plants especially love these calcium-rich shell crumbs if added at planting time.

N.B.: We’ve done a deep dive into the Pros and Cons of Homemade Weed Killers; see what Justine has to say on the subject here.
For more ways to keep plants healthy, see:
- Goodbye, Fungus Gnats: Pest-Free Potting Soil.
- Is It OK to Reuse Potting Soil?
- Dirty Secrets: 10 Ways to Improve Garden Soil.


Have a Question or Comment About This Post?
Join the conversation