Every year I attempt to carve a pumpkin that’s somewhat on the subtler end of the spectrum from the wide, toothy grinned pumpkins of my childhood. I’m usually foiled by rudimentary carving skills that don’t match my vision for sculptural masterpiece. This year I decided on a starry pumpkin that doesn’t require very many special skills, yet still manages to look grown up.
Photography by Erin Boyle.

Above: To begin, I chose a sophisticated white Lumina Pumpkin instead of the typical orange porch-dwellers (see Janet’s roundup for our Favorite Pumpkin Varieties).

Above: I drew a faint line with a colored pencil to mark where I’d make my lid.

Above: Using a chef’s knife to make diagonal cuts in the top of the pumpkin, I cut a lid. The diagonal cuts are important so that the lid doesn’t fall through when the pumpkin begins to shrink as it dries out.
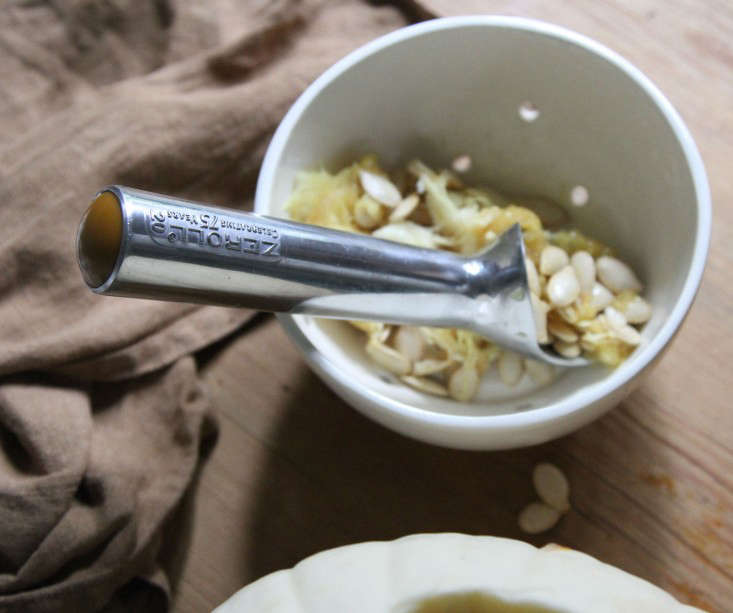
Above: Next, an ice cream scoop came in handy for removing the seeds and goop from inside the pumpkin. (Don’t worry: I made sure to save the seeds for roasting.)

Above: I use a set of hand drills to punch different sizes of holes in the pumpkin wall. I didn’t draw a guide, but I did start with the largest drill and work my way to the smallest, making a haphazard pattern in the pumpkin wall. The Gimlet Hand Drills I used are $13.95 from Kaufmann Mercantile.

Above: Designed for wooden surfaces, the steel hand drills also worked well on a pumpkin. I took care to wash and dry them carefully afterward.

Above: After punching holes over the surface of the pumpkin, I decided to get fancy and turn a few of my regular old stars into supernovas. I used a small knife to carve tiny star bursts around the edge of some of the largest holes.

Above: After I tackled supernovas, I went straight to comets.
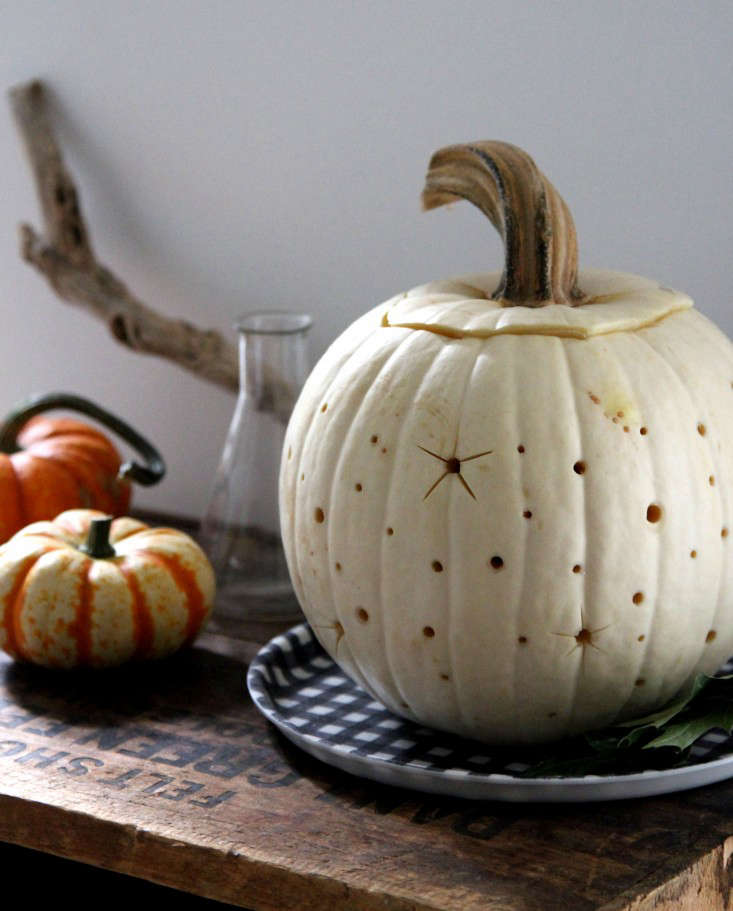
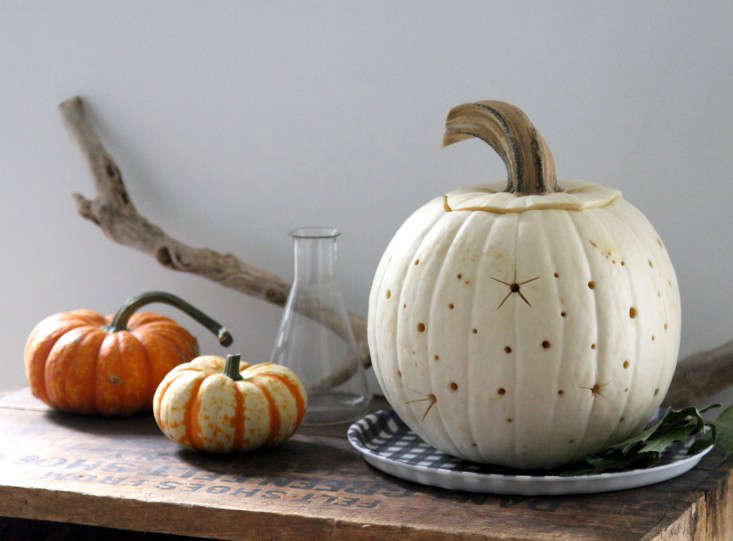
Above: Set on my bookshelf, the pumpkin looks as pretty by day as it does at night.
N.B. To make sure I really got the pumpkin glowing, I used three small beeswax tea lights instead of one and let the pumpkin glow with the lid off to promote oxygen flow to the candles.
Are you in a Halloween mood yet? For more, see:
- Curb Appeal: 8 Best Orange Paints for a Front Door.
- 13 Ways to Decorate for Halloween with Pumpkins.
- 10 Easy Pieces: Best Pumpkins to Plant for Next Year’s Halloween Harvest.


Have a Question or Comment About This Post?
Join the conversation