I grew up under the Southern California sun in Orange County, 20 minutes from Huntington Beach, and I spent almost every day of summer ankle-deep in sand. Consequently, I’ve had my share of sunburns. But however painful the burn was, I could never bring myself to use that bright green aloe vera gel you find in the pharmacy. Why was it so green? What was in it, anyway?
Because of my gel phobia, my mom planted a medicinal aloe vera outside our house. I’ve been using it to make my own sunburn cure ever since. Recently, a heavenly addition has made its way into my homemade burn remedy: coconut oil, for extra moisture. If you follow the simple steps below, you can easily make your own and ditch the store-bought gel. With my sunburn days long gone, I use this mixture as a hair treatment and a body lotion.
Photography by Dalilah Arja.
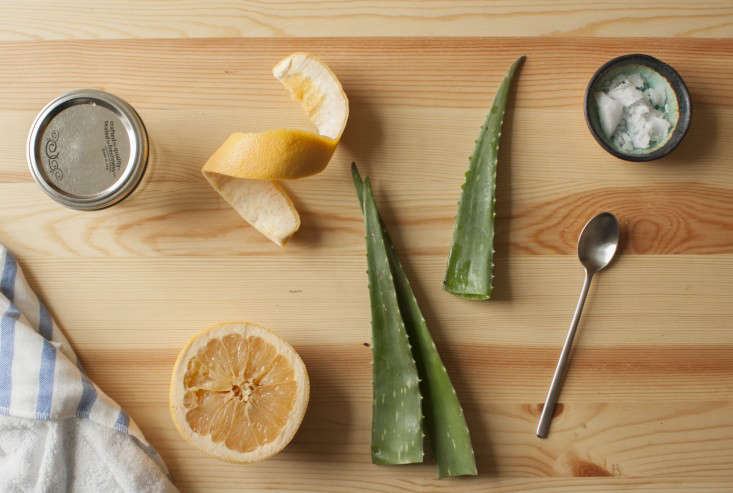
Ingredients:
- Fresh aloe vera leaves (I use five 4- to 6-inch-long leaves to make 1/4 cup of gel)
- 2 tablespoons cold-pressed extra virgin coconut oil (available at health food stores)
- Grapefruit essential oil (or other organic essential oil; optional)
Materials:
- Spoon
- Jar or container
- Food processor (optional)
Instructions:

Step 1: Wash off any dirt that’s on the aloe leaves and dry them. If you don’t have access to an aloe vera plant, you can find fresh leaves in the produce section of most health food stores.
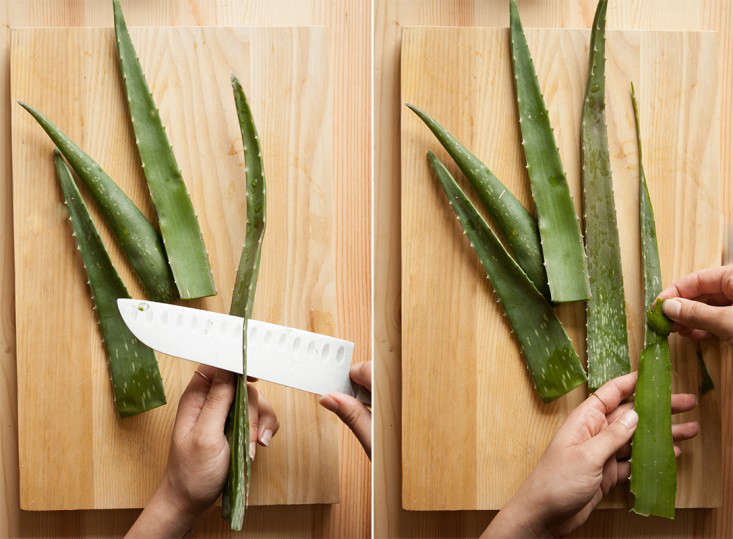
Step 2: If you wish, you can cut off the thorns with a knife. I don’t mind them, so I usually leave them. Then peel the skin off one side of each leaf. The smell can be unpleasant (it reminds me of canned chicken noodle soup), but the result is worth it.
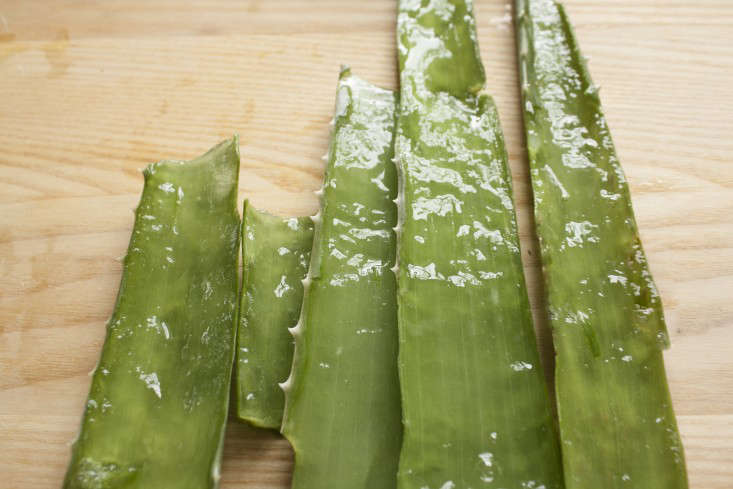
Above: The gel inside.
Step 3: Use a spoon to scoop the gel from the leaves into a container.

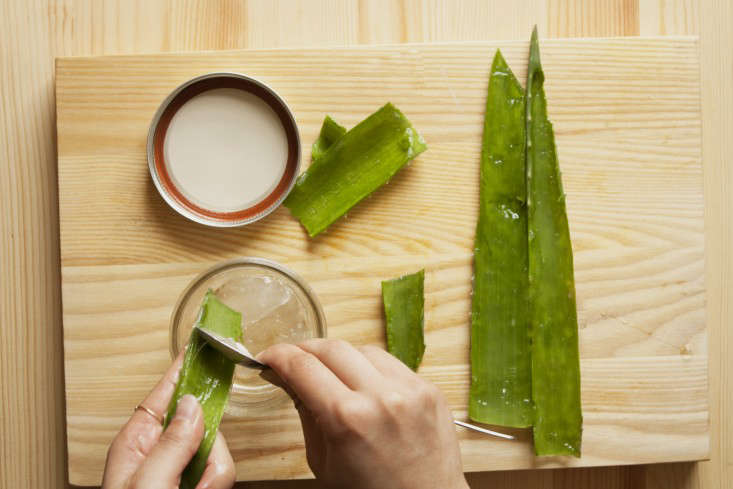
Above: Fresh aloe vera gel is ready to be mixed with coconut oil (or used alone, if you prefer).

Step 4: Add 2 tablespoons of coconut oil and a few drops of essential oil, if wanted, for aromatherapy (and to mask the smell of the aloe vera). I use grapefruit essential oil–a 5-ml bottle of Grapefruit Essential Oil is $4.95 from Eden’s Garden. Blend the ingredients in a food processor or beat with a fork.

Step 5: Store the aloe vera gel in a container and refrigerate. Coconut oil hardens when refrigerated, so you may need to mix the gel before applying. A batch will keep for about a month in the refrigerator.


Have a Question or Comment About This Post?
Join the conversation