Icon - Arrow LeftAn icon we use to indicate a rightwards action. Icon - Arrow RightAn icon we use to indicate a leftwards action. Icon - External LinkAn icon we use to indicate a button link is external. Icon - MessageThe icon we use to represent an email action. Icon - Down ChevronUsed to indicate a dropdown. Icon - CloseUsed to indicate a close action. Icon - Dropdown ArrowUsed to indicate a dropdown. Icon - Location PinUsed to showcase a location on a map. Icon - Zoom OutUsed to indicate a zoom out action on a map. Icon - Zoom InUsed to indicate a zoom in action on a map. Icon - SearchUsed to indicate a search action. Icon - EmailUsed to indicate an emai action. Icon - FacebookFacebooks brand mark for use in social sharing icons. flipboard Icon - InstagramInstagrams brand mark for use in social sharing icons. Icon - PinterestPinterests brand mark for use in social sharing icons. Icon - TwitterTwitters brand mark for use in social sharing icons. Icon - Check MarkA check mark for checkbox buttons.
You are reading

DIY: Botanical Ice Lanterns

Search

DIY: Botanical Ice Lanterns

December 24, 2018

On these darkest nights of the year, it’s important to add as many spots of light as possible. This week, add a little light to warm the night outside. A trio of ice lanterns will welcome guests (oh come, all ye wassailers).

Read on for materials and step-by-step instructions for making botanical ice lanterns:

Photography by Erin Boyle.

Above: Gather supplies. I used cylindrical containers, but you can get other shapes (so long as the smaller container is wide enough to hold a tea light or votive candle).

Materials (per lantern):

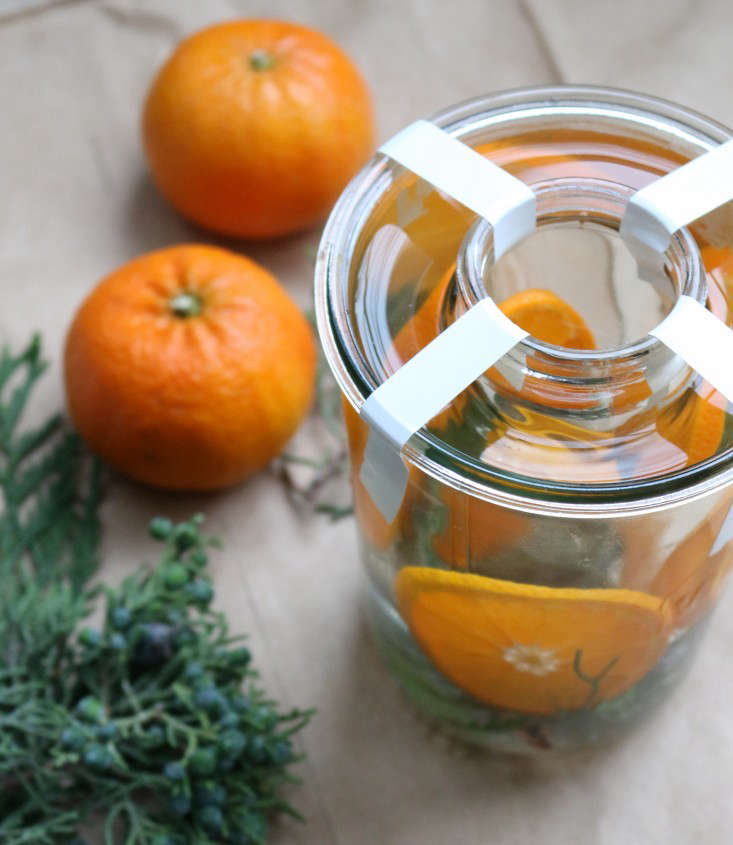
  • 2 containers of different sizes
  • Electrical tap
  • Water
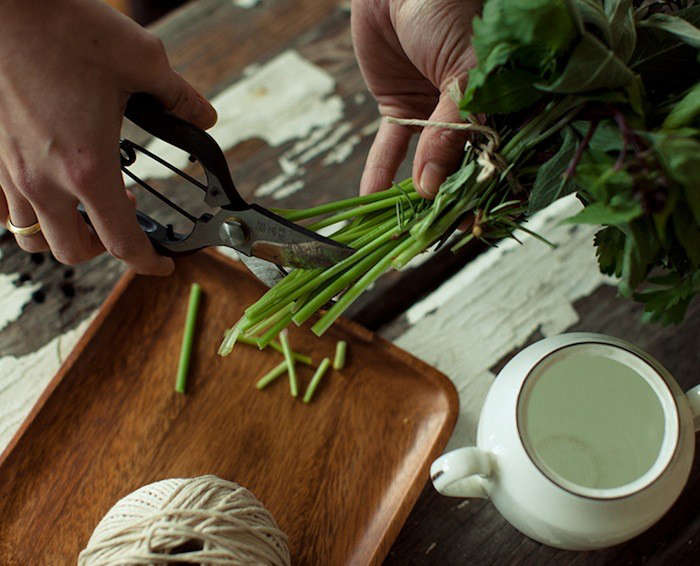
  • Foraged finds ( orange or clementine slices, cedar branches, pine needles, juniper berries, cranberries, etc.)
  • Below freezing outdoor temperatures (or a freezer)
  • Flameless tea lights or votives
Above: Use electrical tape to center the smaller container inside the larger one. The water will keep the the container afloat, but you’ll need the tape to keep it centered.
Above: After you put the center container in place, add botanical elements. I used cedar and juniper branches for my first lantern.
Above: Cedar and cranberries made a festive combination for a second lantern.
Above: For the last lantern, I started with a base of juniper berries on the bottom of the jar before adding water and a second container.
Above: The best part about working on a craft project surrounded by family? Last-minute ideas. My sister-in-law was munching on a clementine while I was filling these lanterns, so I decided to slice one up and make a citrusy lantern, too.
Above: Ready to freeze.
Above: All three lanterns, ready for freezing.
Above: If you have snow, or freezing temperatures, freeze your lanterns outside. A warning: check on your lanterns often. The first time I made an ice lantern, I let it freeze for about six hours and loosened it from the jar when the water was frozen, but not cloudy. The second time, I got a little bit distracted and left the lanterns to freeze for about eight hours…and ended with a Weck jar casualty.

Stay on the safe side and check your lanterns every hour or so to make sure that they’re not over-freezing. If you’d prefer to put the lanterns in the freezer and not worry about them, by all means, use plastic vessels instead, the process is the same.

The more foraged materials you add to the glass, the more slowly the ice will freeze (the jar that broke was on the lantern with the least amount of greens).

Above: After they froze, I removed the tape and ran the jars under lukewarm water to loosen them. They slid right out.
Above: Nestled in a bit of greens, they made a welcoming ensemble on the front stoop.
Above: To preserve the life of the ice lanterns and to alleviate any worry of the greenery catching fire, I used flameless outdoor tea lights. The tea lights technically aren’t supposed to get wet, so if you notice the temperatures starting to get warmer, consider removing the lights.
Above: When I made my first trial ice lantern, I was concerned about the bits of greenery that floated to the surface of the water, but I ended up really liking the bits that stuck out of the top of each lantern.
Above: I’ll be making these festive lanterns all winter (they’re just as pretty on a city windowsill as on a country stoop), and they take only a few minutes to put together.

Looking for an ice-only look? Try these Frozen Ice Candle Holders that we spotted last year.

(Visited 5,297 times, 1 visits today)
You need to login or register to view and manage your bookmarks.

Have a Question or Comment About This Post?

Join the conversation

v5.0