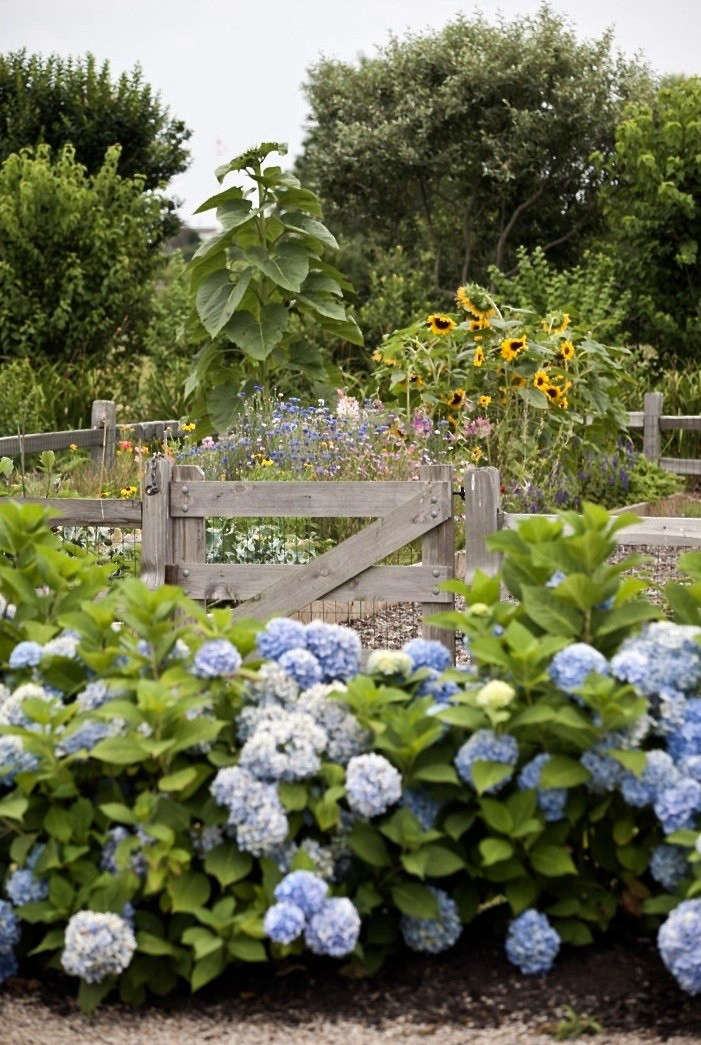
If you’re reading this post you likely have a drip irrigation system, which means I am grateful that you’ve chosen to install a very smart and efficient way to water your garden. But there are times when drip irrigation frustrates even garden designers like me—because of leaks, accidental breaks (leading to Las Vegas-worthy geysers), and random acts of sabotage (you know what I mean if you have an avid chewing-type dog).
The solution is a DIY drip irrigation emergency kit for repairs. With a few inexpensive supplies (see the list below) and new skills gleaned from reading this post, you will be able to troubleshoot most drip irrigation issues. You’ll also be able to add irrigation for a new patio container pot or garden plant:
Photography by Mimi Giboin for Gardenista.
Drip Irrigation Kit

Here’s a handy guide to each irrigation component:
Tubing
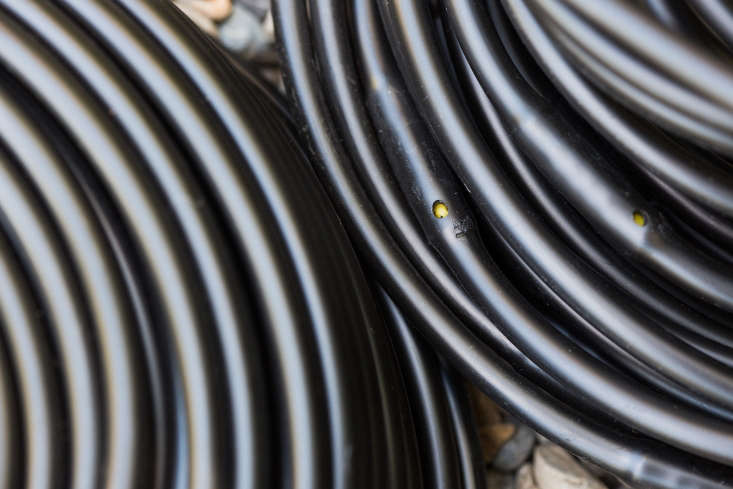
What is drip irrigation tubing? Tubing is the highway system for the water. As a landscaper, I always have rolls in my arsenal. Two essential sizes are 1/2-inch tubing (to use as a main line) and 1/4-inch tubing (for adding new plants to a system). I also use the 1/4-inch tubing to bring water to a newly planted container.
I use a drip line with 6-inch spacing when I need to irrigate a tree or large shrub. I find that creating a ring around the plant distributes the water to an expansive root system more effectively.
Metal Loop Stakes
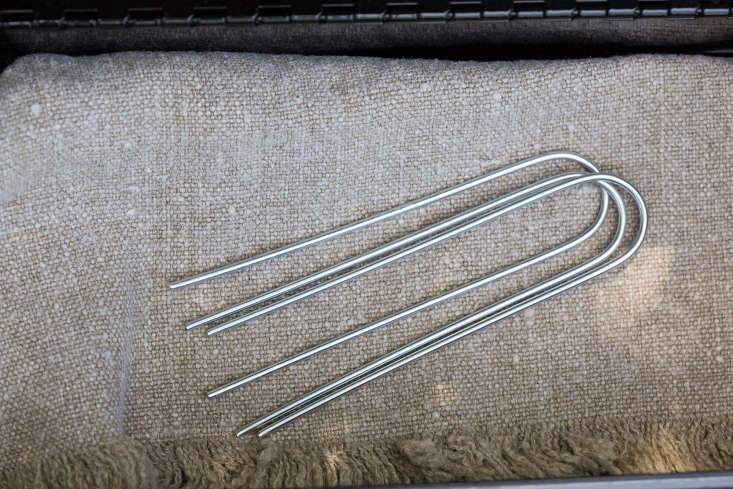
Always have a dozen metal stakes in your kit to hold down all sizes of irrigation tubing. I’ve learned that 1/2-inch tubing is notorious for heating up in warm weather and subsequently rearing its ugly head through mulch. A few staples will prevent that.
Cutting Tools

You will need a cutting tool to cut your plastic tubing to desired lengths. I prefer to use my hand pruners because they are readily available, resting in my side leather holster, but some gardeners worry that cutting plastic tubing with garden clippers they will eventually dull the blade. Your knife skills—or lack thereof—should determine your tool of choice.
Hole Punch Tool

After you cut the desired length of 1/2-inch tubing, you need to poke a hole in the tubing to connect it to a connector or emitter. For that, you use a poker.
A poker is a key punch tool that makes an accurate hole in 1/2-inch tubing. There are many styles available, so search out your favorite, but I like the simple and affordable orange key punch.
Tip: It is easier to punch holes when the temperature is cooler because heat softens the 1/2-inch plastic tubing and can make it frustratingly squishy and hard to securely punch a hole.
Connectors
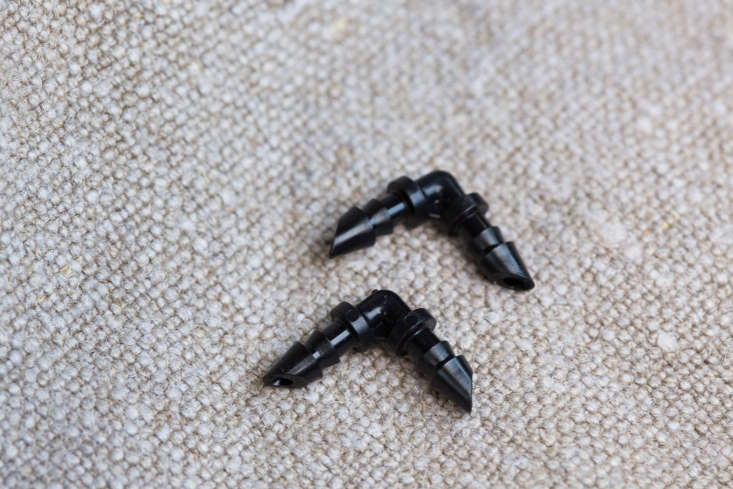
There are different styles of connectors to use to connect 1/2-inch tubing to 1/4-inch tubing. Connectors come in straights, elbows, and T-shapes, so plan on having a bag of each. . I like to use elbow-shaped connectors to climb up the back of a container for a neater appearance. T-shaped connectors are good for—as the name implies—teeing off the irrigation to a nearby plant.
Tip: Another type of connector to have is a straight connector for 1/2-inch line. There will certainly come an unfortunate time—if it hasn’t happened already—when you will be digging a hole and accidentally sever the tubing like a shark bite. Simply cut away the broken part and use a 1/2-inch connector to join the two pieces back. (If you happen to just nick the line, you can sometimes plug the hole with a goof plug. A supply of Goof Plugs ($.09 apiece from Drip Depot) is very handy to have on hand. No one is perfect.)

After you connect a 1/4-inch line to a 1/2-inch line, run the line up the back of the pot, add a 1/4-inch connector, and then run a 1/4-inch drip line with 6-inch spacing around the middle of the container. (I end the line with a goof plug and use metal or plastic stakes keep it all in place.)
Emitters

To add irrigation to a new plant or to replace an emitter because the plant needs less (or more) water, you should have a bunch of different emitters in your kit. Different manufacturers make different emitters so check the package description. Also, there has been a change in what colors represent what flow amount. Bottom line: Do your homework on what each plant requires regarding water needs and choose an emitter with appropriate rate of flow.
Risers

Although many emitters connect directly to drip irrigation tubing, there may be instances when you will attach an emitter to an above-ground riser. In those cases, choose a riser that is an appropriate height.
N.B.: Ready for more of the nitty gritty of drip irrigation? See Hardscaping 101: Drip Irrigation.


Have a Question or Comment About This Post?
Join the conversation