Peeling a clementine, or any of the small breeds of bright orange tropical citrus, can inspire a certain kind of competitive edge. Can you get the peel off in one solid piece, or have you accumulated a pile of pithy crumbs?
Sit down to eat clementines in a group, and you just might find yourself pitting your own handiwork against other people’s peeling prowess.
This DIY increases the stakes: manage a perfect peel, and you can get a new candle as a reward for all of your hard work. But there’s a secret: the perfect peel isn’t so very hard to achieve. And if you mess up? Pop a section of sweet citrus into your mouth and forget your worries. (Wish you had your own citrus tree to pluck? See How to Keep an Indoor Citrus Tree Happy.)
Photographs by Erin Boyle.
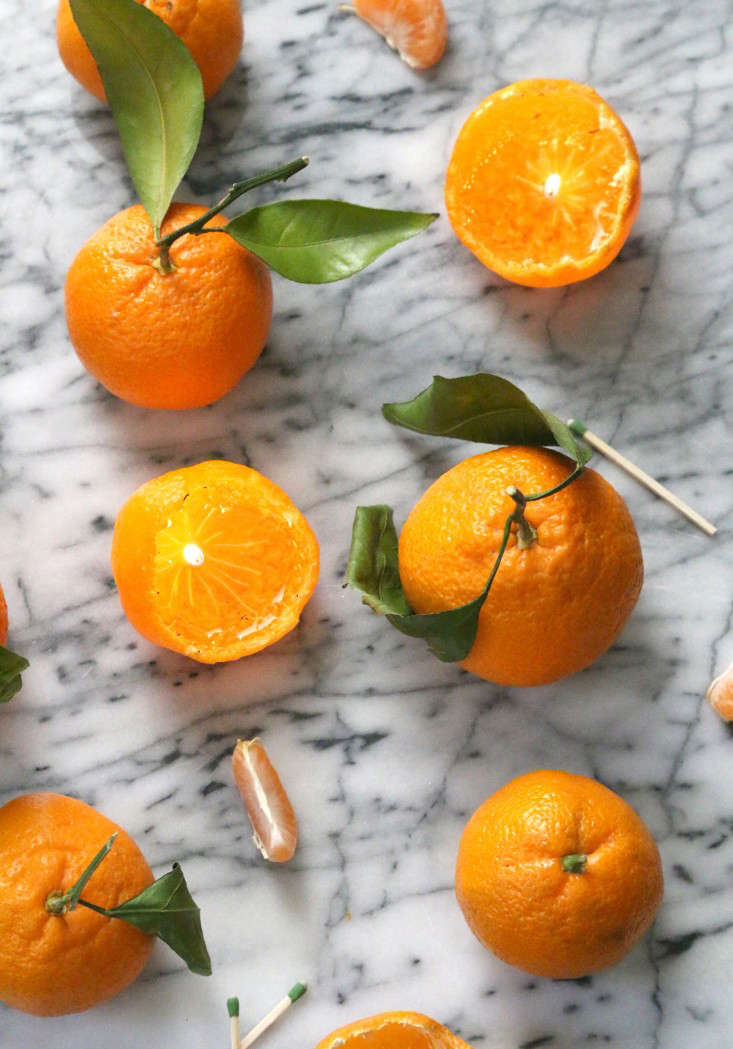
Above: I recently made a collection of mandarin votives. Eat one, make one was more or less the process here, but read on for the full how-to. (Interested in a purely edible DIY? See DIY: Moroccan Preserved Lemons.)

Above: Start with a fresh piece of citrus. Mandarins, satsumas, and clementines all work equally well.

Above: Start to peel the fruit by puncturing a hole in the bottom of the fruit (on the opposite side from where the stem is, or was, attached).

Above: Forget the naysayers and make small tears in the rind, until you’ve cleared away just the top third. I like the rustic look of the jagged edge here, but you can also use a knife if you’re so moved.

Above: Next, gently slip your fingers around the edge of the fruit, freeing it from the rind. It’s easier than you think.

Above: The key is to leave the bit of white pith that sticks up from the opposite side of the stem. This will be your wick.

Above: Next, fill the empty rind with a bit of oil. Most anything will do: I tried both olive and canola oil. The olive oil burned with a more pleasant smell, but I’m a little protective of my extra virgin, so I used less expensive canola for the rest. (For a little citrus-y aromatherapy, see DIY: A Potent Potpourri With Grapefruit, Rosemary, and Vanilla.)

Above: Make sure the “wick” is thoroughly soaked–and light. It might take a few match strikes for success, but once lit, these guys will burn for hours.
Is it icy where you are? Cheer up with Ice Lanterns. See also our collection of posts on Candles.


Have a Question or Comment About This Post?
Join the conversation