Rooting herbs in water is so easy to do that the first time it happened to me was a surprise. A friend brought me a housewarming gift–a bouquet of herbs–that I set aside and promptly forgot in my haste to prevent the movers from breaking the china. By the time I unpacked the last of the dishes and found the herbs, they had roots.
Here’s how to root herbs in water (on purpose!) and toughen them up so they can survive a transplant to the garden:
Photographs by John Merkl.
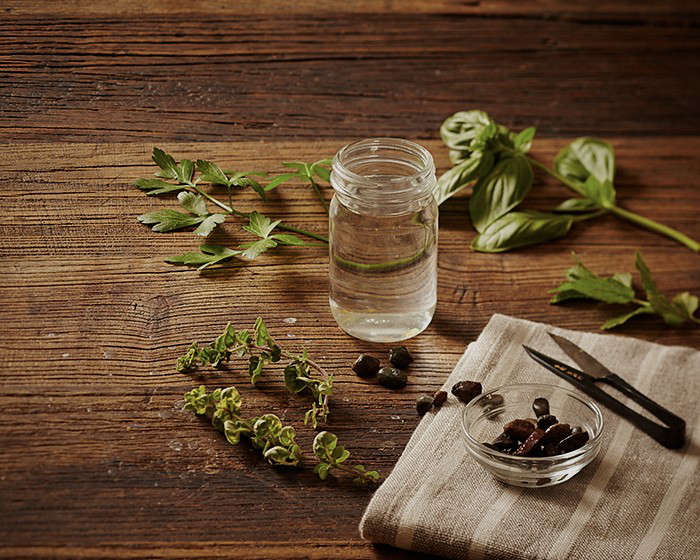
Keep It Simple: All you need are clippings of soft-stemmed herbs (woody herbs won’t root in water), a wide-mouthed vase, herb snips, a few pebbles and–of course–water to fill the vase.
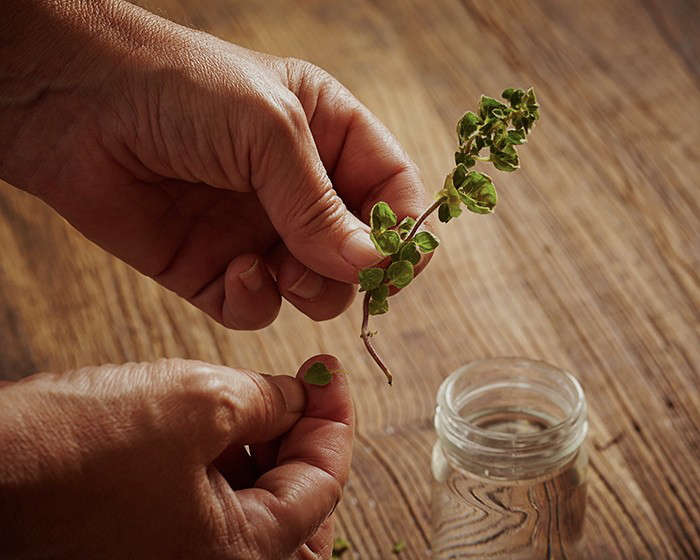
Step 1: Strip off the bottom leaves off so you have a nice long stem.
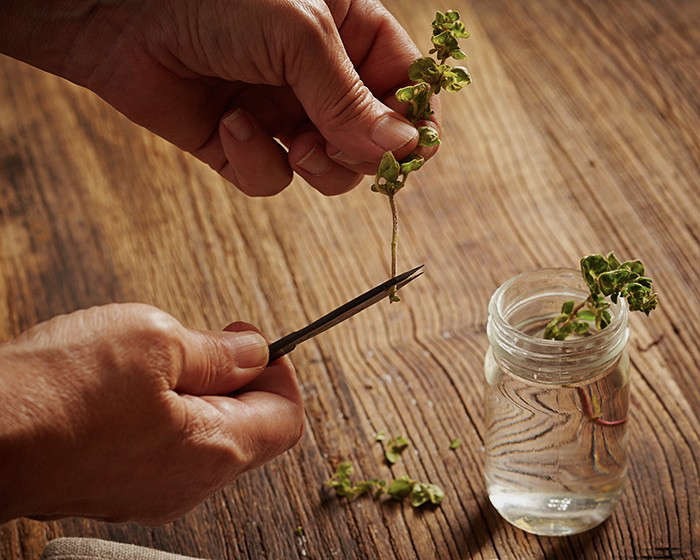
Step 2: Give the stem a fresh cut, on an angle (to expose more surface to the water).

Step 3: Insert the stems into the jar of water.
Need to Know: Some herbs will take longer to root than others, so don’t despair if you see no action for a couple of weeks.
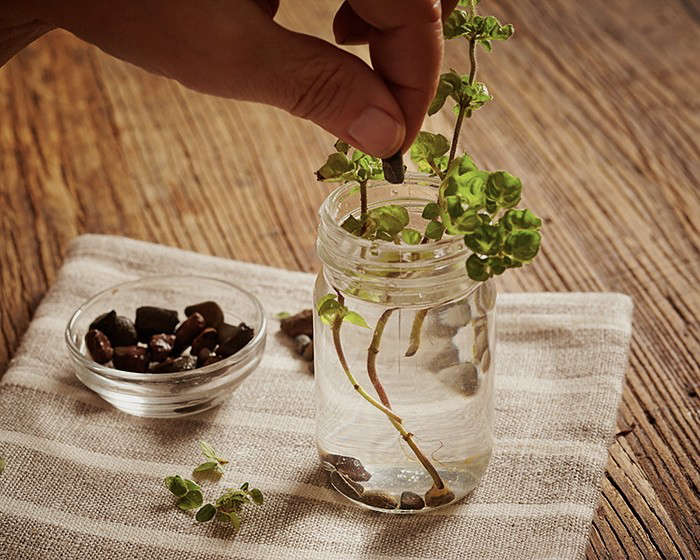
Above: After roots develop, toughen them up by gently dropping pebbles, one at a time, onto the roots. After a week or so of toughening them up, they should be strong enough to withstand being transplanted outdoors.

Above: Mint will develop roots faster than most other herbs; it’s a good choice for a beginner. For more, see our Video: Clone Herbs in Your Kitchen.
New to gardening? See more of our Gardening 101 posts, including Gardening 101: How to Sprout a Seed and Gardening 101: How to Water a Potted Plant.


Have a Question or Comment About This Post?
Join the conversation