With many things in life, the fantasy is not quite the same as the reality. I’m talking about coffee of course. Though I have a more than fairly discriminating palate, in the morning before heading to work I only have time for the bare minimum. Really just bare. I have one of those electronic-drip Cuisinart machines, the advanced kind–thing basically has an LCD screen–pre-set to start brewing at 6 am. When I wake up at 6:30 or so, my morning perk is waiting. The whole process takes five minutes: three to load the pre-ground coffee and filter the night before, two to add enough almond milk and agave syrup to drown the less-than-ideal flavor in sweet nuttiness. Unromantically, my beans are often sourced from Dunkin’ Donuts.
Enough with the confessions. This may be what I drink in the morning, but I also know how the perfect cup of coffee should look, smell, and taste. The question is: how can I make one?
Enter the Chemex. The Chemex coffee maker is a wonky invention: a double-bodied glass sculpture with an hourglass curve cinched by a leather strap invented in 1941 by one Peter Schlumbohm. Considered one of the classic designs of the 20th century–perhaps you’ve seen it at the Museum of Modern Art?–the Chemex has not changed one bit in 73 years. Nor has the technique for using it. I am tempted to think that Mr. Schlumbohm had quite a bit of time on his hands as making a cup of coffee with a Chemex takes 20 minutes. Could it possibly be worth it?
To find out, I decided to pack up and head to the 1940s in search of the perfect cup of coffee. Who knows? I may come back with non-elastic stockings and an unexplainable love of Mahjong. But if I manage to make a perfect cup, the rest is collateral:
Photographs by Nicole Franzen for Gardenista.
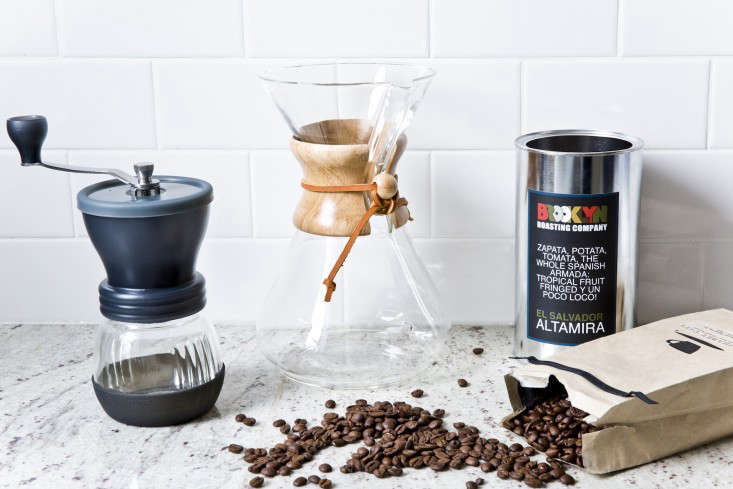
Step 1: Find the right beans. They mean the difference between diluted dishwatery yuck and a deeply concentrated aromatic blend, with that rich-great-coffee flavor (that am I crazy for saying is just the tiniest bit salty)?
I purchased my dream beans from Ninth Street Espresso and from Brooklyn Roasting Company, my top New York contenders–going local here–for top coffee beans of the year. The beans are fervently brown and buttery. When I run my fingers over them, I can feel some of the pungeant oils seep into the pores on my hands.
Step 2: Procure a Chemex coffee maker. These come in a variety of sizes, designed for a single cup of coffee, a duet, a trio, or a family of five. Chemex coffee makers are expensive–the one I bought cost nearly $75 with tax and shipping–but deserve to be considered as a double investment, since they are also works of art, with long, curvy bodies. Hourglass figures. And believe me, making coffee in them can fell like it takes that long.
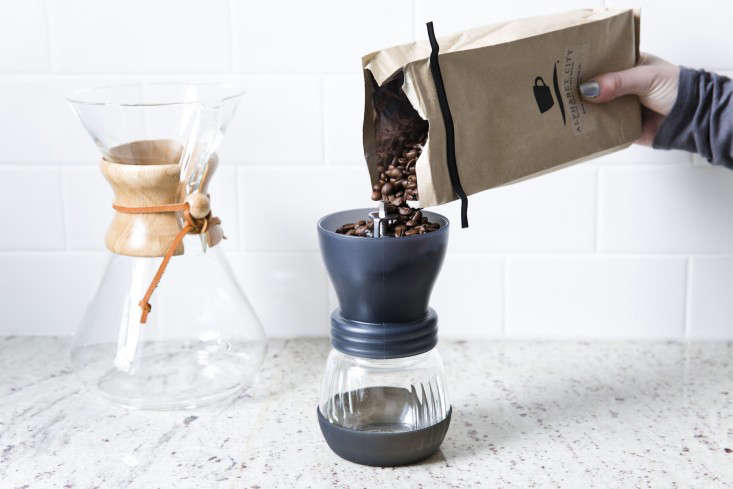
Step 3: Grind the beans by hand. (I used a Hario Skerton Grinder ($39.95 from Crate & Barrel). As a proud leftie, I needed a moment longer to configure the thing, but after I got grinding, it was easy.) You appreciate coffee for its own sake so much more when you do all the steps yourself. Grinding by hand, for instance, I found that there are more inconsistencies in the size of the coffee granules, and it is that human inconsistency that adds the magic, personal touch.
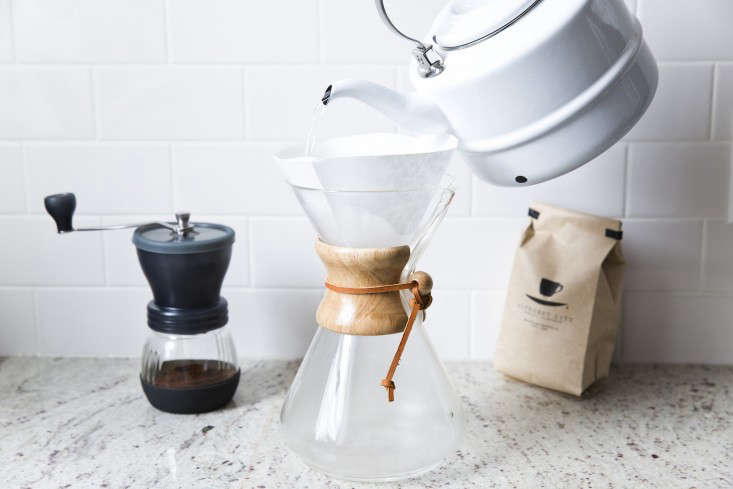
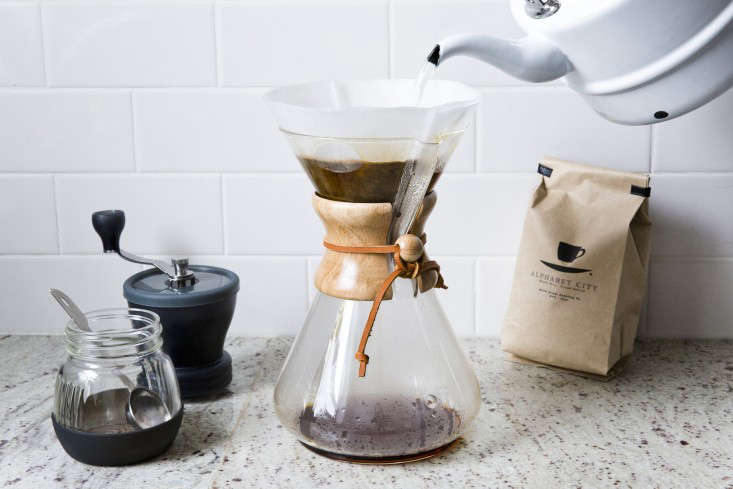
Step 4: Prepare the filter. Gently embed the circular filter into the rounded upper body of the Chemex, and heat a pot of water in a kettle on the stove. Pour a stream of boiling water onto the filter. It shouldn’t be so much water that it starts to percolate into the bottom lobe of the Chemex, just enough to make the paper stick to the grounds.
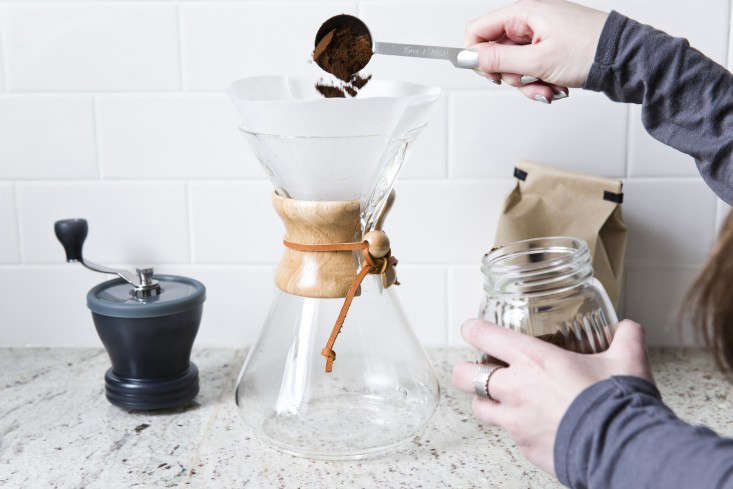
Step 5: Put one rounded tablespoon of coffee grounds per desired cup of coffee into the top of the Chemex. Don’t skimp on the 1:1 proportions here; you do not want watery coffee.
So now you throw a bunch of boiling water over the grounds? Think again. This is a gradual process.
Step 6: First and foremost, you need to “bloom” the grounds, extracting the best flavors from the coffee and getting the beans “acclimated to” the heat. Yes, it is like trying to bathe a small child. Pour enough water over the grounds (let’s say, at 200 degrees) to cover them by about a quarter inch. You will see the “blooming” in progress as the grounds start to bubble and fizz with surprising energy.
Step 7: Now you can be freer with your distribution of boiling water. Keep pouring until you fill the top lobe of the Chemex. It’s best to pour in a circular motion onto the sides so grounds are infused evenly and don’t stick to the sides. As coffee percolates into the bottom of the Chemex, you can pour in more water. Trick of the trade: if the coffee is percolating super slowly–trust me, it will–use a spoon to swirl the grounds. This motion will allow the filter more surface area for the grounds to pass through.
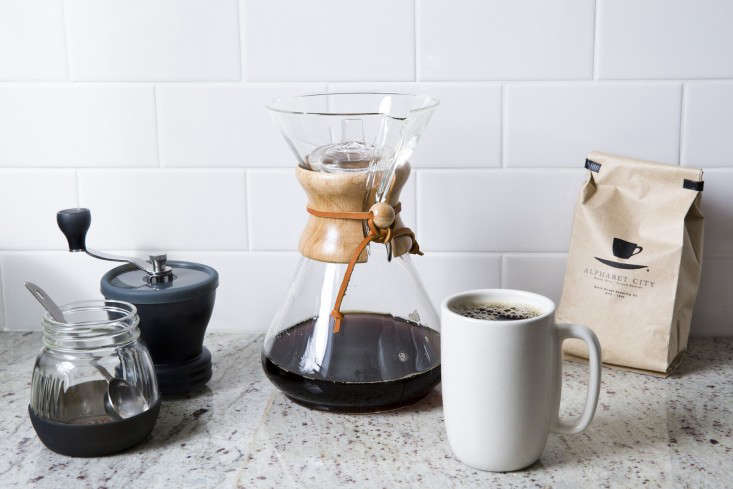
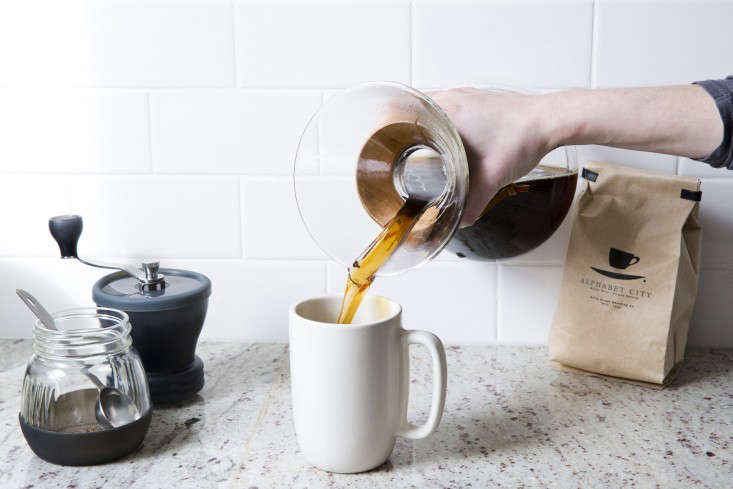
Voilí ! After all the water has passed into the bottom of the Chemex, toss the filter and drink the coffee. The liquid should still be hot and so thick and flavorful that it is almost entirely opaque when you hold it to the light. (You should be able to taste the subtle flavor of salt that I insist is present in the highest quality coffee.)
I can brew a cup of coffee with the hand grinder and the Chemex maker in about 20 minutes. Admittedly, this is far more time than I’d be able to allow myself on a weekday morning, but I find that the more that I use it, the faster it seems. And what better ritual than brewing a cup of fantasy coffee to set the stage for an extra magnificent kind of day?
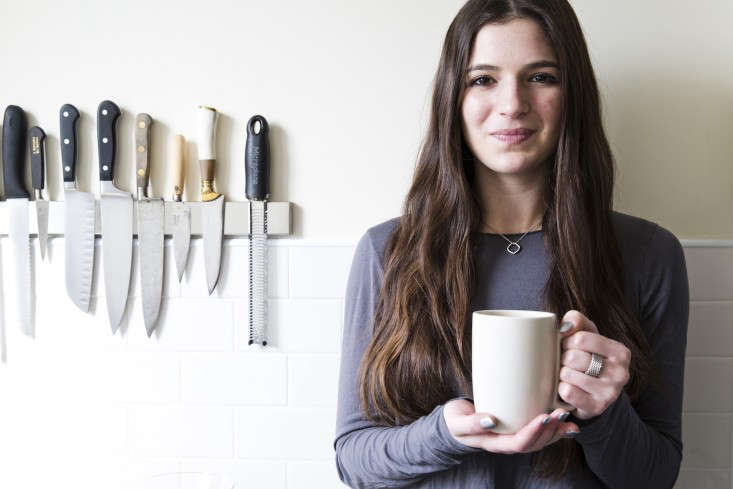
This is me with my cup of coffee (and a knife collection somewhat ominously in the background). Here I am drinking it black; in the New Year I have decided to try to cut down on lactose and processed sugar, so I sometimes complete my coffee with unsweetened almond milk and a dash of agave syrup.
Was it my perfect cup? Oh yes. It may have taken me 20 minutes to make. But the results blow my Cuisinart drip out of the water (so to speak). Mahjong, anyone?
(What is your perfect cup of coffee? Tell us about your technique in the comments below.)
Coffee lovers, unite. Visit the Greenest Coffee Shop in the World with us. And if you’re in the Berkshires, be sure to stop in at No. Six Depot Roasters.






Have a Question or Comment About This Post?
Join the conversation