
We’re just days away from the official start of winter, but in most places, it’s not too late to prepare your compost pile before the coldest weather sets in. Of course, you could always do nothing: If you just let it sit, it will be just fine. However, a little bit of work now can keep your compost pile active longer and ensure that you’ll be on your way to lovely, rich compost when spring arrives.
“You can compost year round,” explains master composter Paul Merkelson, a volunteer who oversees the community compost program for ReWild Long Island. “During the winter, the bacteria and other microorganisms that break down our food scraps and yard waste just slow down.” Here are 7 tips to help extend the composting season:
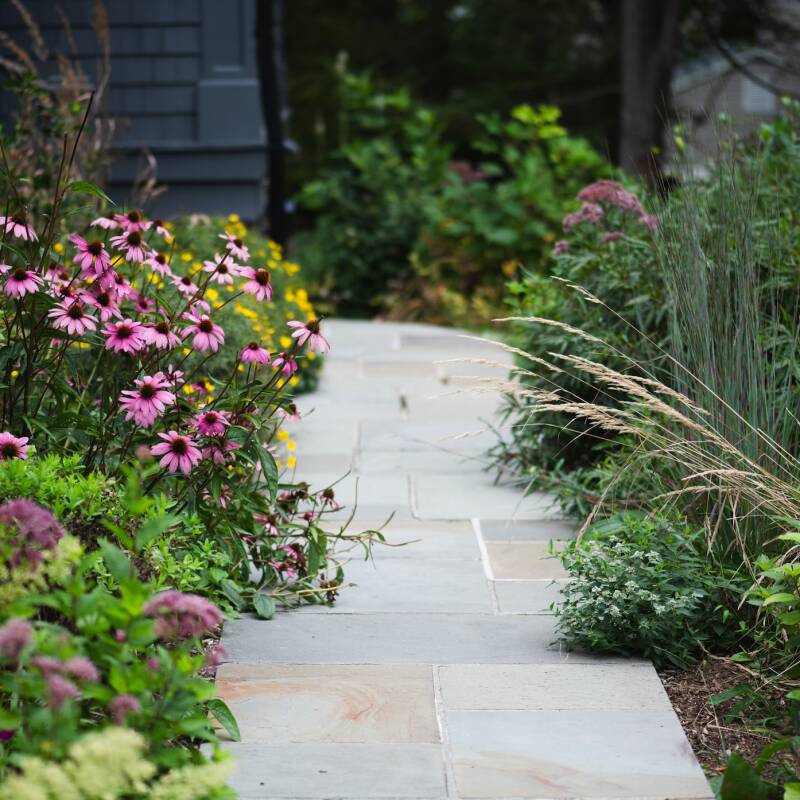
Featured photograph above by Jo Zimny Photos via Flickr.
1. Pile it up.

The bigger the pile, the better, says Merkelson. If you can amass a hefty pile, it’s much more likely to retain heat through the colder months. “The key is retaining heat, so the microorganisms don’t go dormant,” says Merkelson. He recommends building up your pile to at least 3x3x3 feet.
2. Chop, chop.
Because decomposition slows down in the winter, take extra care to break down your food scraps before tossing into your compost. Chopping up banana peels, leek greens, and the like, increases the available surface area for decomposers to feed on.
3. Add insulation.

To further retain heat, you can add a layer of natural insulation around the outside of your pile. Merkelson suggests cutting pieces of cardboard to line the inside of the bin or surrounding it with a thick layer of leaves (or sawdust, straw, or wood chips, if you have access to these).
4. Strike a balance.

It’s still important to keep your ratio of “greens” (moist materials, including kitchen scraps) and “browns” (dry materials, leaves, shredded paper and cardboard) during the winter months. Merkleson keeps a separate pile of leaves that he adds to his bin whenever he puts in kitchen scraps.
5. Don’t turn it.
When the temperatures drop, you should stop turning the pile because you’ll be contributing to heat loss. “Once the temperatures in the pile go below 40°F, there is not much microbial activity, so no need to turn,” adds Helen Atthowe, the author of The Ecological Farm. That said, if you hit a warm spell, go ahead and flip the pile to aerate, says Merkelson. Note: If you maintain a hot compost pile (most homeowners have a “cold” pile), the Growit Buildit! blog, in a tutorial about hot composting in winter, recommends continuing to turn your pile once a week.
6. Cover up.

Covering the pile can also help retain heat. Merkleson says you can cover your pile with leaves, cardboard, or straw to keep it warmer longer, but avoid covering the active pile with a plastic tarp, so it can breathe and receive moisture. Atthow notes that there are felt-like compost covers you can buy that breathe better than plastic tarps, as well. If you’re fortunate enough to have a stash of mature compost, it’s fine to leave it outside to overwinter, but Merkleson recommends you do cover that with a tarp. If not, “rain, sleet, snow washes through the compost and leeches out the nutrients,” he cautions.
7. Consider a backdoor bin.

“It’s not always necessary to go out in bad weather to keep composting,” says Merkelson, who personally doesn’t like to trek out to his pile in the worst winter weather. Instead, he throws food waste into an indoor Bokashi bin (an anaerobic method of composting). But Merkleson notes you don’t need a Bokashi bucket to avoid trips to your compost pile. Take advantage of the cold temperatures and place a food waste bucket outside, preferably next to the back door. “If it is freezing or close to freezing, you can just leave your food scraps in a sealed container for weeks or even months” until you’re ready to take them out to the pile, he says.
See also:
- Backyard Composters, Explained: The Good, the Hot, and the Wormy
- 10 Easy Pieces: Kitchen Compost Bins
- 10 Things Nobody Tells You About Compost


Have a Question or Comment About This Post?
Join the conversation