I have the sort of family that perks up at the first whiff of a DIY project. Mention that there might be spray paint involved, and they practically leap off the couch to compete for the honor of hosing down a pair of filthy old fiberglass urns.
The goal was to get the urns painted and planted in one afternoon, transforming garbage into the sort of gold that makes the neighbors envious when they walk past the house.
Materials:
- 2 fiberglass urns from God knows where, found moldering in the garage.
- 2 cans black spray paint (matte).
- 2 daughters, each with a “vision” for “a planting scheme.”
- Some nice plants and a little potting soil, mostly left over from previous DIY projects.
- Shiny pebbles.
- 1 glass of white wine, to sip while supervising from the porch.
Photographs by Clementine Quittner, except where noted.
Above: The black urns are dramatic; you can leave them sitting in the garden, framed by other foliage.
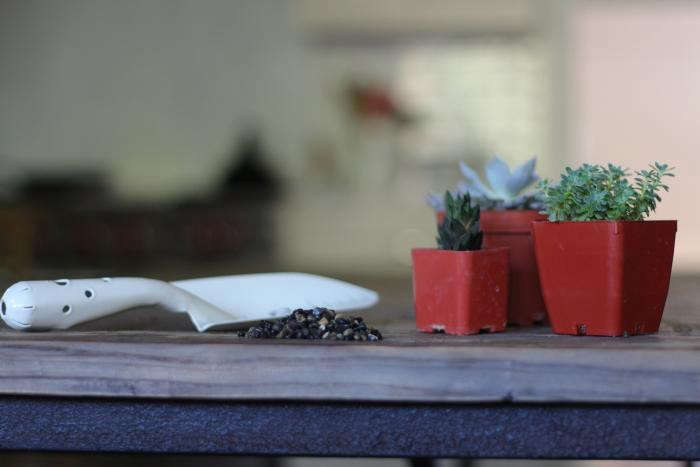
Above: To get your family to do all the work, lay a trap. A pile of shiny pebbles—don’t say what they’re for—and some irresistible little plants will pique their interest. Arrange these lures, without comment, on the kitchen table.
Above: Unable to resist the pebbles, Clementine signed on for the project. Zoe, home for the weekend, suggested adding succulents to the mix. Photograph by Josh Quittner.
Above: The before picture. We have two of these 28-inch-tall urns. A similar fiberglass Antique Rust White Urn is $100 from Jamali Garden.
Above: Zoe hosed down the urns to get off the spider webs, etc. Then we let them dry in the sun for about an hour.
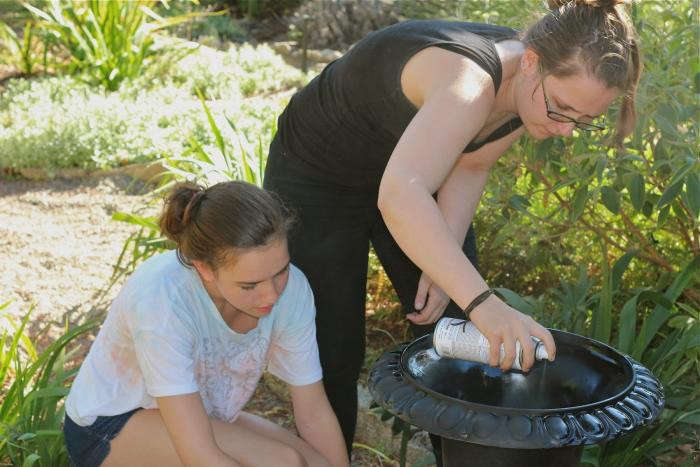
Above: A key to getting your family to do the DIY project is to provide each worker with her own personal can of spray paint. Photograph by Josh Quittner.
 Above: “Hold the can about six inches away and spray in stripes, back and forth,” I called helpfully from the porch. We let the paint dry for a couple of hours before proceeding to the next step, which was to put a few shovels of potting soil in the bottom of each planter.
Above: Succulents to cover the surface of the soil in each urn.
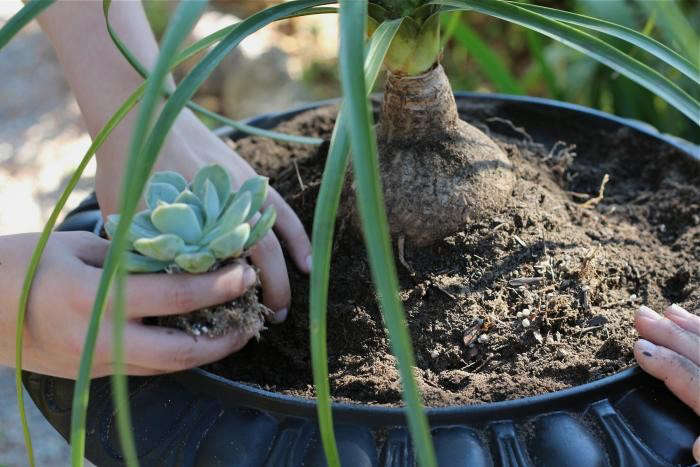 Above: In the center of each urn, “we” placed a Ponytail Palm Tree (a similar size is available for $44.75 from Ty Ty Nursery) to create enough height to balance the shape of the urn. Around the base of each palm, “we” planted a tiny garden of succulents. The idea was to have two distinct levels of plantings to create more interest and give the effect of two separate gardens in one pot.
Sprinkle the shiny pebbles around the base of the succulents to cover the soil. The black pebbles look particularly good against the matte black paint.
 Above: The reason everyone looked so happy: We had a zillion little succulents to place—plenty to go around. In a few months, as they get bigger, some of the succulents will be replanted in the garden. Photograph by Josh Quittner.
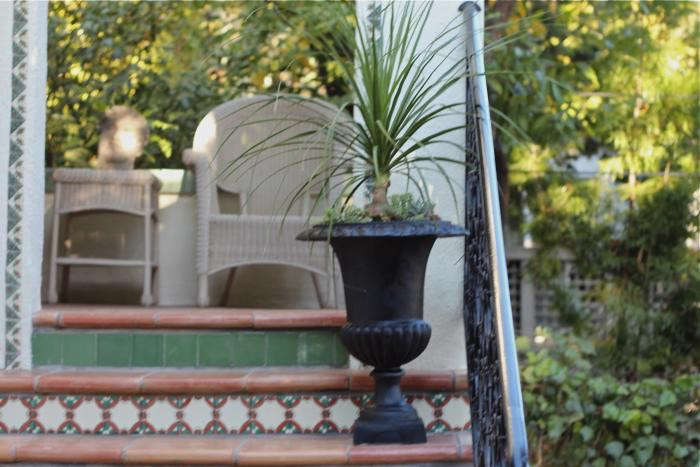
Above: At home on the front stoop.
No daughters around to help you paint ’em black? Check out planters that start that way at 5 Favorites: Jet Black Planters. Michelle rounds up 10 more at 10 Easy Pieces: Little Black Planters, again no daughters required.
Updated from a post originally published September 10, 2012.










Have a Question or Comment About This Post?
Join the conversation