Your duty, as a summer guest, is to admire your hosts’ overflowing herb garden without betraying envy. Instead ask sweetly if they would like to share. Upon returning to the city, you can transplant those outdoor herbs to a happy home on your windowsill. Here’s how:
Photography by John Merkl for Gardenista except where noted.

Above: Outdoor herbs that came in (from L to R): thyme, mint, and oregano.
Materials
- Perennial garden herbs with intact roots
- Small pots, preferably porous clay
- Potting soil
- A spoon or small trowel
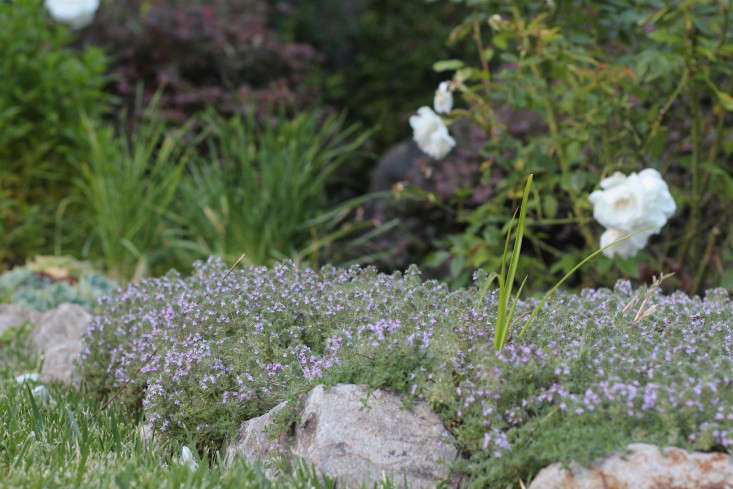
Above: Creeping thyme in bloom. Photograph by Michelle Slatalla.
Step 1: Choose perennial herbs because they will last longest in pots. Water them well in the garden before gently digging up. Use a spoon or a small trowel to tease out the roots so they don’t break off. It will be easier to keep the roots intact if you dig up a small plant instead of a big one.

Step 2: If you are not going to re-pot the herbs immediately, wrap the roots in a layer of moist paper towels or newspaper and a layer of waterproof plastic to keep them hydrated during transport.

Above: White clay pots and saucers are available in a variety of sizes and styles from Ben Wolff Pottery. We bought a set of three 4-inch One-of-a-Kind Specials for $48.
Step 3: Choose a pot with a drainage hole; porous clay pots allow water to evaporate faster and will prevent over watering.

Step 4: Fill the bottom one-third of the pot with potting soil and then place herb gently in the pot, making sure not to break off roots. Add spoonfuls of potting soil to cover the roots and tamp down with your fingertips.

Step 5: Water the potted herb thoroughly (stop when the saucer fills with water).

Step 6: Brush off excess dirt from the pot and place the potted herb in a shady spot for a week or so to allow the roots to adapt to their new home. Then transfer to a sunny windowsill (a southern exposure is best).
Planting a windowsill garden? For more, see DIY: Shade-Tolerant Herbs to Grow in Your Apartment and on Remodelista, 5 Quick Fixes: Herbs for Your Kitchen Windowsill.


Have a Question or Comment About This Post?
Join the conversation