When I was little, my aunt would mail me pressed violets in letters (remember letters?) and yes, I still keep them in a cardboard box stored on a high shelf.
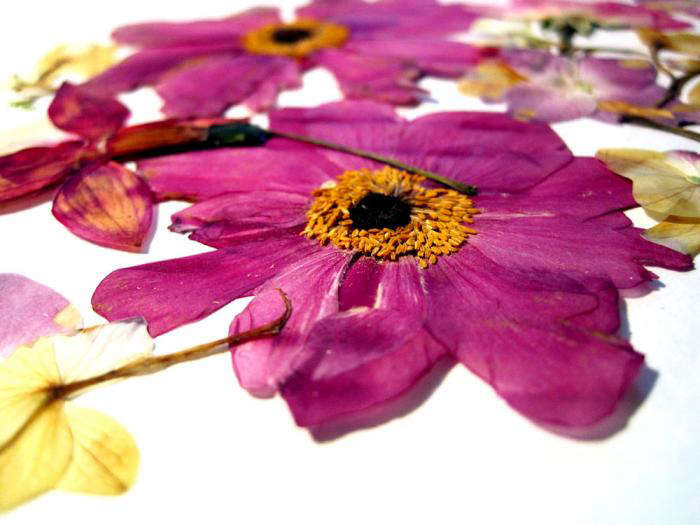
Carl Linneaus said every botanist should have a herbarium because a real flower is always better than an illustration, and perhaps my violets—very brittle now, under yellowed tape—are as close as I will come. Or maybe not. The other day I stumbled on instructions, via YedOmi, for making a homemade flower press. An irresistible one, in fact:
Images via YedOmi, except where noted.

Above: All you need to make one are two book-size wooden boards, a drill, four nuts and bolts, and two kinds of paper—cardboard and white—to sandwich your specimens.

Above: Drill holes in the four corners of each board. For step-by-step instructions, see YedOmi.

Above: Trim the paper’s cornersso it won’t catch on the bolts. Image via Design Sponge.

Above: Layer the paper and flowers—alternating cardboard with white paper and flowers—between the pieces of wood.
Above: Screw the boards tightly together. Let the flowers dry for two months or so before removing. Then you can frame them, or tape them to letters and mail them to your nieces.
(N.B.: For another technique, see “DIY: Transcendent Pressed Flowers.”)


Have a Question or Comment About This Post?
Join the conversation