Even the most reluctant gardener (like me) could be persuaded to have a go at some easily accessible, bio-degradable egg gardening. The most appealing aspect to me? Tiny gardening means tiny mess. A good activity for tiny hands?
Photography courtesy of Chaparral Studio.
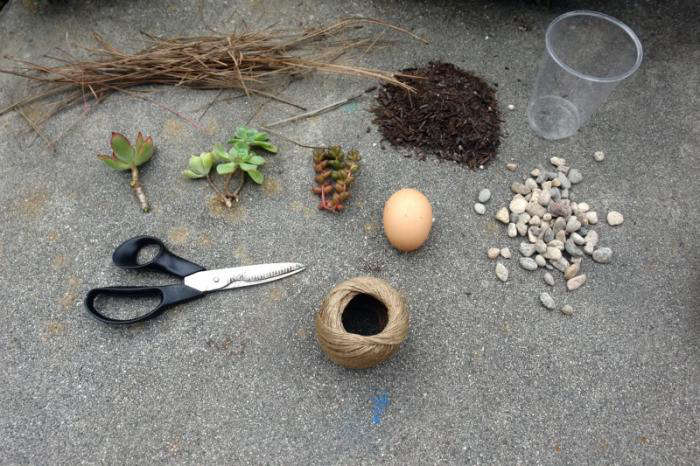
Above: Here’s an easy to follow step-by-step guide to creating your own egg planters. Most of the materials are inexpensive or free: soil, scissors, pebbles, garden twine, succulent clippings, sprouts or seedlings—and don’t forget the egg(s).

Above: Poke a hole in the pointy end of the egg and, probing gently, make the hole large enough to fit your finger plus a little extra. Empty the egg into a bowl.

Above: After the egg is emptied, clean it out with water in the sink.

Above: Place a few (from five to seven) tiny pebbles into the base of the egg for drainage.

Above: Fill the egg about half way with soil (depending on what you are planting) and add your clipping or seedling. A few more small rocks can be added to support your plant if needed. Either put them in an egg carton or the more ambitious can make nests for their eggs.

Above: The finished product. (N.B. Inspired by this project? See 8 DIY Gardening images in our Gallery of rooms and spaces.)


Have a Question or Comment About This Post?
Join the conversation