Espalier—or trained—trees never fail to look really impressive, whether they form a grand allée on a country estate or are used simply as single specimen trees against a stone or timber wall. And while they look tricky to create, even a novice can learn to sculpt trees into artful garden screens, partitions, or features. Here we take you through the steps to get started with your own espalier.
Read on for a materials list and step-by-step instructions:
Photography by Clare Coulson for Gardenista.
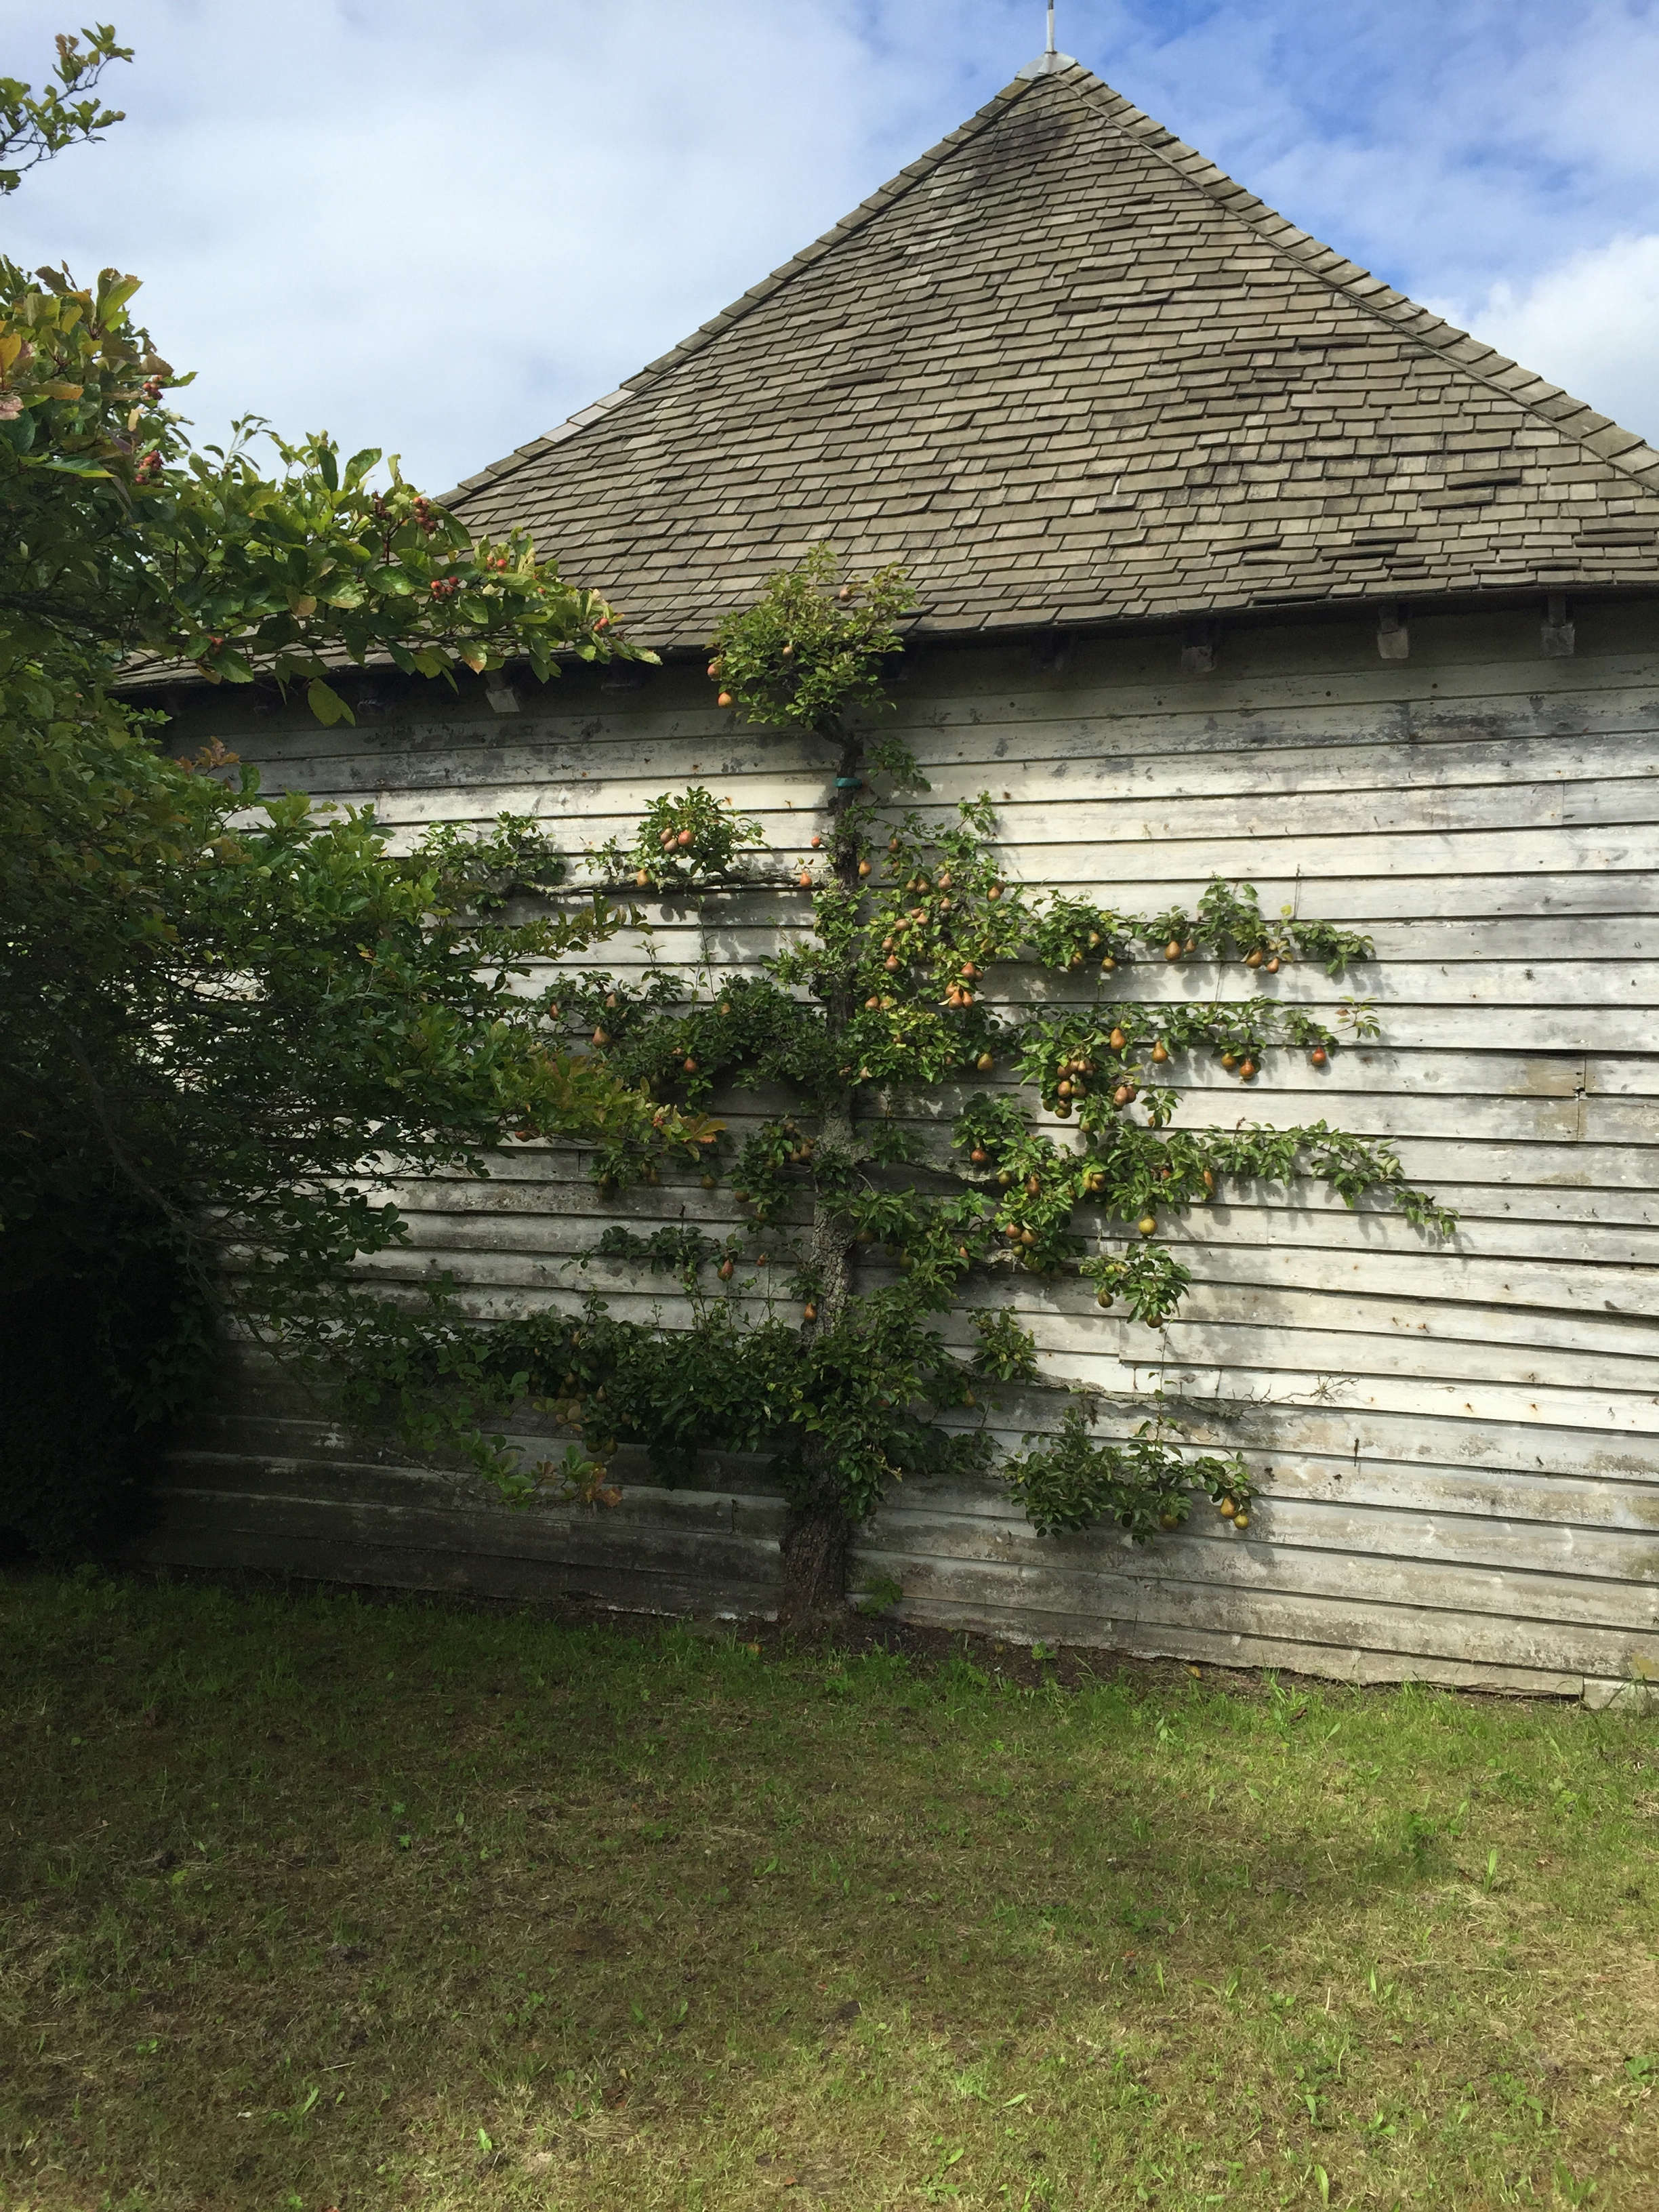
Above: My inspiration is a pear tree espalier against a wall at Great Dixter.
Materials
- 4-foot crabapple trees (space them 6 feet apart to create a screen)
- 7 6-foot bamboo poles per tree
- 2 8-foot bamboo poles per tree
- 1 7-foot bamboo pole per tree
- Plant ties, such as Soft-Ties (£3.99 for a roll at Haxnicks)
- 6-foot high posts (1-2 per tree)
- A sharp pair of pruners
Step 1: A Case for Crabapple
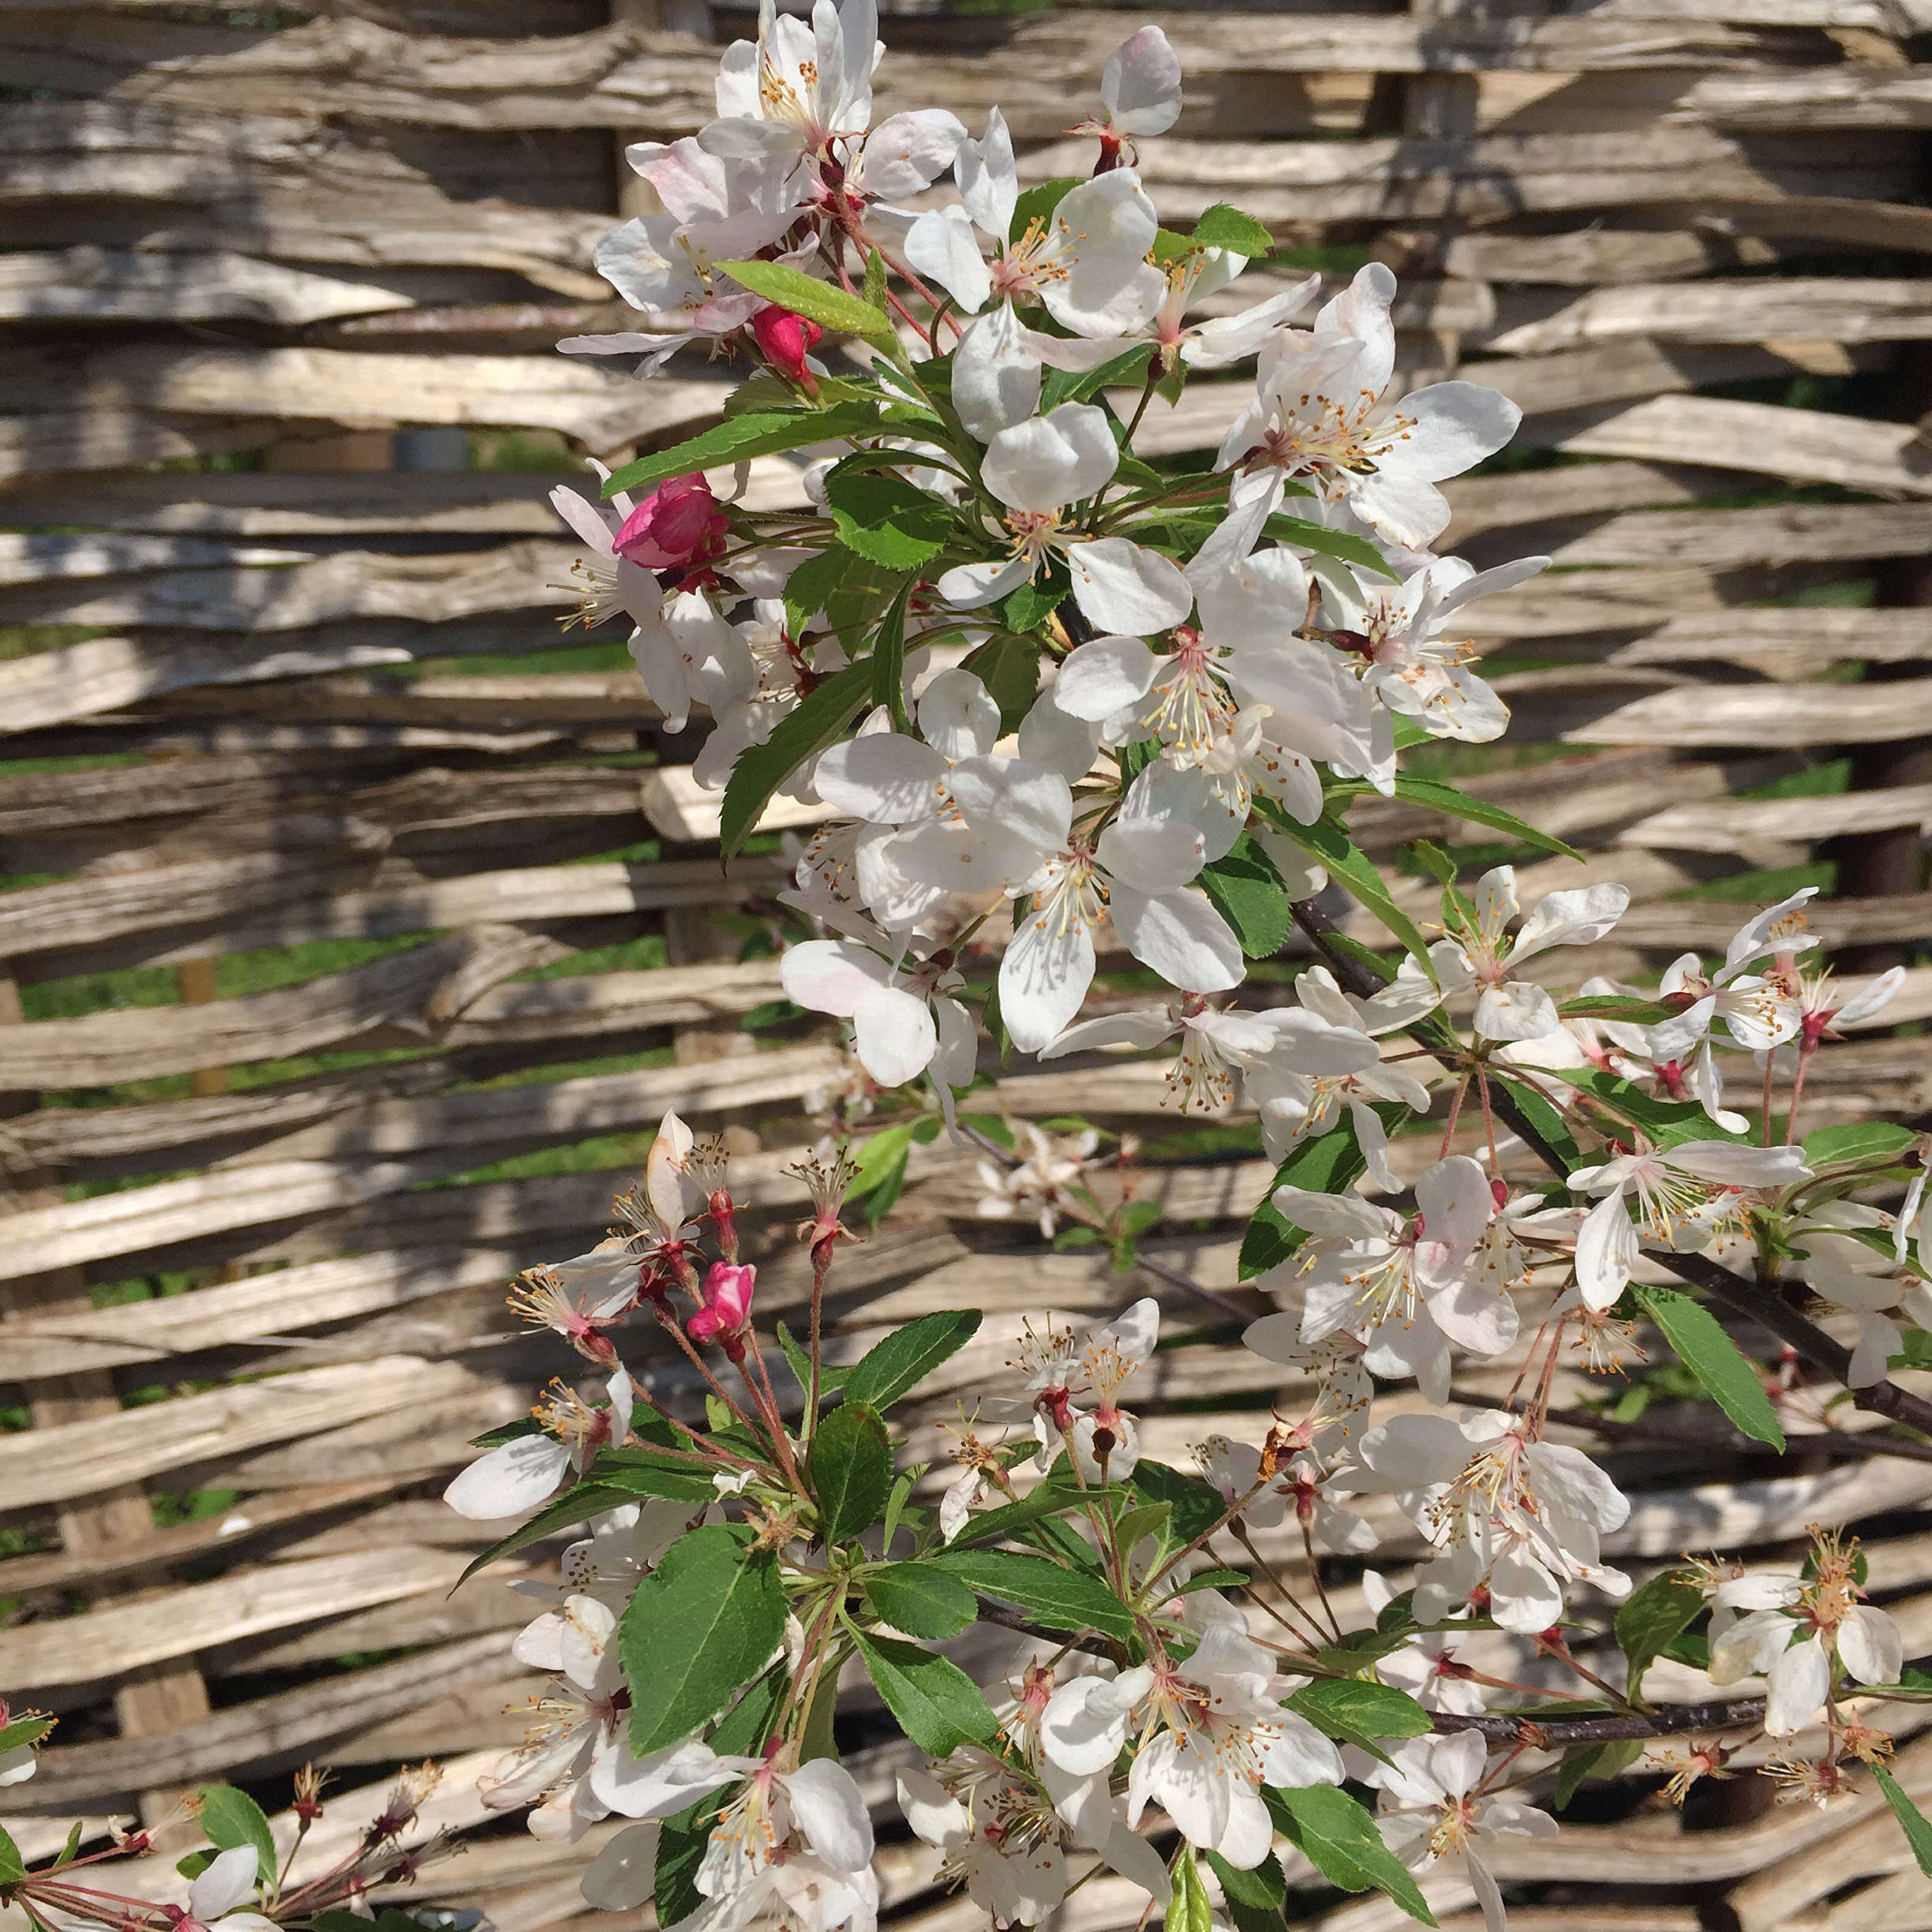
Above: Many fruit trees can be trained but crabapples have wonderful spring blossom and autumn fruits, which often stay on the branches through winter, providing color and a food source for visiting birds. Malus Floribunda has exceptionally pretty pink blossom but there are many other varieties; m Evereste with its very straight trunk and abundant white blossom is also perfect for training.
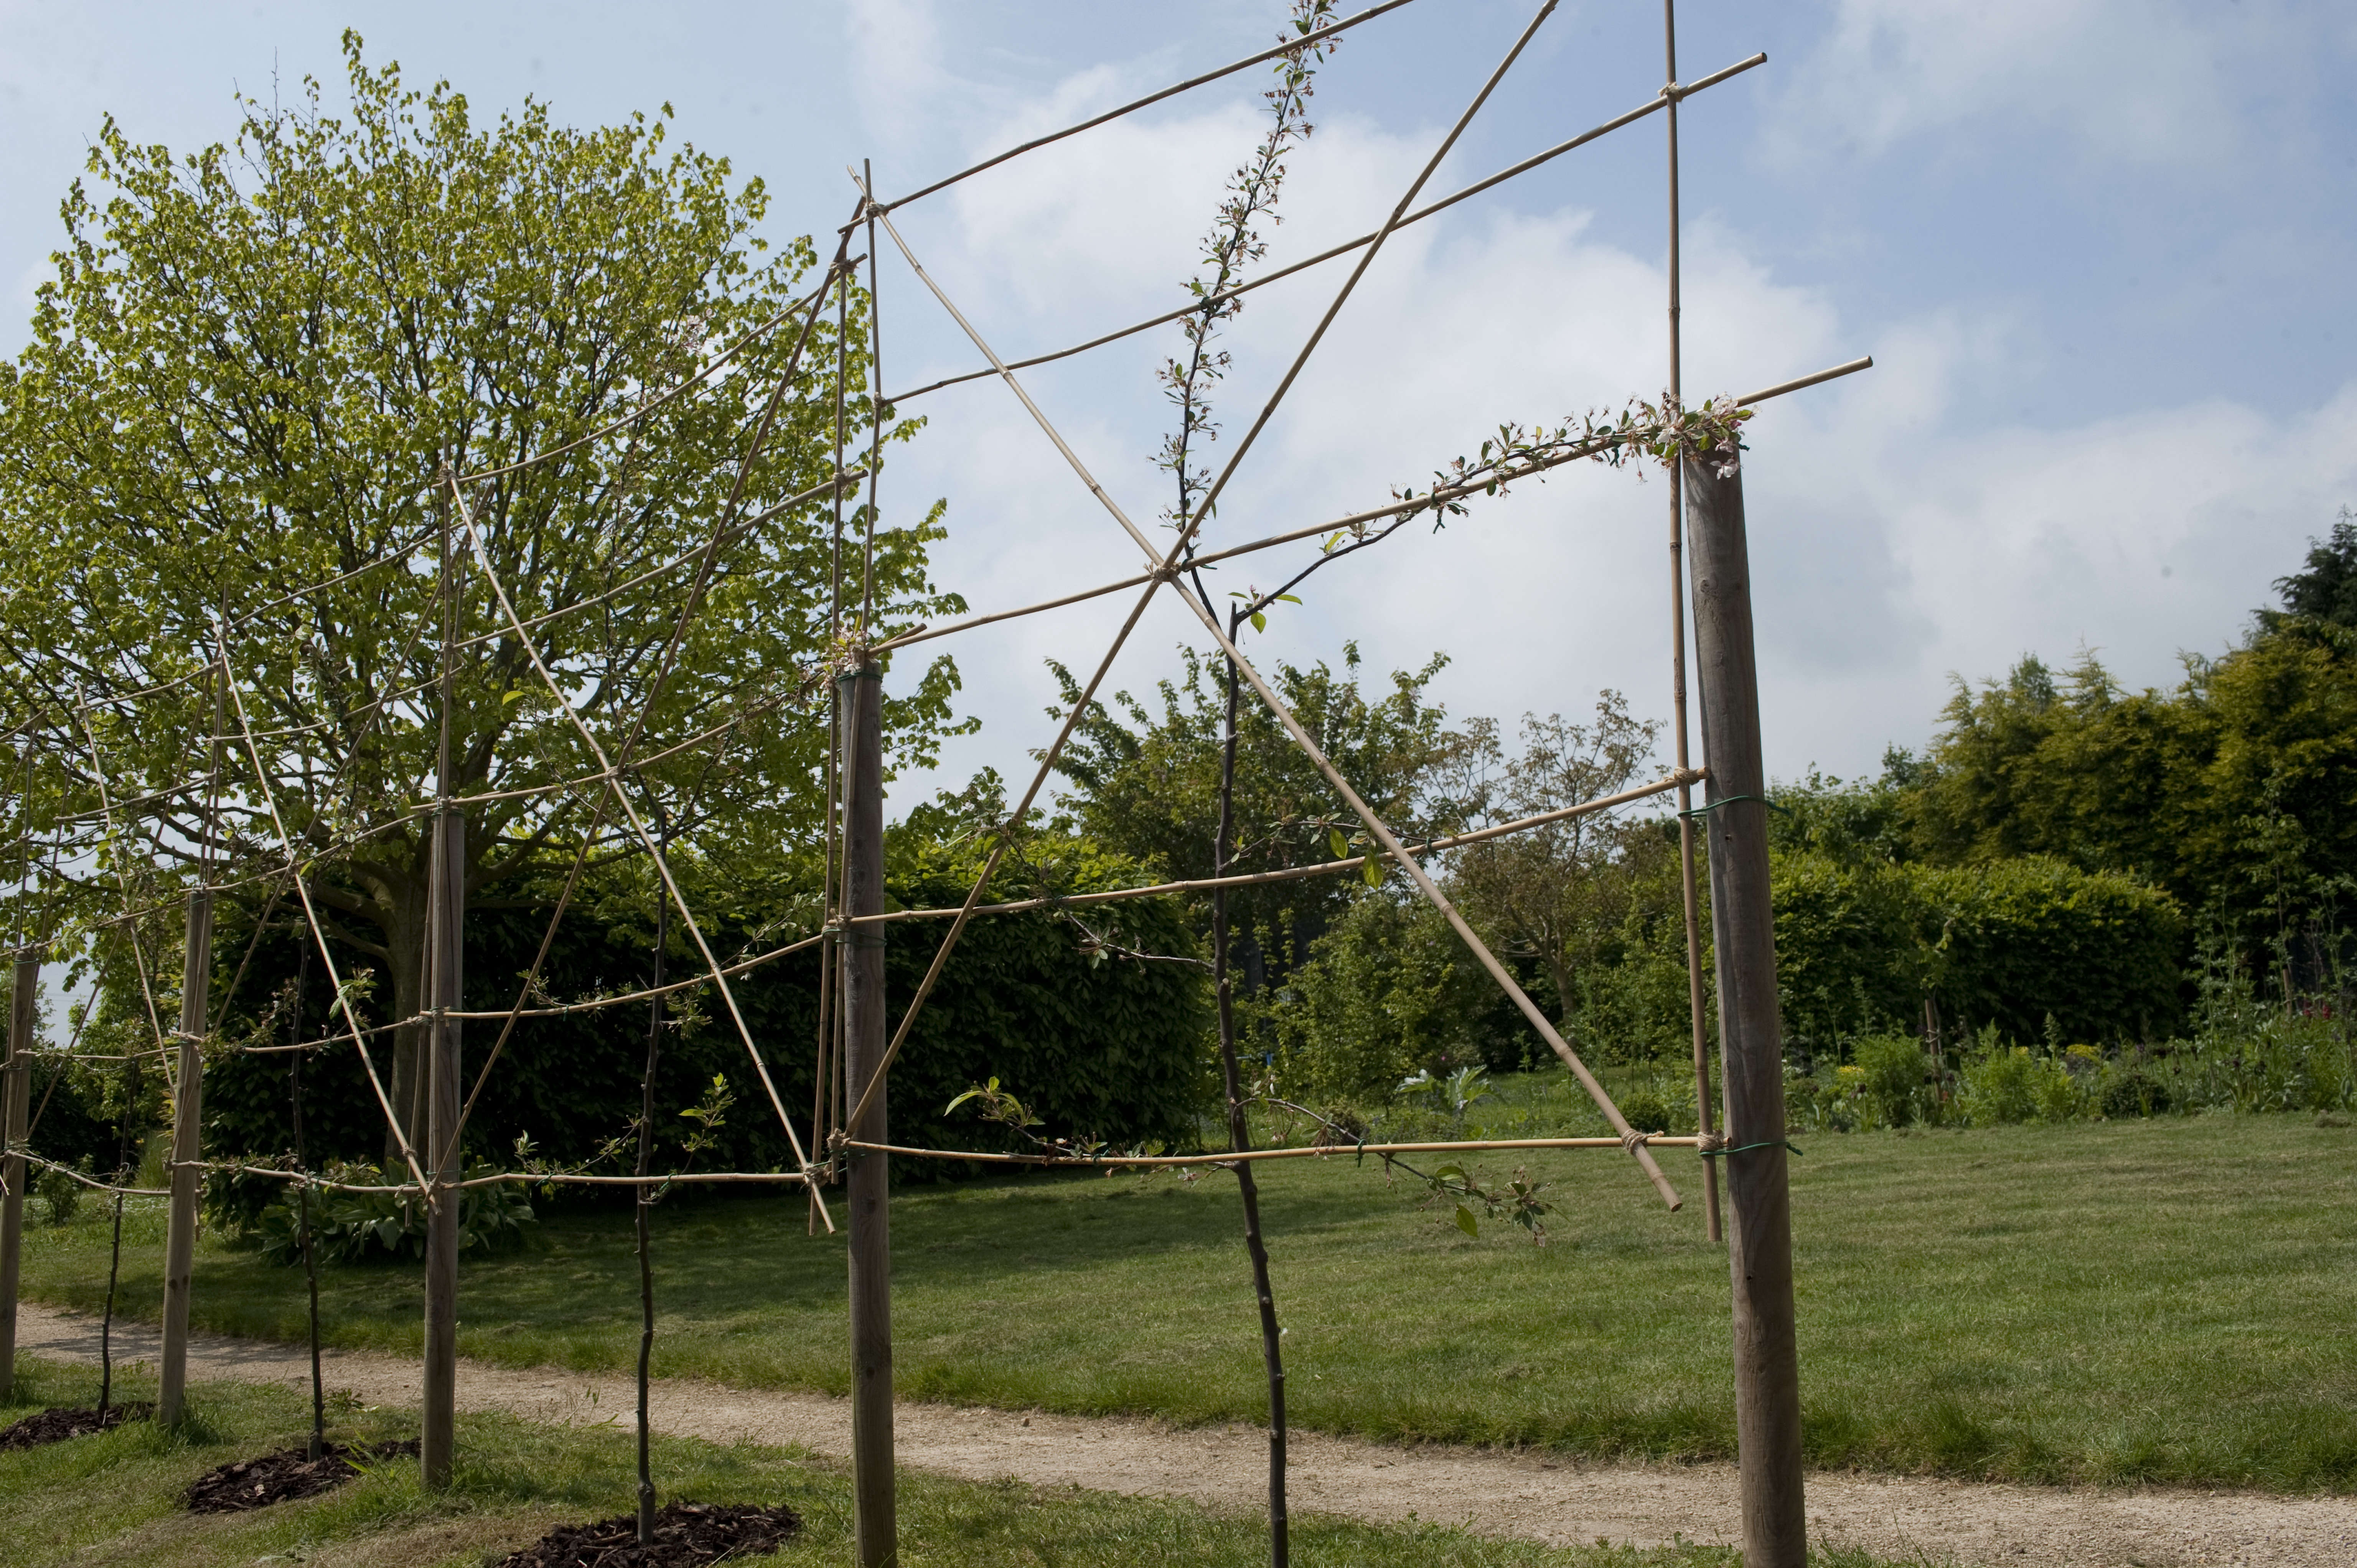
Step 2: Build a Support System

Above: After you select trees, construct the supports. Branches can be trained along taut wires or bamboo frames that are made to fit the spacing of the trees; a wire system is quicker to install and gives a much sleeker finish but bamboo frames are a little more rustic. In this case trees are spaced 6 feet apart, although more vigorous trees would benefit from a much wider spacing. For each tree, create a grid of bamboo; each horizontal pole will support one line of your espalier and I am spacing each horizontal pole a foot apart. Add a cross brace with the two longest bamboos for extra strength and the single 7 foot bamboo pole across the middle which can sit on top of supporting posts while you tie everything else in. Use rot-proof garden twine or soft ties to secure each join.
Step 3: Add Support Posts

Above: Space posts and trees; choose post heights according to how high you want your espalier to be; here posts are only 6 feet tall because I am training what will ultimately be a fairly low screen (around 8 feet tall). Knock each post into the ground to a depth of at least 18 inches and then plant each tree in between. Planting holes should be twice as wide as the root balls. Keep at least a couple of feet around the tree clear of any weeds or grass (after you have back-filled your hole, a good mulch of bark chips on top will help to maintain this).
Step 4: Tie Bamboo Frames to Trees

Above: Now tie in each bamboo frame. First attach the lower half of the framework to the supporting posts. Then gently tie branches to the supports using soft ties. Choose the closest, strongest growth for each line of bamboo. If a branch can’t be bent close to the support then tie in loosely, gently encouraging growth in the right direction.
Step 5: Trim Side Shoots

Above: Finally, with some sharp secateurs, trim any side shoots on the trained horizontal branches down to a couple of buds and completely remove any side shoots from the main trunk.
Step 6: Be Patient
Above: Continue to train the trees by repeating this each summer until all tiers are covered. Eventually as branches thicken, the bamboo support can be removed (but in the meantime it adds some vertical structure and interest – while you sit back and wait for the main event).


Have a Question or Comment About This Post?
Join the conversation