I had no idea it was possible to become addicted to bird watching–until it happened to me. When my husband and I recently visited his family in western New York, my father-in-law had assembled an impressive village of feeders in his backyard. Before the trip was over, my husband and I found ourselves spending hours cooing over chickadees and woodpeckers and (my personal favorite) red-breasted nuthatches. Back home in Brooklyn, I needed to find a way to do some bird watching from my own window:
Photographs by Erin Boyle.

Above: I decided to make my own feeder from a design suggested by the Audubon Society. Luckily, this feeder is affordable to make and relies on a favorite wintertime treat: the grapefruit.
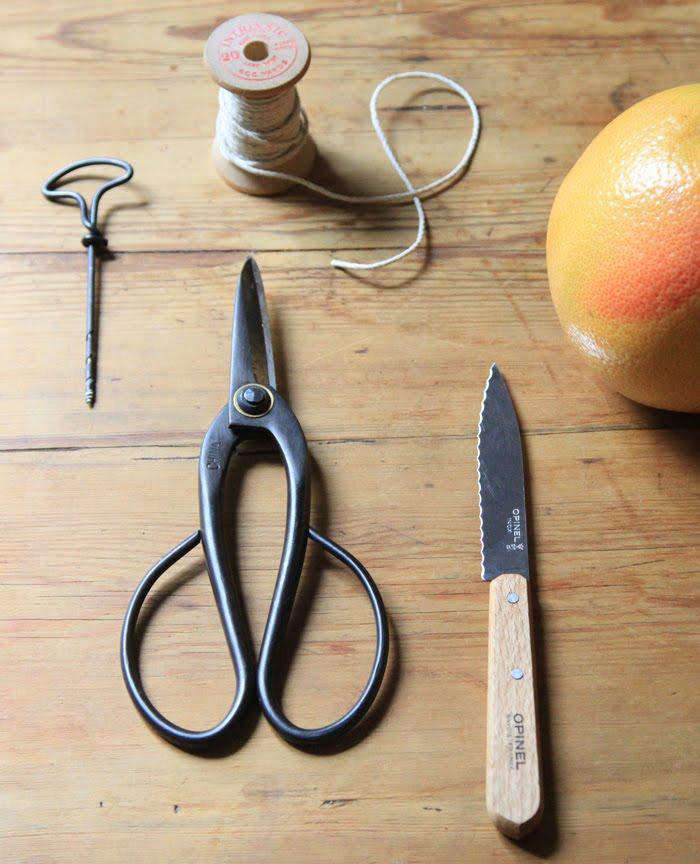
Above: The supplies for this project are simple and likely include what you already have around the house. I used a small Gimlet Hand Drill ($13.95 from Kaufmann Mercantile) to make holes in the side of my grapefruit, but any sharp object will do. A small nail or screw would work perfectly.

Above: To begin, I cut my grapefruit in half longitudinally, slicing in the space between the top and bottom poles, rather than through them.

Above: If you’re like me, you might pause at this stage to enjoy your ruby red, but if you don’t have time for a leisurely snack, slice around the outer edges of your grapefruit’s flesh (no need to dig into the white pith) and scoop out the fruit to save for later.

Above: You’ll find that you can get the interior of the grapefruit cleanest just by using your fingers. After I removed the bulk of the fruit with the knife, I pinched the remaining flesh and peeled it from the rind.

Above: After I’d cleaned out the inside, I made four evenly spaced holes in the rind. I made them about a centimeter down from the top rim to make sure that the twine wouldn’t rip through the fruit after it was hung.

Above: Next, I cut four long lengths of good-quality twine. How long you make your twine will depend on the particulars of your setup. I made the lengths long enough to be able to close them in our window and allow the feeder to hang below the sill.

Above: Using a nail or drill to guide the twine, push each length through the holes you’ve made and make a double knot on the other side. I trimmed the ends, but you can leave them long if you prefer.

Above: I filled my grapefruit feeder with a waste-free feed mixture to avoid scolding from my landlord. This feed includes seeds that have already been hulled and will reduce unwanted fallen debris.

Above: The only trick now is the waiting. I spotted a cardinal in the bushes outside my window yesterday, and I’m hoping it won’t be too long before he spies his next meal.
Curious to know if the birds ever feasted? See the proof in DIY Update: A Banquet for Brooklyn Birds.
Want to try more of Erin’s projects? See DIY: Bottle-Fed Paperwhites and DIY: Windowboxes, Urban Edition.
N.B. This is an update of a post published on January 24, 2013.


Have a Question or Comment About This Post?
Join the conversation