For a winter arrangement inspired by artichokes, I decided to add poppies as a main floral ingredient. Artichokes are known as an important winter vegetable in Mediterranean cultures, and poppies, a vibrant and colorful winter flower, are thought to be native to the eastern Mediterranean region. I like the idea of mixing these Mediterranean neighbors. And poppies, which actually are herbs that have been used medicinally for centuries, have the most incredible–and very subtle– scent. Once you smell them, I guarantee you won’t be able to stop, and they might become a favorite.
For step-by-step instructions, see below:
Photographs by Sophia Moreno-Bunge.

Above: California poppies in white orange-y reds and yellows.

Above: Artichokes that have not been cut off from their stems.
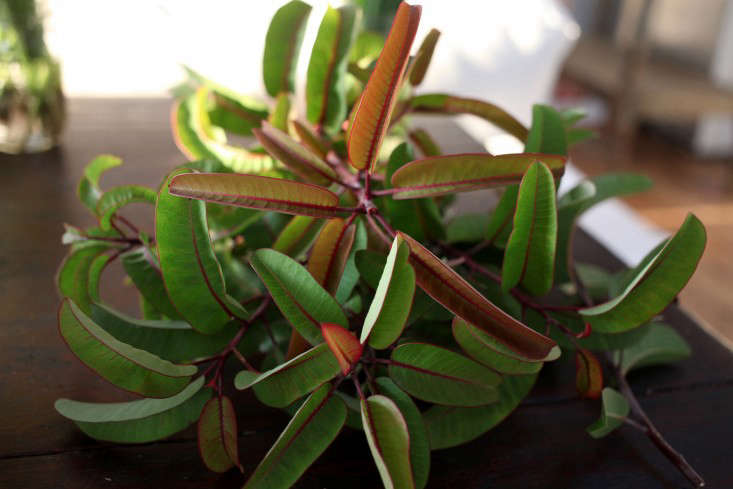
Above: A beautiful bit of foliage from a tree that grows all over California. (I’d love to know what it is, so please comment if you can ID it!)
I chose a couple of different kinds of foliage for my base–a few stems of banksia, for its resemblance to rosemary, a bunch of geranium (another herb!), and branches of a foraged foliage that I see all over the California landscape (see Above).

Above: Banksia branches.

Above: All of my materials.
Here’s what you’ll need to recreate the look:
- 1 bunch of poppies
- 2 artichokes on the stem
- 3 branches of banksia
- 1 bunch of geranium
- Your choice of foraged (or bought) foliage
- A wide-mouthed vase about 6 inches in diameter, floral tape, and clippers.

Above: Tape grid.
First, create a grid with floral tape over your vase; leave 1-inch spaces, and tape around the entire edge of the vase as well, to keep your tape grid from lifting after you put water in the vase. This will help with the structure of your arrangement. Some people like to work with flower frogs to help keep the structure in their arrangements–they work well, too.

Above: Banksia and artichoke base.
Next, create a base with the banksia branches. Measure the stems against the side of the vase before cutting, to get the right length. Put the stems in at a diagonal, and let them rest on the edge of the vase. Make sure the stems reach the bottom of the vase so the arrangement gets as much water as possible and lasts longer. Add the artichoke stems on one side of the arrangement, as if they are growing there.

Above: Unknown California foliage.
Next, add the other foliages, turning the vase as you go, so you cover the entire arrangement.

Above: Foliage base of banksia, geranium, and artichoke.
I added a couple stems of succulents on the right side because they helped give the arrangement a nice shape. You can add them or not, or choose another special ingredient with a nice shape.

Above: Poppies added in a cluster on mostly one side of the arrangement.
The final step is to add the poppies. It is very important that you burn the poppy stems after each cut. Poppies let out a sap that is poisonous to themselves, and the stems must be burned for 30 seconds (with a lighter or stove top) or dipped in a cup of boiling water for 30 seconds. At the flower market, poppies usually come with some open buds and others still in their green bud layers. I used some open buds and some closed, but if you want all of the buds to open, you have to peel off the green bud layer–it will reveal a scrunched poppy that will bloom over the next few days.


Above: The final arrangement.

For more of Sophia’s arrangements, see DIY: A Wild and Foraged Christmas Bouquet and DIY: Office Flowers With a Scent Even Coworkers Will Love.


Have a Question or Comment About This Post?
Join the conversation